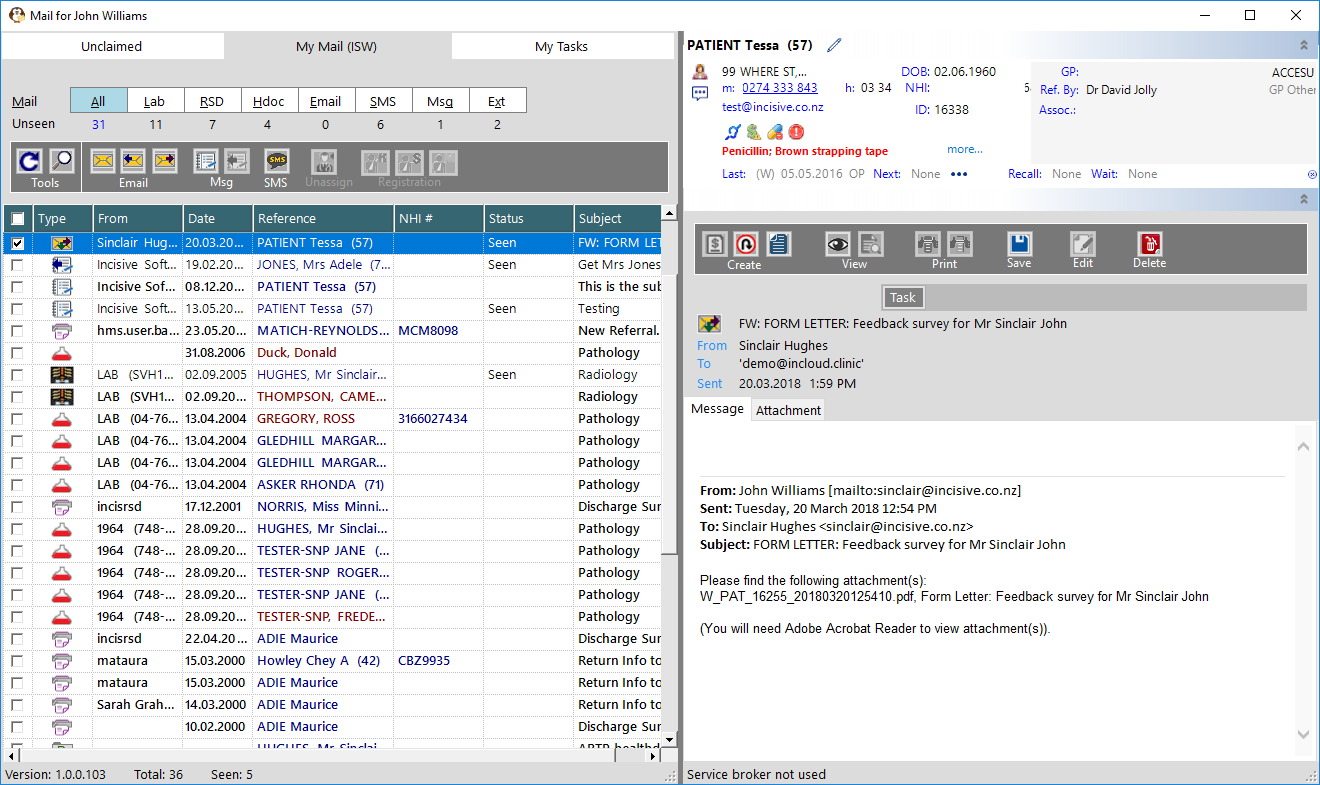
When opening the Message Centre, the Provider that is selected in SPM/PHM will be automatically selected and all Message Types will be configured using the settings relevant to their practice. The Provider's name will appear in the top Title Bar.
Message List
Mail types |
No mail items will appear if your Role does not have Permissions to view them.
| |||||||||||||||||||
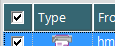
Importance | High Importance emails, Urgent messages or Abnormal results will always show at the top of the list and the Status cell will be Red | |||||||||||||||||||
| Settings |
| ||||||||||||||||||
| Search | Select any column to search the contents | ||||||||||||||||||
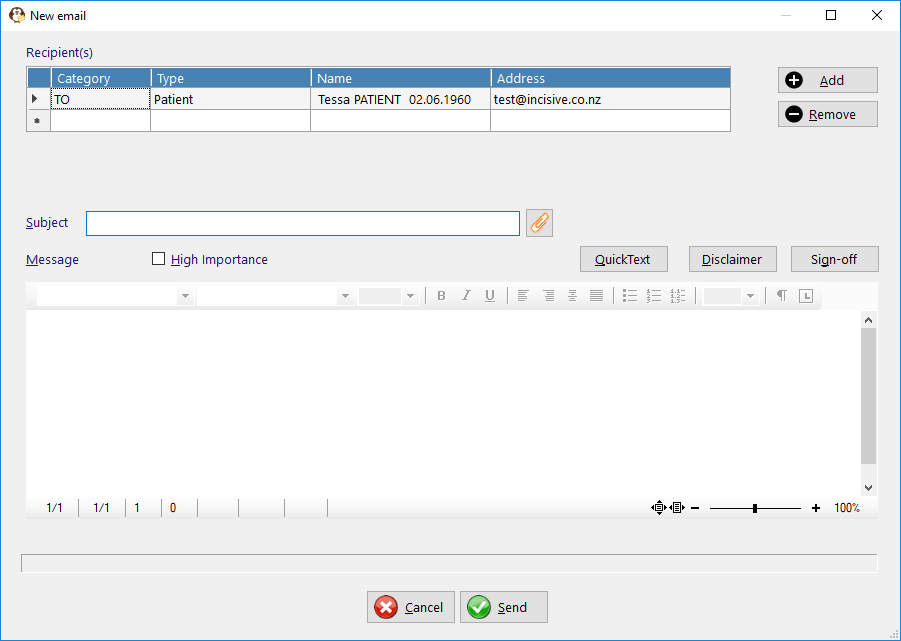
| New email | Create and send an email
| ||||||||||||||||||
| Reply email | Reply to an incoming email
If the email has been saved to a patient's record and you then send a reply to the email, the reply will NOT be saved to the patient's record. | ||||||||||||||||||
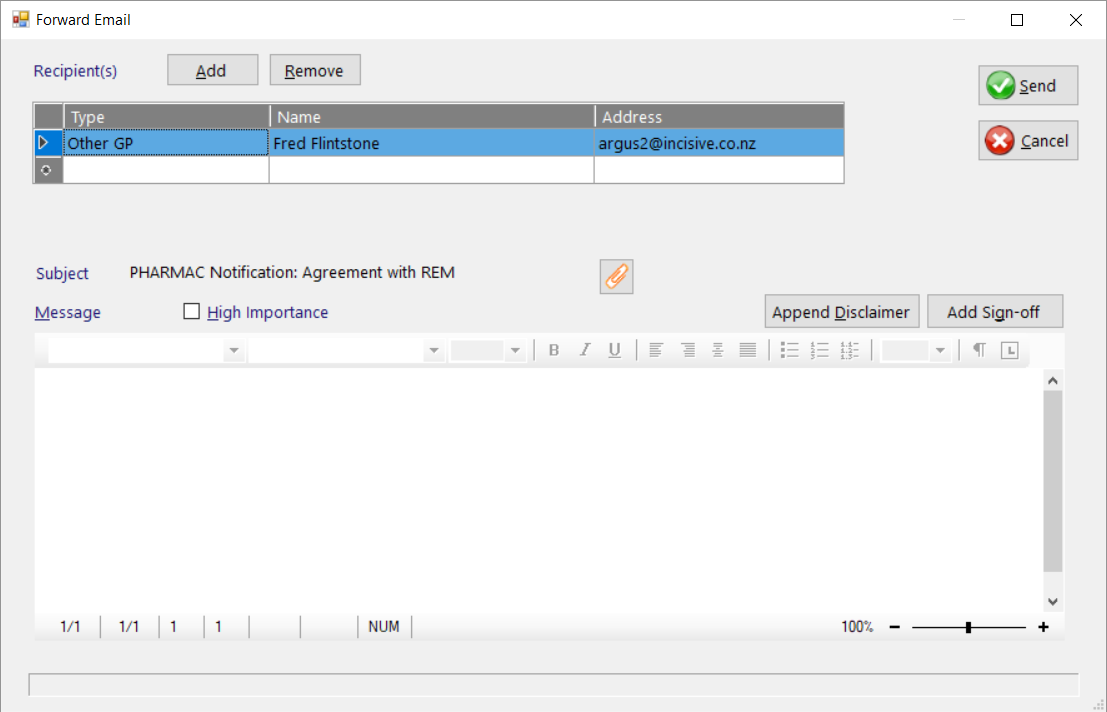
| Forward email | Forward an email to another party
| ||||||||||||||||||
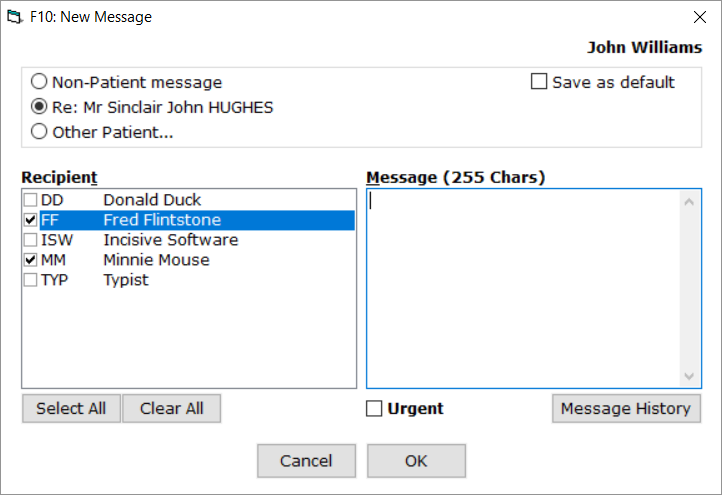
 | Create a new internal (F10) message to other Operator(s)
| |||||||||||||||||||
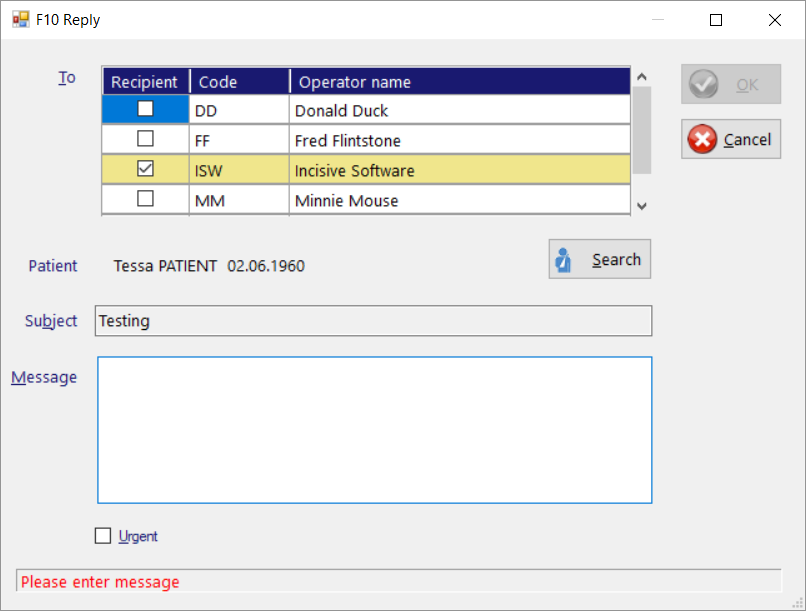
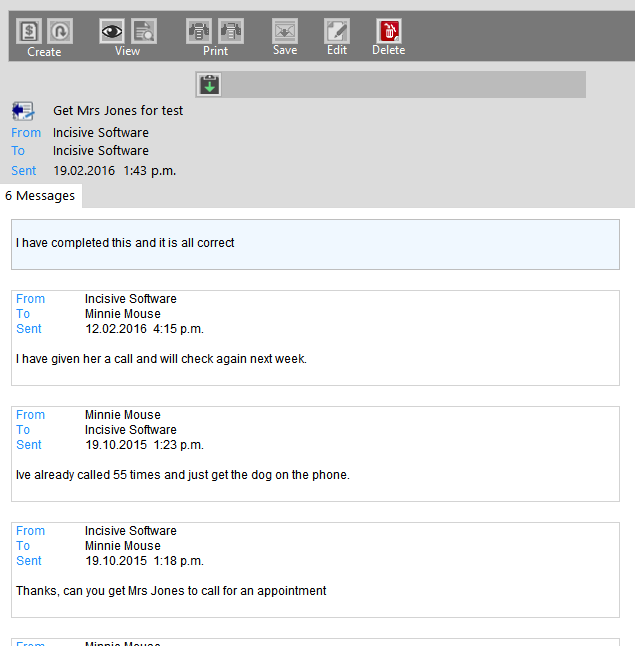
| Reply to message | Reply to an internal (F10) message
The replies to a message will be displayed in 'Conversation' style.
| ||||||||||||||||||
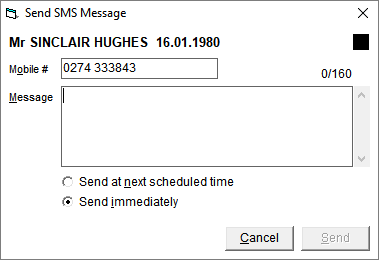
| New SMS |
| ||||||||||||||||||
| Unassign | If a Lab report, RSD document or Healthdoc message was assigned to the incorrect Provider you can Unassign the message and move it back into the Unclaimed section, from where you can Assign it to the correct Provider. Pressing the F2 key also Unassigns the message. | ||||||||||||||||||
| Register the patient | Use the information provided in the HL7 file to create a new patient in the database. | ||||||||||||||||||
| Search for a patient | Use the Search Patient function to find an existing patient in the database to match to the incoming report | ||||||||||||||||||
| Match a patient | Provides a list of possible existing patients that might match the patient named in the report | ||||||||||||||||||
| Accept report | Mark the report as Accepted which will allow it to be processed onto the patient's file Reports, Referrals and Healthdocs cannot be processed to the patient's file unless they are marked as Accepted. | ||||||||||||||||||
| Process reports | Move all 'Accepted' Lab reports and RSD or Healthdoc documents onto the patient's file. The number of messages that are marked as 'Accepted' is displayed on the Status Bar at the bottom of the screen. If a report has been Accepted AND there is a Task associated with it, once the Task is marked as Completed it will be automatically processed to the patient's Notes. |


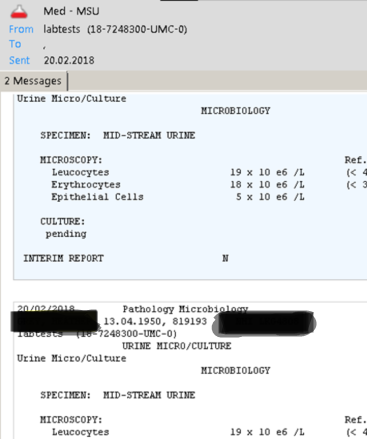


Message Content
Collapse the panels using the chevron symbols  to provide more display space.
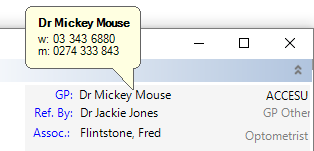
Patient Header | 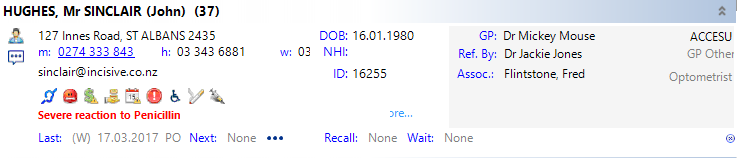 Place the mouse over the name of the GP, Referring Dr. or Associated Providers to display their phone numbers. | |
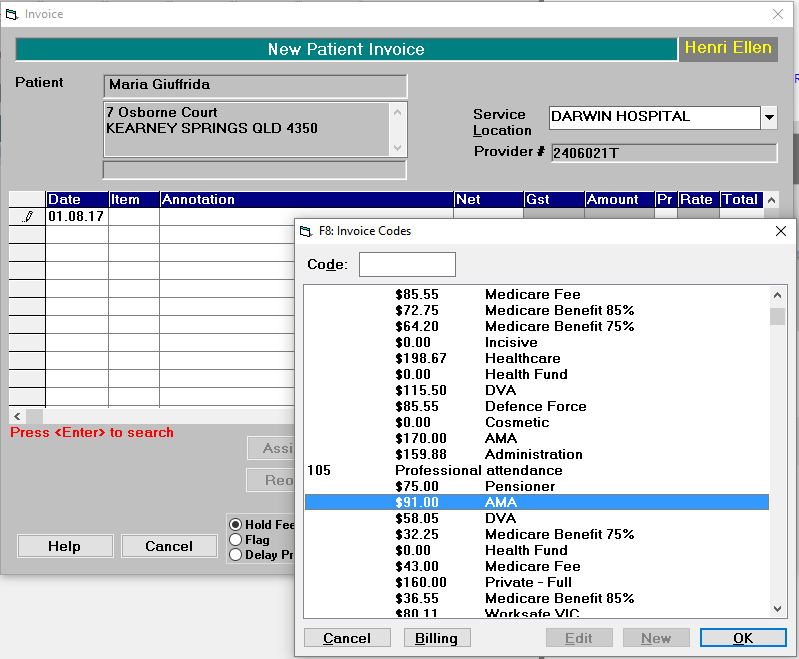
| Invoice | Create an invoice fee for a service provided to the patient. (Australia only) Ideal when the fees charged are based on the lesion size.
|
| Recall | Enter a Recall for a patient |
| Note | Enter a Medical Note, Nursing Note, Para-medical Note or a Comment for the patient. |
| Patient Details (F3) | Pop-up the F3 Patient Details window |
| View File | View the original report source file. |
| Print this result | |
| Print All | Print All results for this patient |
| Save to Patient | Save the email to a patient's file and create an internal notification to alert the Provider.
If a XML file from an online form is saved it will start the PatientImport application to allow you to import the form data to the patient's file. |
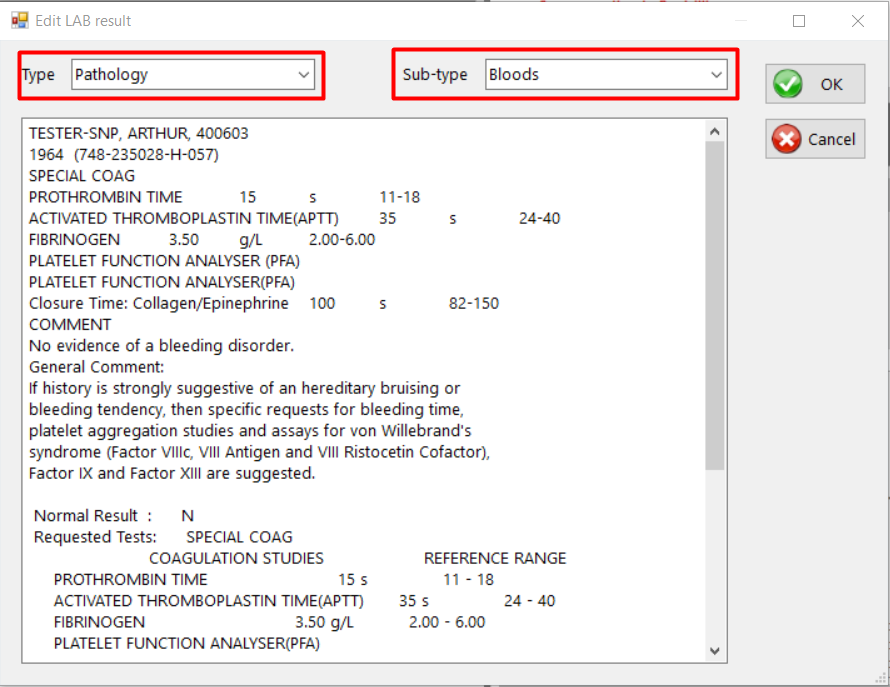
| Edit Type & Sub-type | Change the Note Type & Sub-type.
You are able to make adjustments to the text that is displayed in the patient's file however we strongly discourage this as the original result is also stored. |
| Delete | Delete the message |
| SR Referrals | Acknowledge, Decline or send a Message to the Referrer. |
| Assign Claim | Assign or register Claim details |
| Change attachment Sub-type | Change the Sub-type linked to the attachment. |
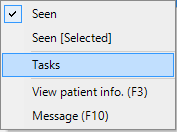
| Task | Create a new Task or mark it as Complete. You can also right-mouse-click on the patient in the Message List panel and select the Task option If a Test report has been marked as Accepted, when you complete all the related Tasks it will be automatically processed to the patient's Notes. |
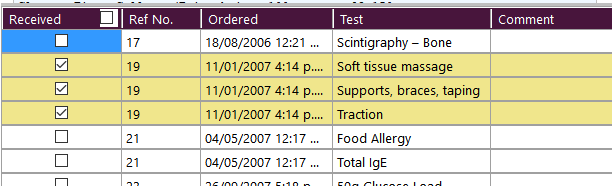
Tests Ordered | List of tests ordered for the patient which are required to checked-off against the results received. |


Related Content:
- Configure Email
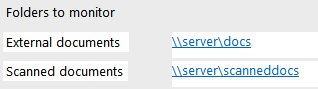
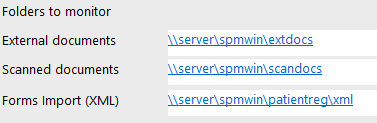
- Configure Folders to Monitor
- inTOUCH App configuration
Training:
- Incoming Mail
- Assign UNCLAIMED Mail
- Accept LAB Results
- View RSD Documents
- Save EMAIL and Attachments
- Save a Fax to the Patient
- Sending emails
- Sending emails from Message Centre
- Incoming Mail in Classic edition
- View Lab Results
- Reconciling Test Results with Test Orders
- Unclaimed Lab Results
- View RSD Mail
- Advanced
- Test Ordering
- Saving emails to a Patient
- Sending Clinical Notes to ACC