As most hacking or malware attacks are caused by opening emails that have trojan or malicious attachments you must do all you can to protect your computer system.
These may include using a email filter service such as Mail Marshall or Outlook's Advanced Filtering, setting your spam filter to a suitable level, deleting emails from unknown or suspicious senders and most importantly, training all operators how to responsibly manage the use of the email service.
If you are going to be saving emails to a patient's record we strongly recommend that you have a separate email account (e.g. save2patient@mypractice.clinic) that you forward the patient-related emails into and configure the Message Centre to link only to this email account.
Your IT technician should also ensure that the 'Read & Execute' security option is disabled from the directory where the email attachments are saved to. The directory can be identified from Setup > System > File Locations > Scanned Docs Directory (allocated)
It is not the responsibility of Incisive to protect your computer system. Each Provider must sign an Email Indemnity Agreement before the Message Centre functionality will be enabled.
If you are unsure do not configure the Message Centre application to receive and display emails.
Emails can be retrieved from any email account that supports the IMAP protocol.
New Email
Emails can be created and sent directly from the Message Centre by clicking on the envelope icon ![]() . It uses the out-going email server (SMTP) settings as configured in Setup > Provider > Email.
. It uses the out-going email server (SMTP) settings as configured in Setup > Provider > Email.
The patient's email address in the Patient Header in the Message Centre, Patient module and Dictation module are active hyperlinks and can be clicked on to create an email to the patient.
If you are wanting to attach and send information about a particular patient you should be using the F7:Send function in Patient > Notes
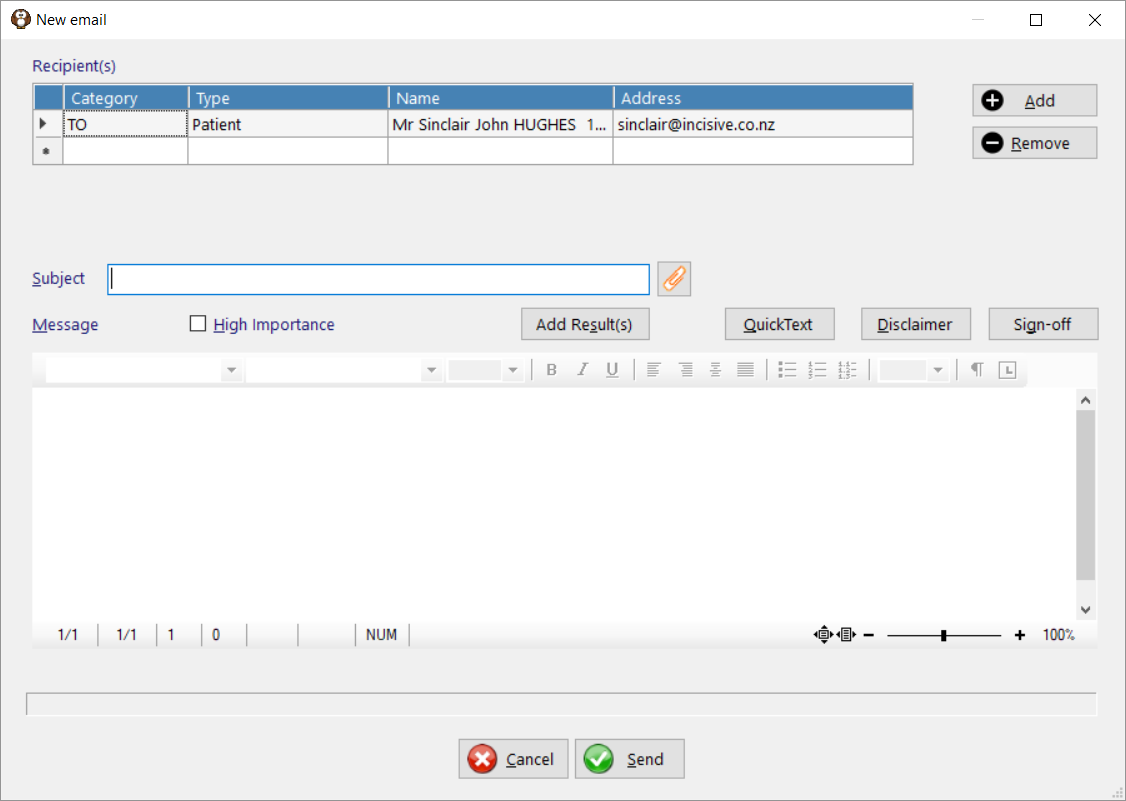
Add Email Recipients
- Click on the Add button then select the recipient from the list.
If they are not listed use the option Other with email address then type the email address in.
Choose the Type of message. The first recipient will have it set to 'TO:' whereas the following recipients will be added as 'CC:'
Subject
Enter the Subject of the email
Attachments
- Click on the
 symbol
 - Use the Add button to select the files you want to attach
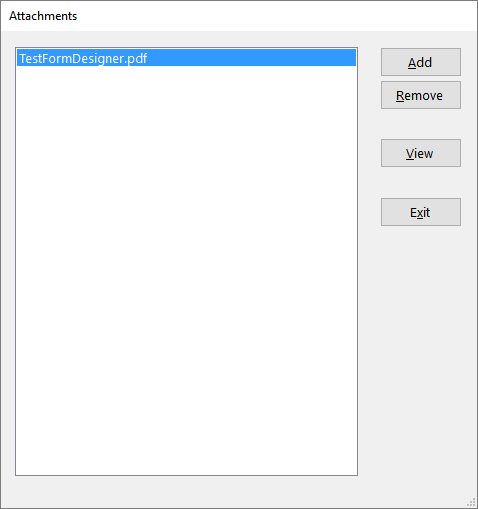
- Click Exit to save and continue
Insert Quick-Text
The F8 function key and a 'Quick-Text' button are available in the email to be able to easily insert frequently used text.

Insert Test Results
The text of the test result(s) can be pasted into the body of the email by clicking on the  button.
Select multiple results for the same patient to insert them into the email.
The 'Insert Text' button is only visible if you have highlighted a Pathology, Histology or Radiology test result in either the 'Lab' or 'All' tabs.
Sign-Off
The Sign-Off will insert text and/or image at the bottom of the email.
Enter the details you want displayed in the Sign-Off using either: My Settings or Setup > Operator > Settings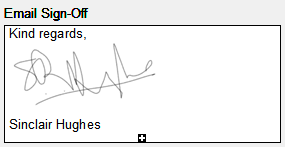
You can Paste (Ctrl+V) a signature file or other sign-off image so that it appears on the emails you send.
Disclaimer
The Disclaimer will insert text into the Message area of the email.
The Disclaimer text is entered in via Setup > Provider > Email > Disclaimer
The SMTP server used to send the out-going emails is configured in Setup > Provider > Email
Reply to an email
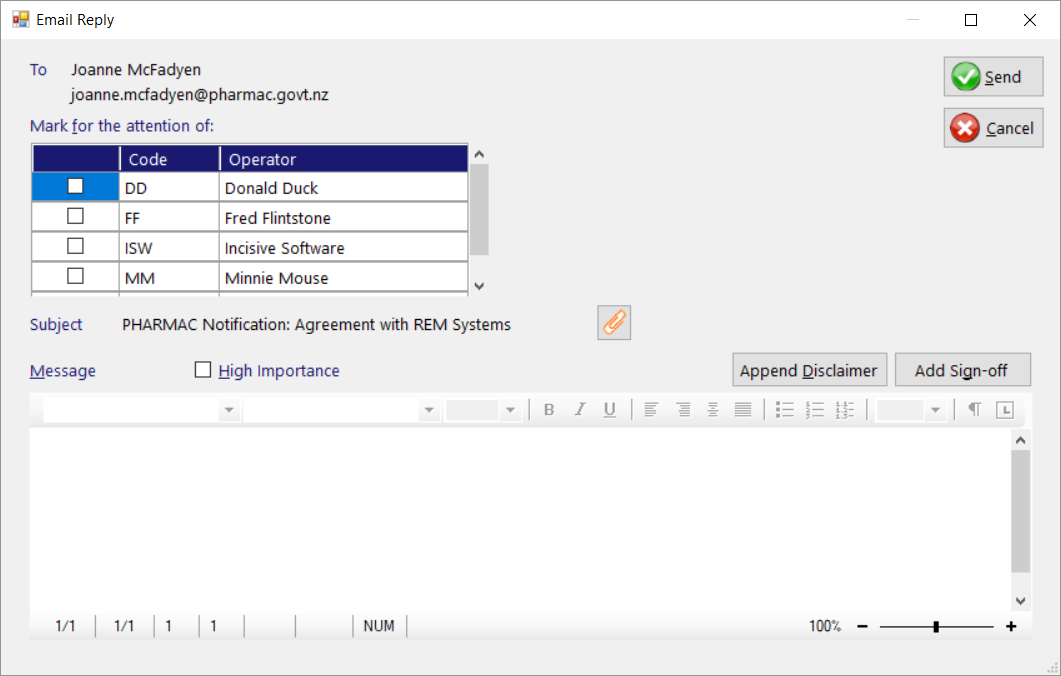
- Highlight the email and select the Reply Email button
- Add your reply text in the Message area.
- If you want to notify other staff that you have sent an email reply, choose the recipients from the list.
- Click Send
Forward an email
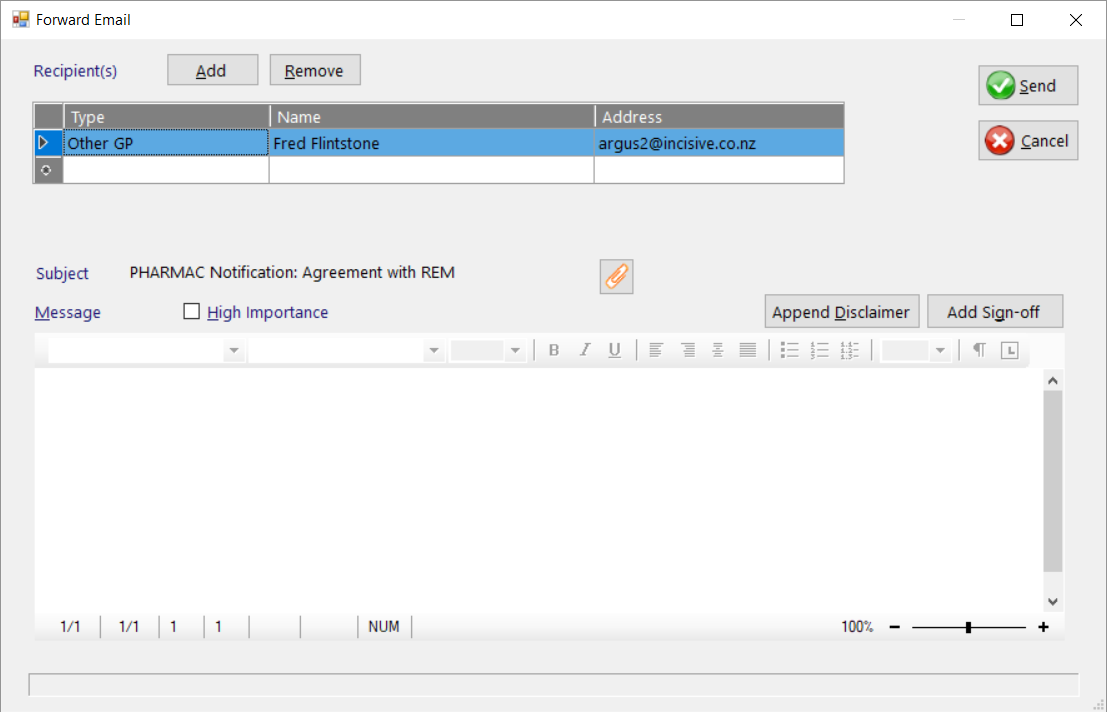
- Select the recipients
- Add any text in the Message area.
- Select Send
Allowed attachment file types
Only attachments with specific file extensions are allowed to remain with the email.
The file extensions allowed are: .doc, .docx, .pdf, .txt, .rtf, .xls, .xlsx, .jpg, .tif, .png, .gif
All others will be removed and a message will appear.![]()
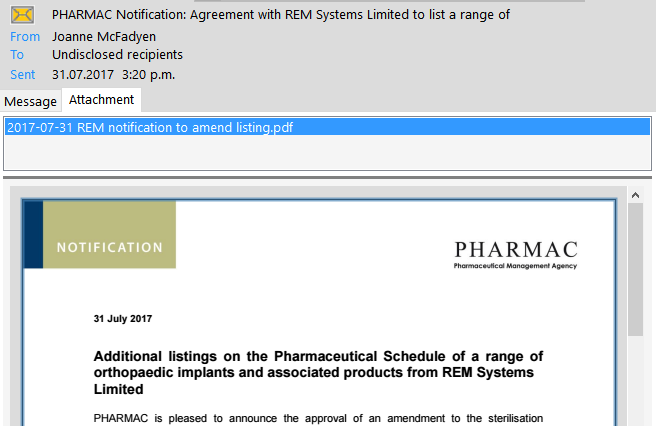
If an attachment is allowed an extra Attachment tab will appear in the Message Content pane and when selected it will attempt to display the attached file.
Saving the email to a patient
This option allows you to:
- save to the patient's file:
- Email as received, or
- Attachments and email message as separate Notes entries, or
- Attachments but not the email message/cover page
- notify staff or clinicians that an email has arrived that they should view
Select the email you want to attach and check that the contents do not look malicious.
Click on the Save button and select the patient.
If the email is a new referral you can create a new patient from this option and then attach the email to their record
Enter in the Note Type that you want to see it displayed as in the patient's Notes and also any notification details.
The <default> option will appear as 'Email' in the Notes
The selections available in the Type field can be added to or modified in Setup > Selection Lists > Scanned Document
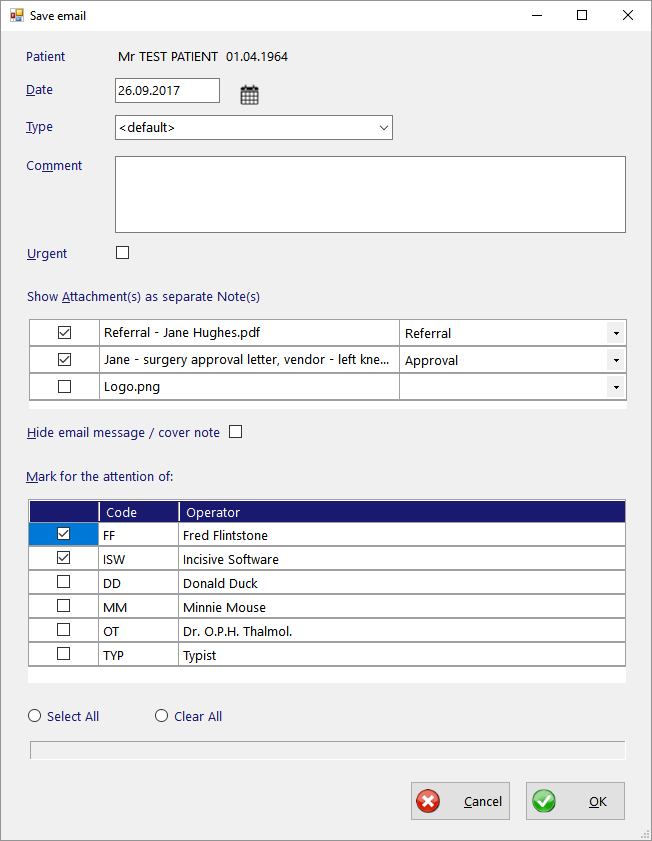
Select the attachments that you want displayed as separate Note types in the patient's records. Choose the appropriate note Type from the selection list.
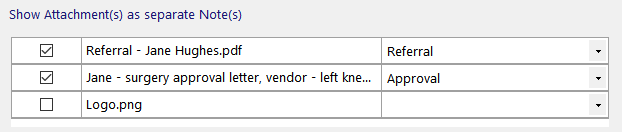
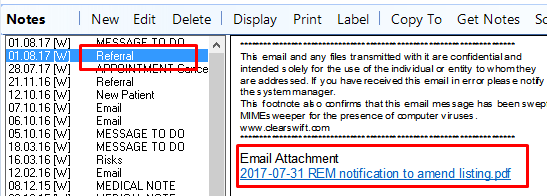
All the attached files will be saved and will have hyperlinks in the original email.
The two selected attachments will appear as separate Notes entries - one as a Referral, the other as an Approval
Choose whether you want the actual email to appear as a Note entry

The 'Hide' email' option will automatically be checked ON if all the attachments are selected to appear as separate Note entries.
If there are no attachments the option will be disabled.- The icon in the Message List will change to indicate it has been saved to a patient and the patient's name will appear in the Reference column.

You can check to see that the email (and attached files) is now attached to the patient's Notes
The files attached to an email are automatically saved into the Providers 'Allocated Scanned Documents' directory.
Emails are saved as .html
Attachments are saved in the same format as attached e.g. pdf, docx etc.
If there are duplicate file names the new file will be renamed.
and a Message To Do will appear if a notification was appended.
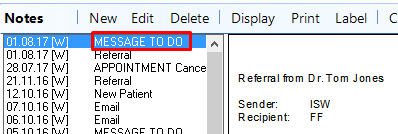
and an internal message (F10) was sent to the recipients of the notification.
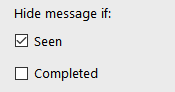
Hide email if: Seen
On This Page:
Related:
Training:
- Incoming Mail
- Sending emails
- Incoming Mail in Classic edition
- Test Ordering
- Saving emails to a Patient
- Sending Clinical Notes to ACC