It is expected that only a System Administrator or a Manager will be configuring this feature so that you can keep a close overview on the email accounts and input paths that are being used.
Make sure all Operators know of your policies and procedures for the safe handling of emails, external messages and files.
Photos of patients should not be stored on your private phone. Ideally, use the inTOUCH application to capture and upload the images directly from the phone to a secure storage location, before being automatically imported into SPM/PHM.
This form is used to configure the following functions in the Message Centre
- Incoming email accounts
- Directories to monitor for importing files to a patient's record
- Choose to use the images auto-import function.
Email Servers
As most hacking or malware attacks are caused by opening emails that have trojan or malicious attachments you must do all you can to protect your computer system.
These may include using a email filter service such as Mail Marshall or Outlook's Advanced Filtering, setting your spam filter to a suitable level, deleting emails from unknown or suspicious senders and most importantly, training all operators how to responsibly manage the use of the email service.
If you are going to be saving emails to a patient's record we strongly recommend that you have a separate email account (e.g. save2patient@mypractice.clinic) that you forward the patient-related emails into and configure the Message Centre to link only to this email account.
Your IT technician should also ensure that the 'Read & Execute' security option is disabled from the directory where the email attachments are saved to. The directory can be identified from Setup > System > File Locations > Scanned Docs Directory (allocated)
It is not the responsibility of Incisive to protect your computer system. Each Provider must sign an Email Indemnity Agreement before the Message Centre functionality will be enabled.
If you are unsure do not configure the Message Centre application to receive and display emails.
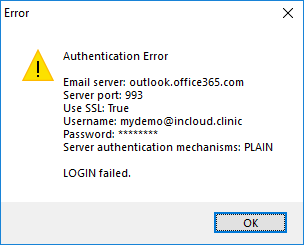
Enter the configuration details to allow you to connect to your IMAP server inbox.

Use the 'Test' button to check the connection to the email account.
- If Successful, a tick will appear

- If Failed, a message will appear
- If Successful, a tick will appear
Port 143 is the default port and port 993 if SSL encryption is selected
To use a different port add it to the Hostname using this format <hostname>:<port> e.g remote.incisive.co.nz:993
Authentication is set to AUTO so that the relevant mechanism is selected.
Exchange | Hostname: your domain IMAP address (e.g. remote.mypractice.co.nz) |
Office365 | Hostname: outlook.office365.com |
Gmail | Hostname: imap.gmail.com The IMAP setting needs to be turned on.
|
Folders to Monitor
You can choose to monitor some directories which have files that you want to import to a patient's file.
You can use drive letters, UNC paths and system variables such as %userprofile%, %temp% or %public%
Both the External Documents and Scanned Documents offer the same import options and effectively perform the same functions.
The Save button will start the same import process as is available from Patient > Notes > New > External Documents
External documents
Files that you commonly receive and want to attach to a patient's notes. Some examples are:
- Faxes
- Referral letters from a portal
- Radiology results
- Cardiology reports
Scanned Documents
This is often a common, shared folder into which documents that have been scanned from a photocopier or a Multi-Function Centre device, that don't have TWAIN drivers, are deposited and can be assigned to a patient at a later time.
Forms Import (XML)
This folder is used exclusively for the import of XML data files that have been created by the inFORM online forms application from Incisive.
The Save button starts an import process that allows the Operator to verify the data and transfer it to the patient's record to either create a new patient or update their existing data.
Images
This folder is used to import photos, videos or other images to the Images tab.
The Save button starts the import process to move the files from the source folder or drive and link them to the patient's record.
If the filename of the photo matches the mask specification and the 'Auto-import' option at the bottom of this form is checked ON then the photo will be automatically imported.
OneDrive
Photos and Videos can be imported from the specialist's online OneDrive Personal or Business account.
OneDrive accounts can only be enabled on a per Provider basis - NOT for the individual Operator
- Create a OneDrive account or get one from Incisive
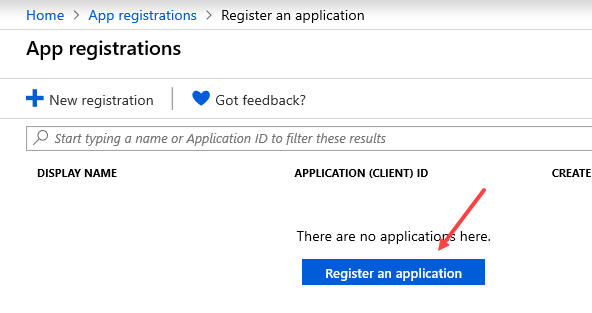
- Log into the Azure Portal and go to Identity > App Registration to register the Message Centre with your OneDrive account.
- If not already listed, register the Message Centre as an App
i. Log into Azure portal
ii. Go to Identity > App Registration (search for App Registration)
iii. Create a new Application
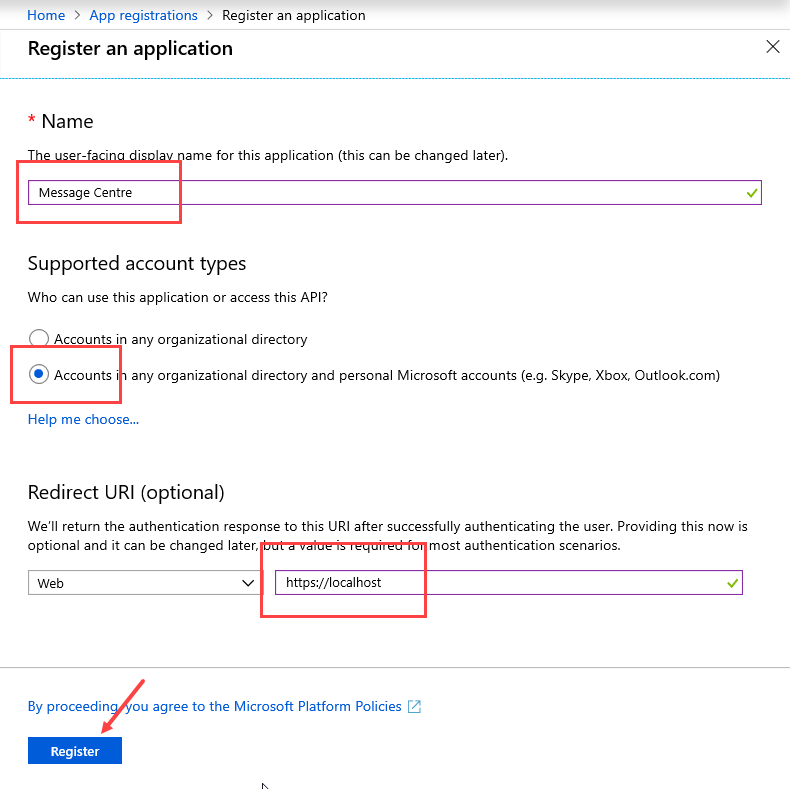
iv. Enter a name such as 'Message Centre', choose the Account Type and enter https://localhost in the Redirect URI field.
v. Choose API Permissions from the menu and select 'Add a permission'
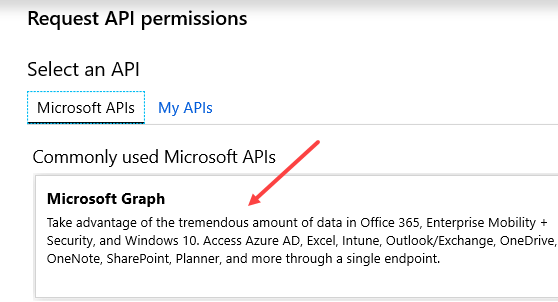
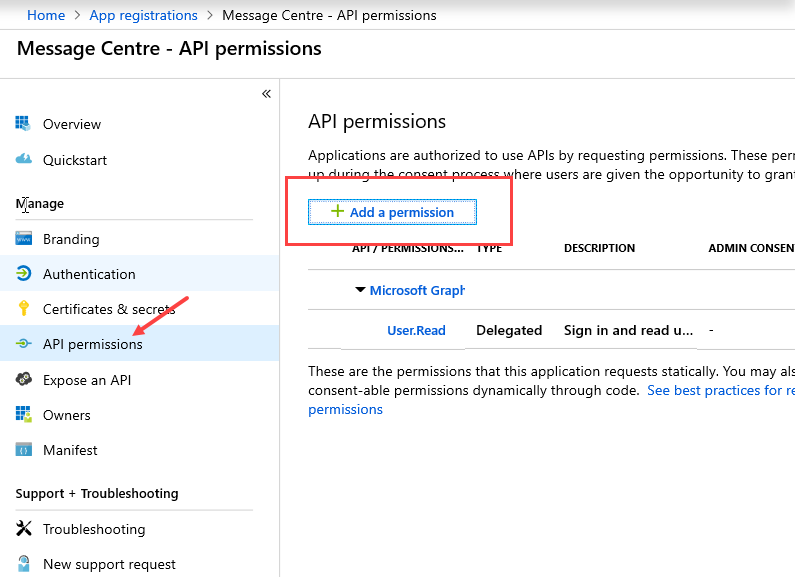 vi. Select Microsoft Graph
 vii. Choose Delegated Permissions
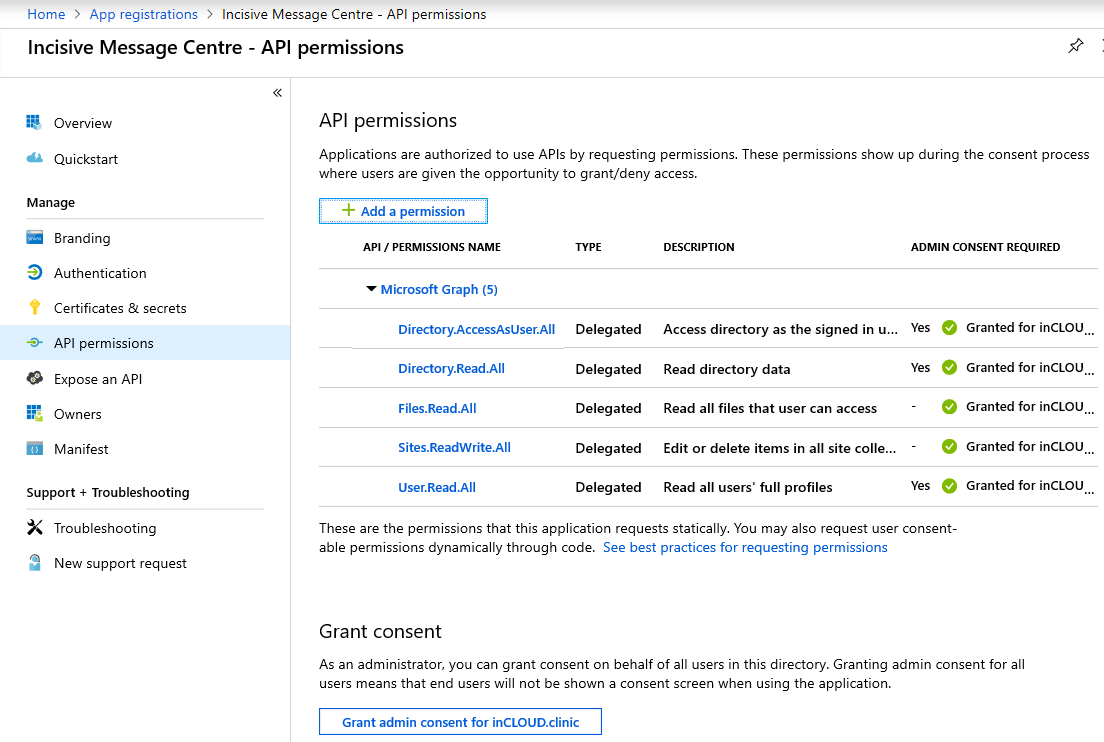
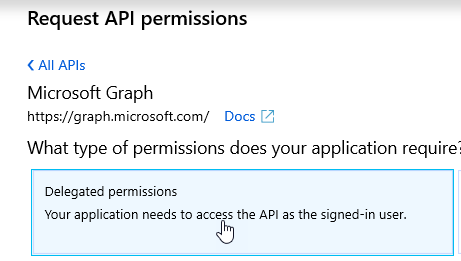 viii. Select the following permissions from the options
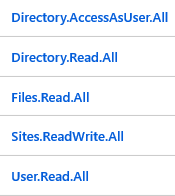 ix. Click on the Add Permissions button to save the selection
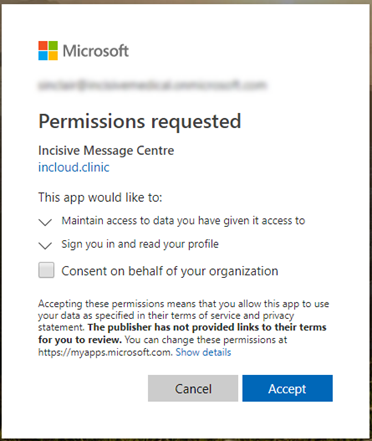
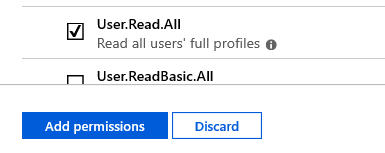 x. If you are using a Business OneDrive you will need to use the Grant Admin Consent button on the API Permissions page.Select Secrets & Certificates and choose 'New client secret'
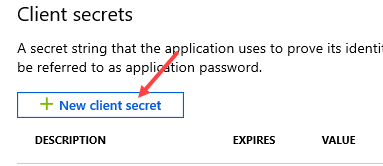 xi. Type in a description (it's not the secret), select 'Never' then Add.
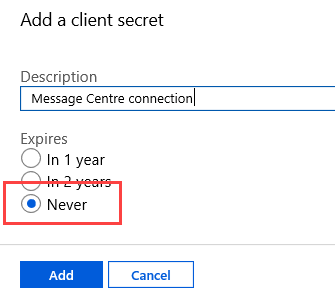 xii. Get the Secret and the Application (client) ID values and provide them to Incisive
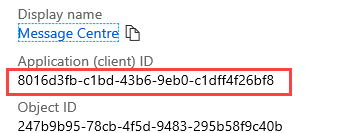

xiii. Create a new section in the CONFIG table in SPM called ONEDRIVE
xiv. Create two Keys called appID and secret and put the values into the respective fields.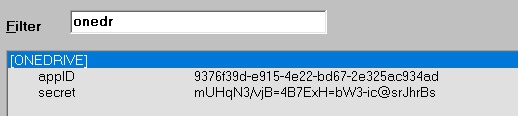
- Ensure the Message Centre is closed
- In Setup > Personnel > Operators > Messaging Options, check ON the OneDrive option.

If required, enter the path to any folders in OneDrive.
forward slashes must precede the folder name e.g. /images/intouch
- Start the Message Centre.
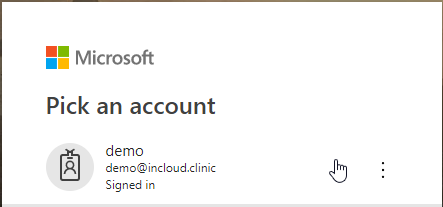
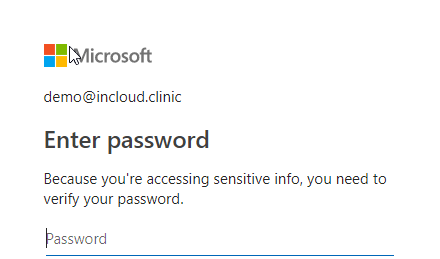
- When prompted, enter the login & password to the OneDrive account
- If successful the image files will appear in the Message Centre with a OneDrive icon beside them

- If not successful, view the contents of the 'MailCenter_OneDrive.log' file in the log directory
*** ISW ONLY ***
inCLOUD.clinic accounts must have Admin permissions delegated to them in the Azure portal.
- Log into the Azure portal using o365admin@incisivelabs.onmicrosoft.com
- Go to 'App Registrations'
- Select 'Incisive Message Centre'
- Choose 'API Permissions'
- Check they have been 'Granted Consent'
Only OneDrive for Business accounts are allowed to connect to the incisive.inCLOUD.clinic environment.
Microsoft only allows the connection to OneDrive to endure for one hour after which you will need to log in again.
Dropbox
Photos and Videos can be imported from the specialist's online Dropbox account.
Dropbox accounts can be enabled on a per Operator basis
- Create a Dropbox account.
- Ensure the Message Centre is closed
- In Setup > Personnel > Operators > Messaging Options, check ON the Dropbox option.

If required, enter the path to any folders in Dropbox.
forward slashes must precede the folder name e.g. /apps/intouch
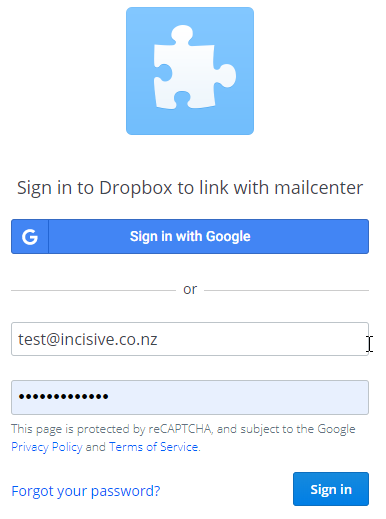
- Start the Message Centre
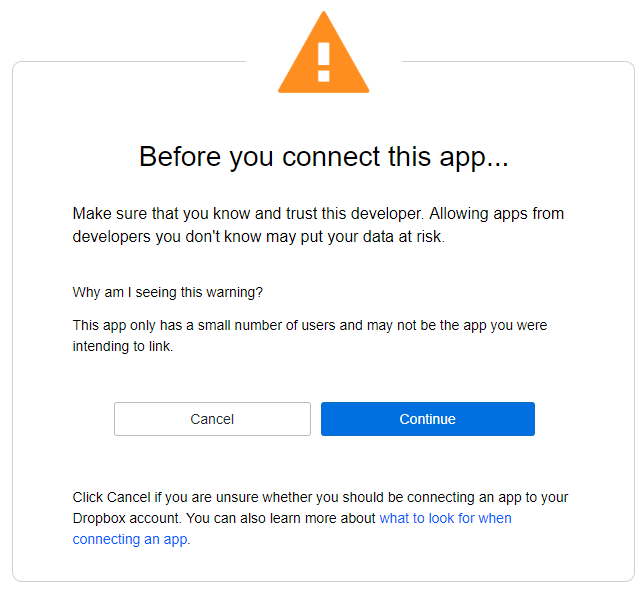
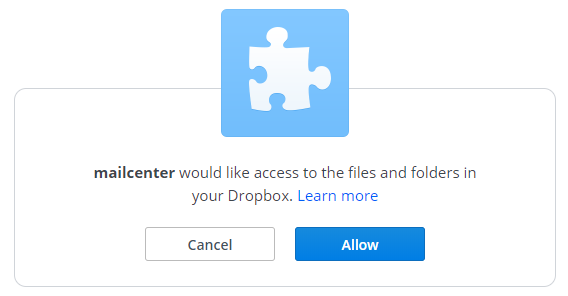
- When prompted, step through the options to login to the Dropbox account and allow the Message Centre to become authorised to access Dropbox
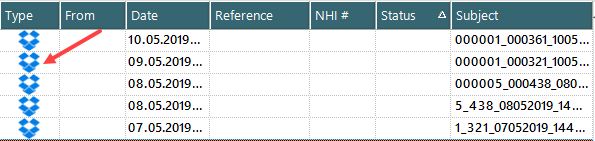
- If successful the files will appear in the Message Centre with the Dropbox icon beside them
- If not successful, view the contents of the 'MailCenter_Dropbox.log' file in the log directory.
The Dropbox connection will remain open indefinitely.
Azure Storage
Photos and Videos can be imported from an online Azure Storage account that has been provided by Incisive. Azure Storage accounts are only available on a practice or Provider basis. Incisive staff will be required to enable this function for you.
The Azure Container name and optionally, a Folder name, are entered in Setup > Provider > Config3
Files in Azure Storage will appear with the Azure icon beside them.
Files that are saved from the Azure, Dropbox or OneDrive virtual drives will NOT be deleted from the drive after the save process has been completed.
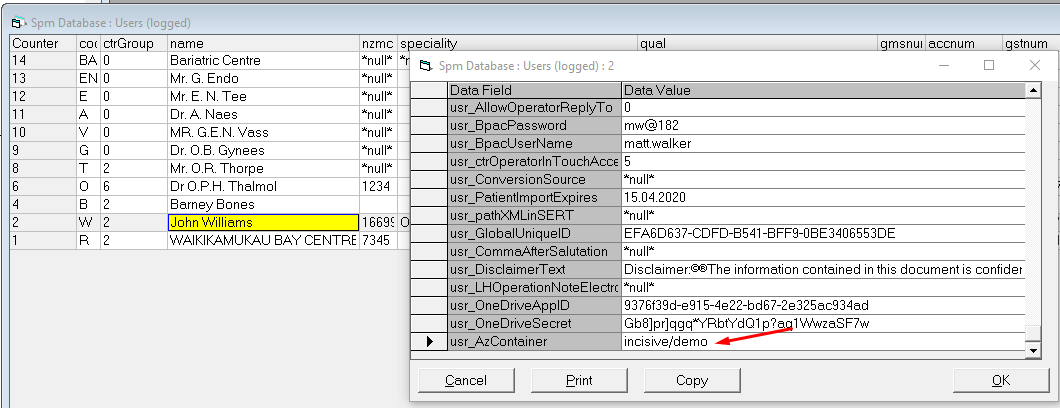
*** ISW ONLY - inCLOUD server ***
The paths to the import folders are set in Winflex > Users table > usr_AzContainer field
Auto-import inTOUCH images
InTouch version 4 is able to take photos and use the patient's record number to name the file. When this option is checked on the Message Centre will automatically import the image from a folder or virtual drive and allocate it to the patient's record.
Be aware that you will not have the option to add a Title, Comment or change the date/time during the import process.
The patient MUST be selected from the appointment session and not as the result of a search.
The format of the file must match the specified mask and also must link to relevant data in the database. If this does not occur the file will not be auto-imported and can be manually saved.
You can still use inTOUCH to take photos but not automatically import them by unchecking this option.
Using the Auto-Import in the Message Centre