Photos and videos are able to be imported and linked to a patient's record.
The same function is also available from IMAGES.
There are several special features that are only available using the Images import function in the Message Centre:
- Selecting and assigning multiple images or videos at the same time
- Automatically importing images taken using the inTOUCH application
- Importing files from virtual drives such as Dropbox, OneDrive & Azure Storage.
Only the files in the source folder specified for the Provider or the Operator can be imported. You cannot browse to the files in a different folder for a specific patient.
Many of the tower imaging devices create a folder for each patient and insert the photos into it.
If you do have photos in patient folders you need to use the import function in Patient > Images > Source > Browse.
Files with the following extensions will be saved to the Images tab. - .tif, .tiff, .gif, .jpeg, .jpg, .jif, .jfif, .jp2, .jpx, .j2k, .j2c, .fpx, .pcd, .png
All other file extensions will be saved as an External Document and will appear in Notes.
Assigning images
Single image
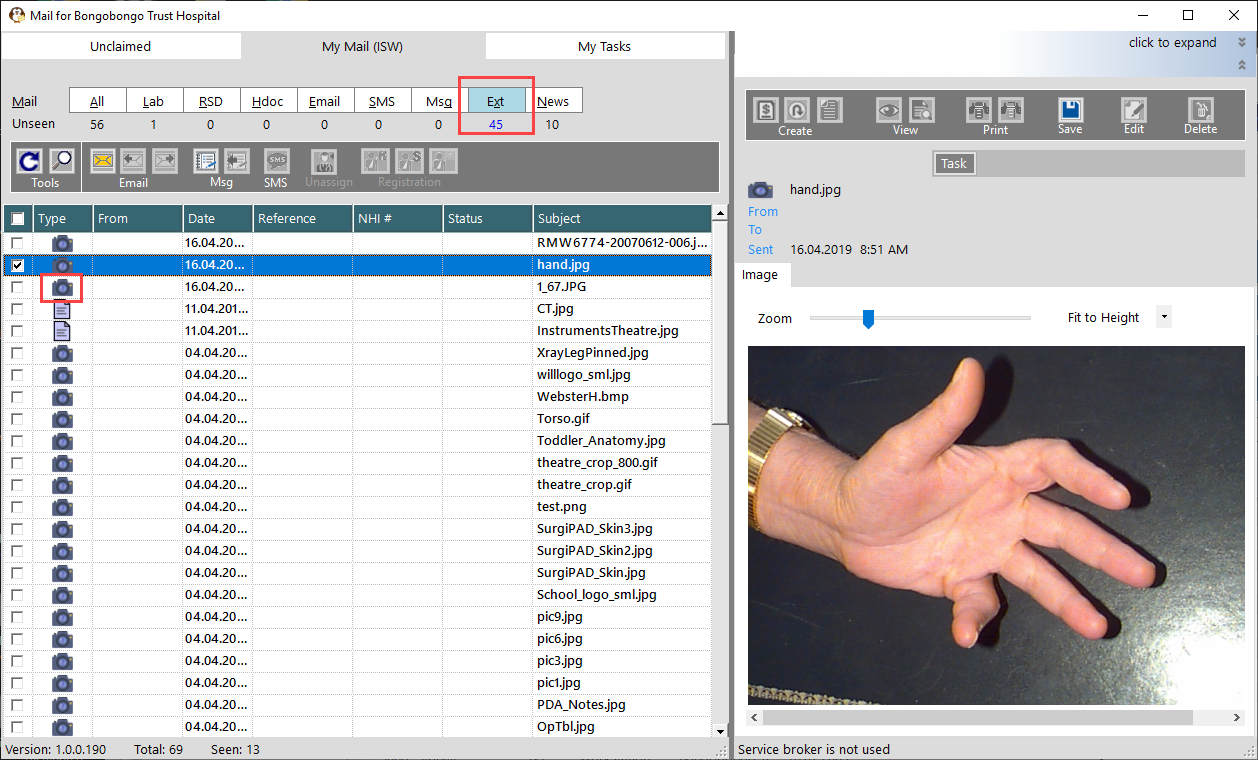
- Select the image you want to import
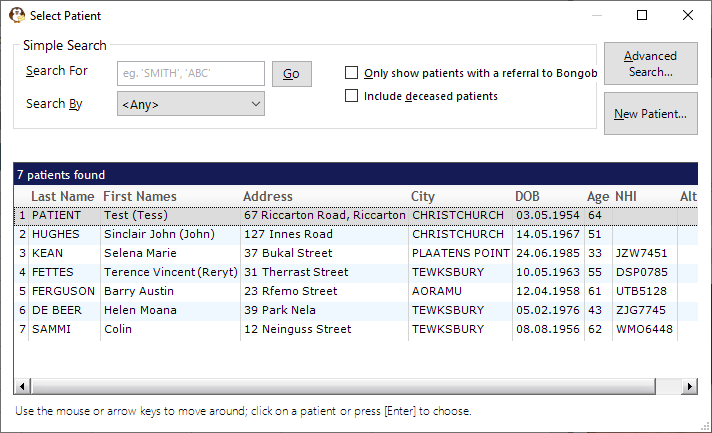
- Click on the Save button and choose the patient.
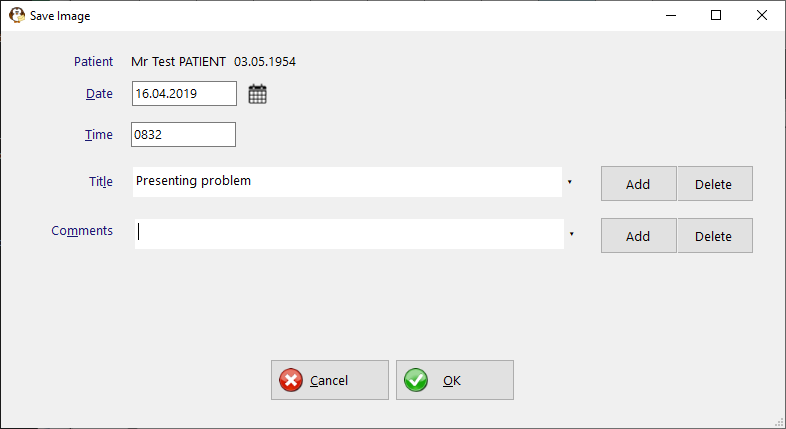
- Complete the details recorded with the image (this is optional)
When the image has been saved the patient's name and the Title you chose will appear on the row. The icon also changes.


When the image is saved it has been MOVED from the source location.
When the list is refreshed the saved entry will no longer be displayed.
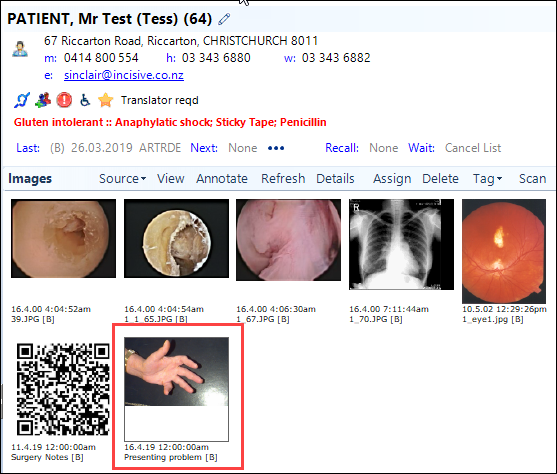
- The image now appears in the patient's Images tab
Multiple images
Multiple images can be selected and assigned to the same patient. While it is faster you do lose the ability to put individual Titles or Comments on each image - they will all have the same Title or Comment
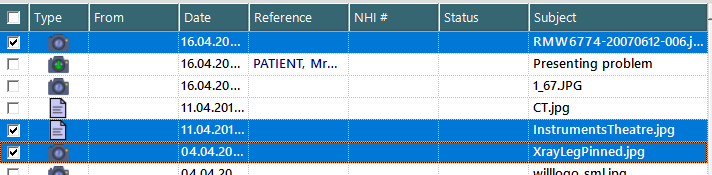
Select the images you want to link to the patient.
Click in the checkbox to select the image. If you click on the row it will only select that single image.
You are not able to save different types of files e.g photos, referral letters etc.
- Click on the Save button and choose the patient.
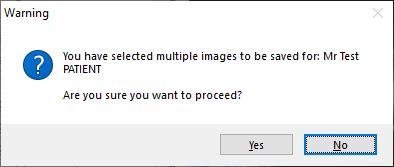
- A warning will appear informing that you have selected multiple images and prompting to proceed or cancel.
Complete the details that are recorded with the images.
The same Title and Comments will be used for all the selected images. Use of the Title and Comments is optional

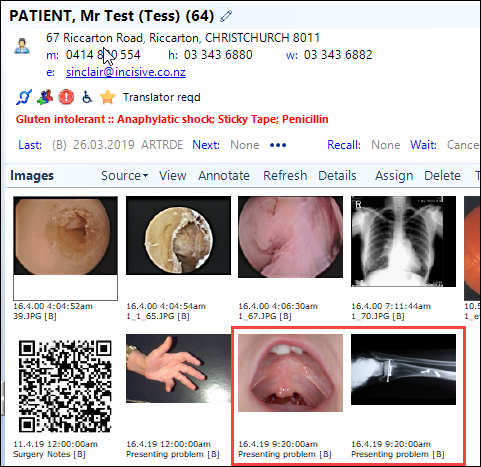
- The imported images will now appear on the patient's Images tab
Automatic import of inTOUCH images
The inTOUCH application (version 4.0) has the ability to capture and upload images to virtual drives (Dropbox & Azure Storage). The Message Centre (v408.4) has the ability to recognise these files and import them automatically to the correct patient's record.
The photos and movies produced by inTOUCH have a specific filename structure which includes identifiers linked to the patient and provider and also includes the date & time the image was taken. When the Message Centre identifies a filename that matches this structure it will import the images directly to the patient's record.
If the automatic import is used, no Title or Comment is recorded with the images. The date and times of the files will be recorded with the images.
The images will be imported when you either:
- refresh the 'My Mail' tab by clicking on it or returning from the 'My Task' or 'Unclaimed' tabs, or
- when the Message Centre is next started
The Auto-Importing notice will appear in the 'Loading' banner
Images auto-imported into the patient's record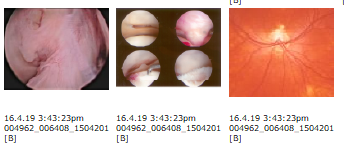
Turning off the automatic import
The automatic import of inTOUCH images can be turned off in Setup > Personnel > Operator > Messaging Options![]()
If the Auto-import is not checked on, no files will be auto-imported even if they have been captured by the inTOUCH application.
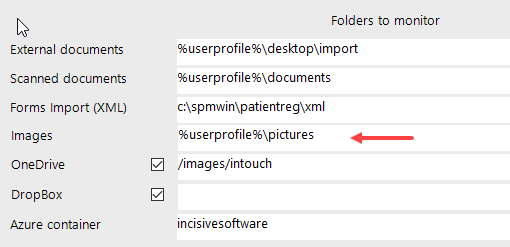
Location of the images to import
The photos and movies to import can be located on either a physical or virtual drive. The folder is scanned for new files and are displayed in the Ext list.
The folder and drive locations that are scanned can be set in Setup > Personnel > Operator > Messaging Options
The 'Images, OneDrive, Dropbox & Azure' locations can all be used to import images.
Importing from Virtual Drives
Importing images from Azure Storage, OneDrive or Dropbox may require a few more steps to establish the connection to the drive.
Azure Storage
This is easy as the configuration will be completed for you by Incisive staff. No additional login or authentication is required to view the images.
Each Provider can have their own secure, private folder to import images and files from.
- Arrange for aa Azure Storage account with Incisive
- In SPM/PHM select the Provider using F2
- Go to Setup > Provider > Config 3 and use the Edit button on the toolbar.
- Enter the Container name (and folder if required). inTOUCH is usually configured to upload to a Container/Folder combination.
You can specify a folder within the Container using a forward slash ( / ) then the name of the folder e.g. /photos or /drjones
Drop box
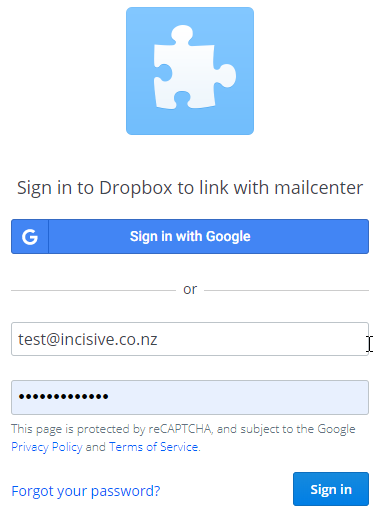
If the Dropbox option is checked ON in Setup > Personnel > Operators > Messaging Options, when the Message Centre starts up you will need to log into Dropbox and the connection needs to be authenticated by the Message Centre app.
You must complete the login process within 3 minutes of the virtual drive login becoming available, otherwise the connection to the virtual drive will be abandoned.
You can attempt to reconnect again by closing the browser then clicking on the 'My Mail' tab in the Message Centre. This will activate another login attempt.
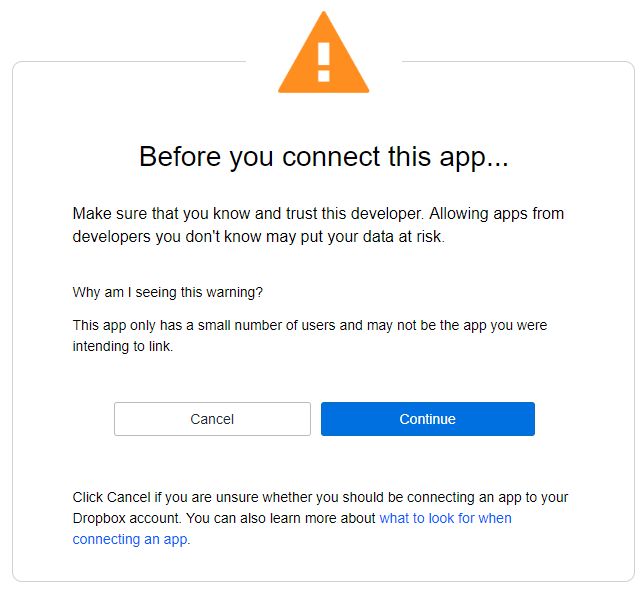
If unsuccessful the following may appear
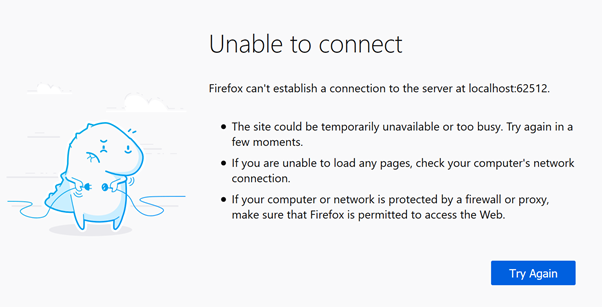
Connections to Dropbox are not allowed for applications hosted in the incisive.inCLOUD.clinic environment.
- Create a Dropbox account.
- Ensure the Message Centre is closed
- In Setup > Personnel > Operators > Messaging Options, check ON the Dropbox option.

If required, enter the path to any folders in Dropbox.
forward slashes must precede the folder name e.g. /apps/intouch
- Start the Message Centre
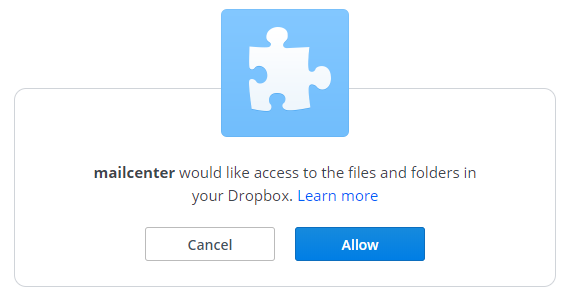
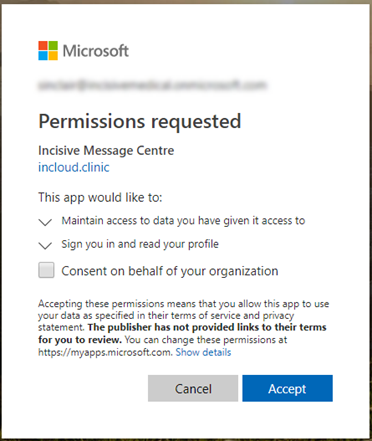
- When prompted, step through the options to login to the Dropbox account and allow the Message Centre to become authorised to access Dropbox
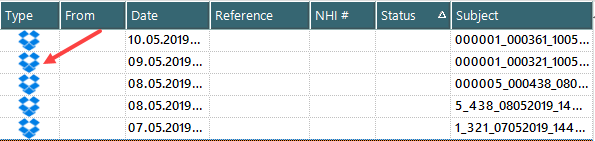
- If successful the files will appear in the Message Centre with the Dropbox icon beside them
- If not successful, view the contents of the 'MailCenter_Dropbox.log' file in the log directory.
OneDrive
OneDrive Business edition is recommended however the OneDrive Personal edition can be used.
OneDrive does initially take longer to configure than Dropbox and also Microsoft requires you to refresh the connection every 60 minutes, however it is a very secure.
If the OneDrive option is checked ON in Setup > Personnel > Operators > Messaging Options, when the Message Centre starts up you will need to log into OneDrive account and the connection needs to be authenticated by the Message Centre app.
You must complete the login process within 3 minutes of the virtual drive login becoming available, otherwise the connection to the virtual drive will be abandoned.
You can attempt to reconnect again by closing the browser then clicking on the 'My Mail' tab in the Message Centre. This will activate another login attempt.

Each Provider can use their own OneDrive account to import images and files from.
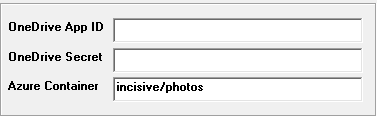
Get the App ID and Secret ID from your OneDrive account
OneDrive accounts must have Admin permissions delegated to them in the Azure portal.
For Business OneDrive use the (admin) login that is directly associated with the OneDrive account you are connecting to. e.g. o365admin@incisivelabs.onmicrosoft.com (incloud.clinic domain)
If this is a personal OneDrive account then it will be their login you use.
For the demo@incloud.clinic OneDrive account use the following ID & Secret:
App ID: 9376f39d-e915-4e22-bd67-2e325ac934ad
Secret: Gb8]pr]qgq*YRbtYdQ1p?aq1WwzaSF7wThe AppID and Secret are required for SPM/PHM to access the drive.
- Log into the Azure portal using same login details used for the OneDrive
- Go to 'Identity > Enterprise Applications' (was called 'App Registrations')
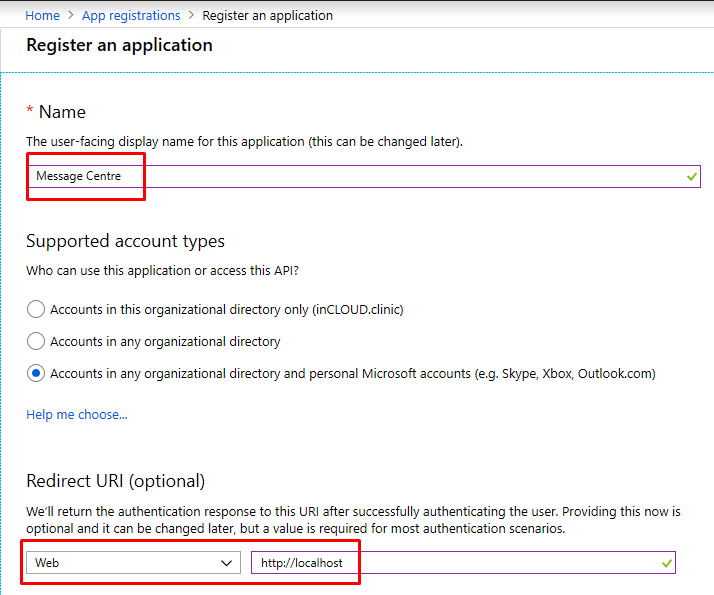
- Create a new Registration. Call it something like 'Message Centre - practice/hospital name' (so it can be identified when Granting Consent)
The 'Application ID' (App ID) will now be displayed. You'll need this in SPM/PHM
- Go to Identity > Azure Active Directory
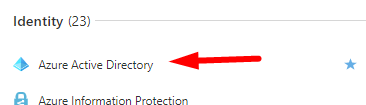
- Choose 'App Registrations' and select the App you have created
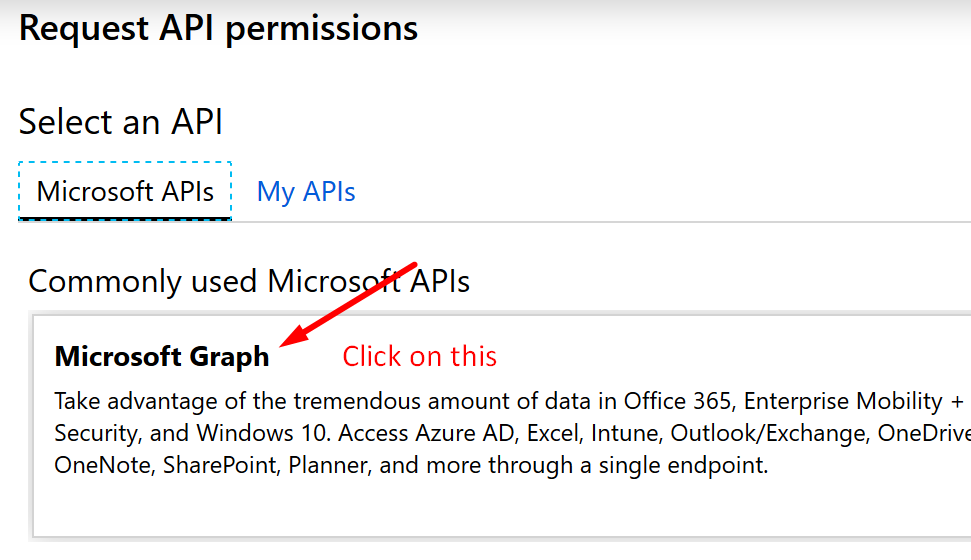
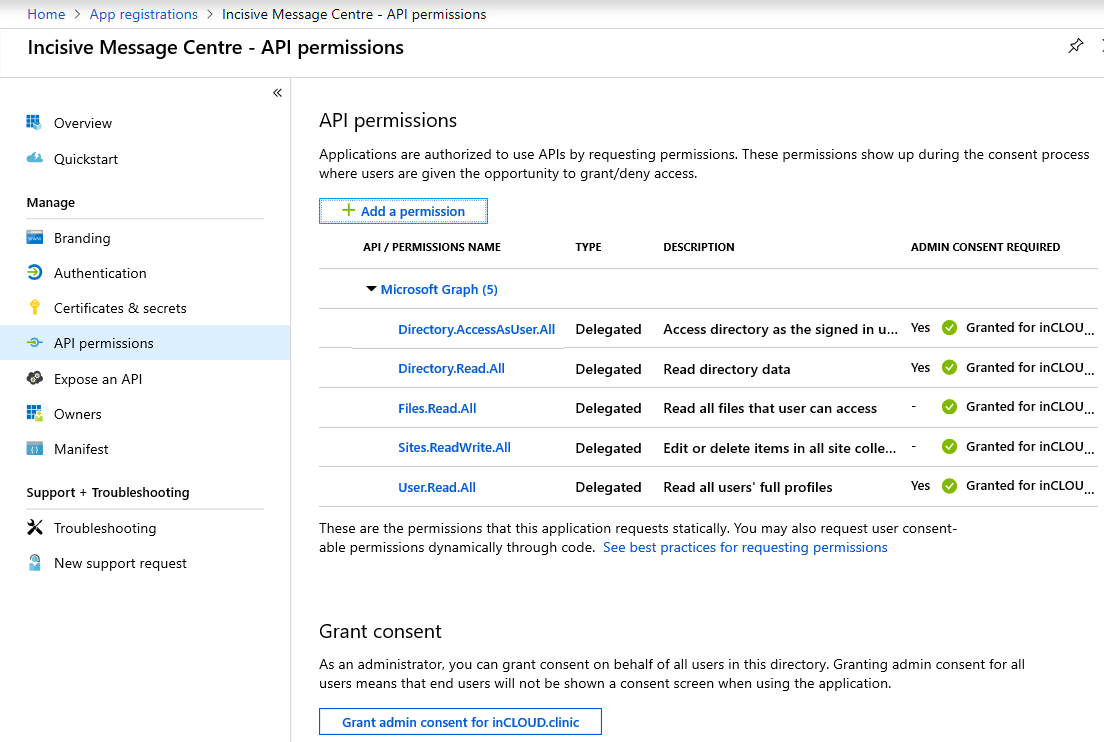
- Choose 'API Permissions'.
- Click

- Then choose 'Microsoft Graph'
- Choose 'Delegated Permissions'
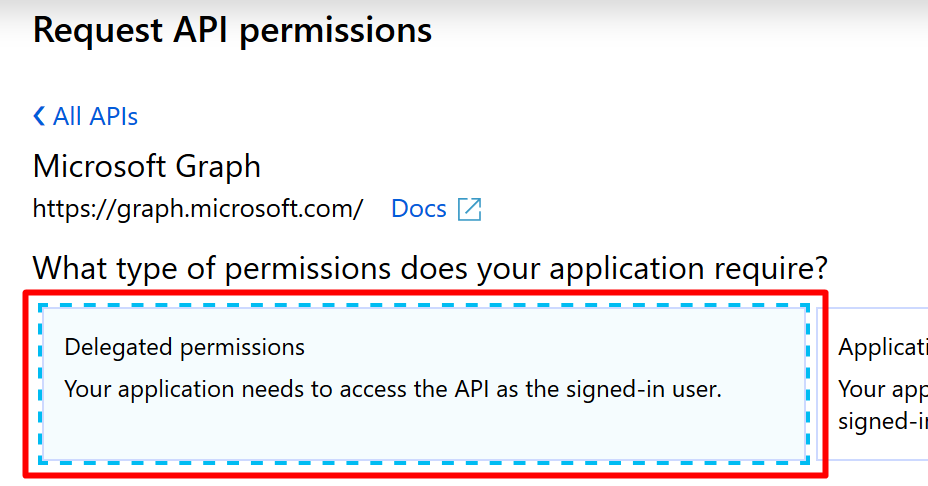
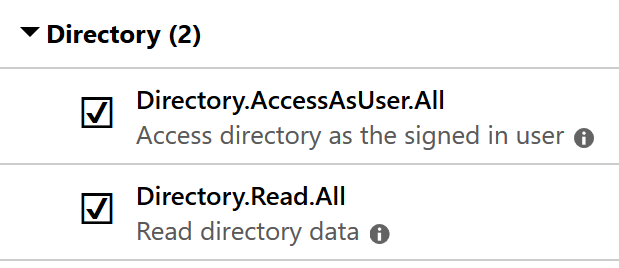
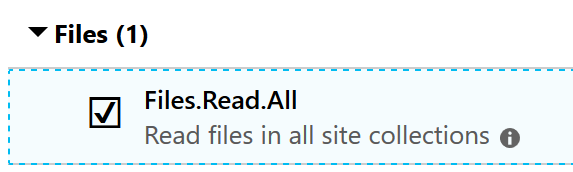
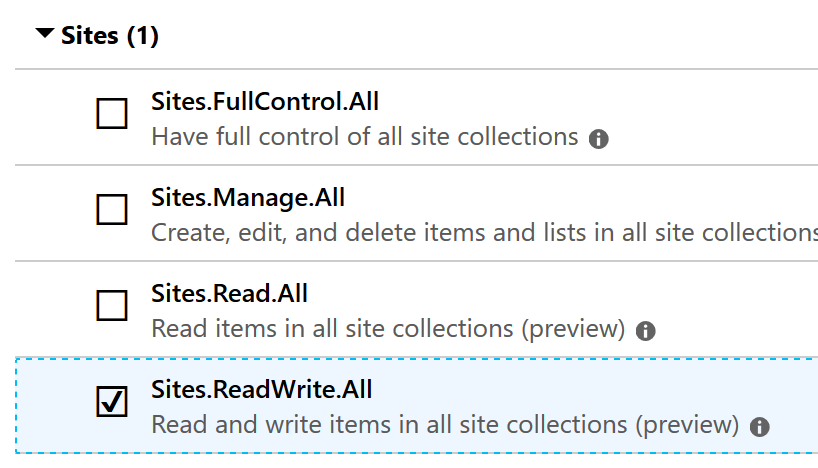
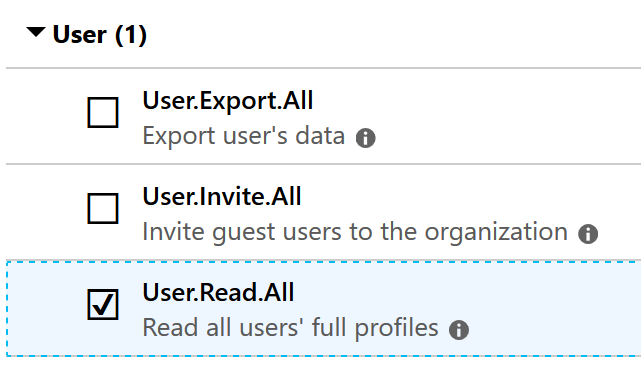
- Add the following Permissions
- Directory.Read.All and Directory.AccessAsUser.All
- Files.Read.All
- Sites.ReadWrite.All
- User.Read.All
- Directory.Read.All and Directory.AccessAsUser.All
Check they have been 'Granted Consent' (only required for OneDrive Business edition)
The 'Grant Consent' option needs to be enabled using the o365admin@incisivelabs.onmicrosoft.com login.
In App Registrations select the 'All Applications' and choose the 'application' (client) that you want to grant consents to.
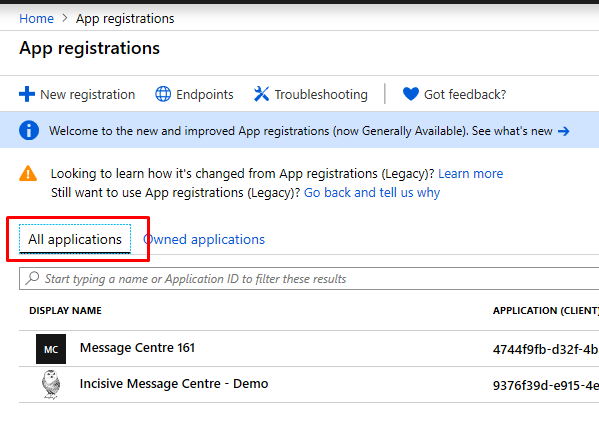
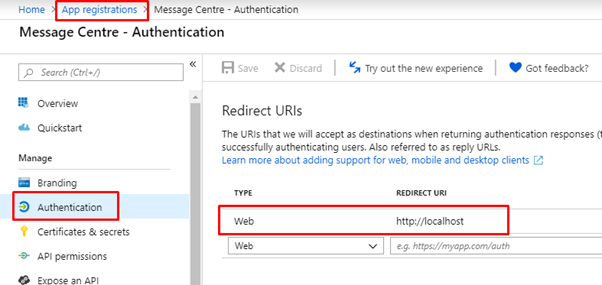
- Click
- Set the Redirect URI to 'http://localhost'

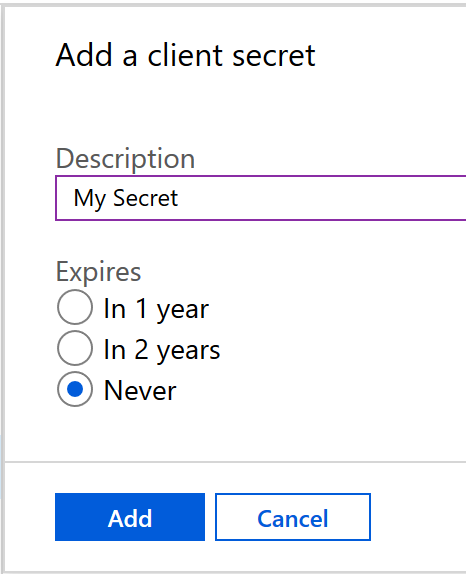
- In 'Certificates & Secrets' create a new Secret (never expires)
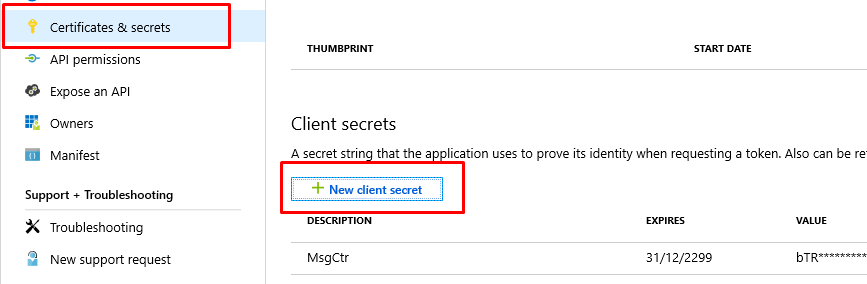
Record the 'Secret' as you will need it in SPM/PHM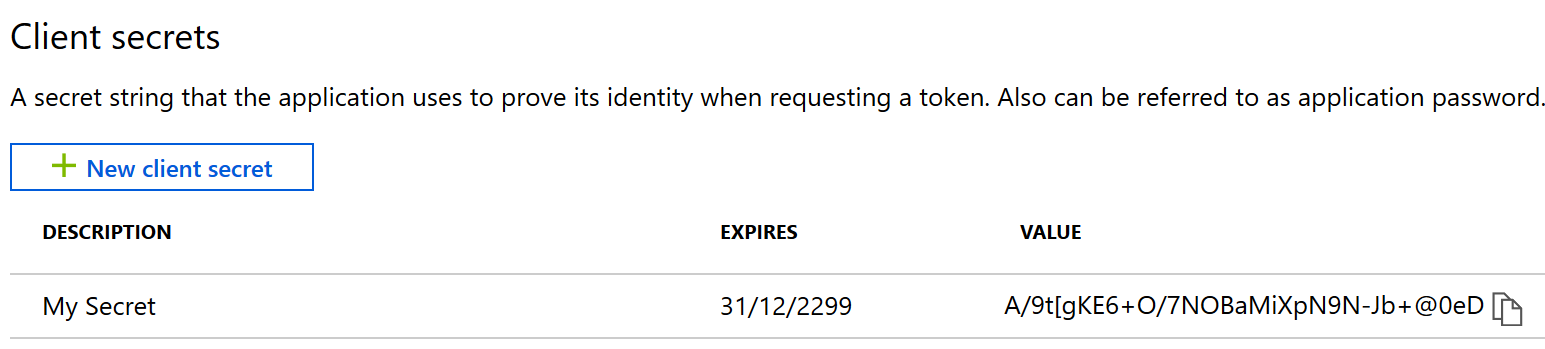
- In SPM/PHM select the Provider using F2
- Go to Setup > Provider > Config 3 and use the Edit button on the toolbar.
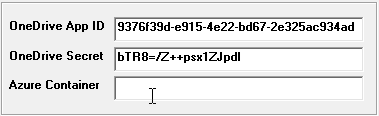
- Enter the App ID and Secret
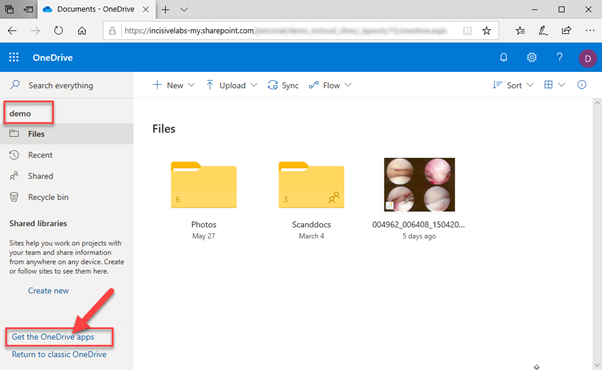
- In a browser go to https://onedrive.com
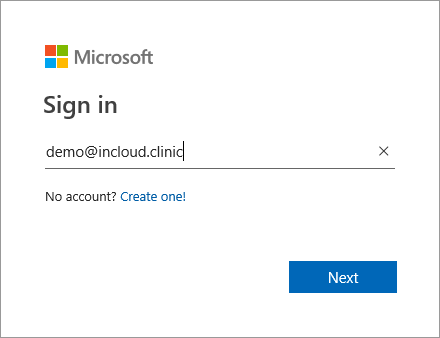
- Log in using your OneDrive account details
- In the lower left panel click on 'Get the OneDrive apps' and install it on your workstation.
- Use the same OneDrive account details.
- The OneDrive icons will appear in the System Tray

and will also appear in Windows Explorer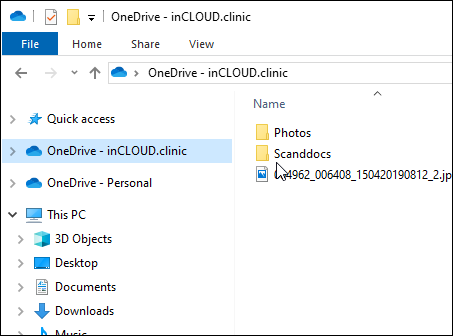
- To upload files to OneDrive, just copy them into it from your workstation or laptop.
Check your OneDrive account is registered to connect to the Message Centre.
If unsure contact the Incisive Helpdesk.OneDrive accounts must have Admin permissions delegated to them in the Azure portal.
For Business OneDrive use the (admin) login that is directly associated with the OneDrive account you are connecting to. e.g. o365admin@incisivelabs.onmicrosoft.com (incloud.clinic domain)
If this is a personal OneDrive account then it will be their login you use.
For the demo@incloud.clinic OneDrive account use the following ID & Secret:
App ID: 9376f39d-e915-4e22-bd67-2e325ac934ad
Secret: Gb8]pr]qgq*YRbtYdQ1p?aq1WwzaSF7wThe AppID and Secret are required for SPM/PHM to access the drive.
- Log into the Azure portal using same login details used for the OneDrive
- Go to 'Identity > Enterprise Applications' (was called 'App Registrations')
- Create a new Registration. Call it something like 'Message Centre - practice/hospital name' (so it can be identified when Granting Consent)
The 'Application ID' (App ID) will now be displayed. You'll need this in SPM/PHM - Go to Identity > Azure Active Directory
- Choose 'App Registrations' and select the App you have created
- Choose 'API Permissions'.
- Click
- Then choose 'Microsoft Graph'
- Choose 'Delegated Permissions'
- Add the following Permissions
- Directory.Read.All and Directory.AccessAsUser.All
- Files.Read.All
- Sites.ReadWrite.All
- User.Read.All
- Directory.Read.All and Directory.AccessAsUser.All
Check they have been 'Granted Consent' (only required for OneDrive Business edition)
The 'Grant Consent' option needs to be enabled using the o365admin@incisivelabs.onmicrosoft.com login.
In App Registrations select the 'All Applications' and choose the 'application' (client) that you want to grant consents to.
- Click
- Set the Redirect URI to 'http://localhost'
- In 'Certificates & Secrets' create a new Secret (never expires)
Record the 'Secret' as you will need it in SPM/PHM
- Ensure the Message Centre is closed
- In Setup > Personnel > Operators > Messaging Options, check ON the OneDrive option.

If required, enter the path to any folders in OneDrive. If no path is specified the root of the drive will be used.
forward slashes must precede the folder name e.g. /images/intouch
- Start the Message Centre.
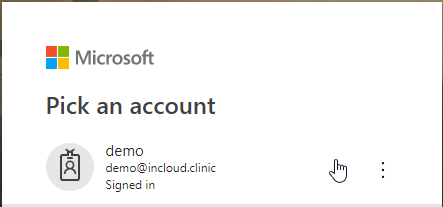
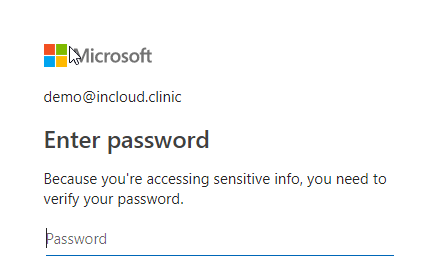
- When prompted, enter the login & password to the OneDrive account
- If successful the image files will appear in the Message Centre with a OneDrive icon beside them

- If not successful, view the contents of the 'MailCenter_OneDrive.log' file in the log directory
See Also: