Key Points
- Choose an image resolution that gives you the clarity you require and also the smallest possible file size
- Between patients, display the patient's registration screen and take a photo of it before taking photos of the patient
- Only save the photos that will be genuinely useful
- 'Tag' files using the RIGHT mouse click
- Use the 'Gallery' option for patient education or template images
- Check you are backing up the image files.
Overview
The images can be saved in any of the major image formats.
Images are not stored in the database but as files in a directory. Each image that is assigned to a patient by the software will be automatically copied to the correct directory for the nominated doctor, given a unique name, and have that name stored in the database. A 'thumbnail' file (*.thm) will be created the first time the image is viewed in SPM/PHM so that it is faster to display the images the next time they are viewed.
If the thumbnail does not load the correct image, you can delete all the thumbnail files for that User and they will be recreated the next time the images are viewed, with the link to the correct image file.
Copying images to the computer
There are several ways you can copy the image files from the camera to the computer:
There are several ways you can copy the image files from the camera to the computer:
- Save them onto portable media and copy them to the 'Unallocated' directory
- Connect a cable directly between the camera and the USB port of the computer
Copying files
Files that have been saved onto portable media have to be copied to the 'Unallocated' directory. Alternatively, you could use the Browse option to copy the files from the source location.
Use Windows Explorer or create a batch file to copy the files.
Flash card reader
With the Flash card reader plugged in and working use Windows Explorer to identify the drive letter that will have been automatically assigned to the reader. This is often the G: drive.
When setting the 'File Locations' for the 'Unallocated' images enter in this assigned drive letter.
Buy several flash cards so that you do not have to stop during a clinic if the flash card gets full. All you need to do is to swap the cards.
Direct cable connection
Some cameras allow you to connect a cable directly between the camera and the computer. The problem with this method is that you have no other option but to download the images when the memory on the camera is full. This can be very frustrating during a busy clinic.
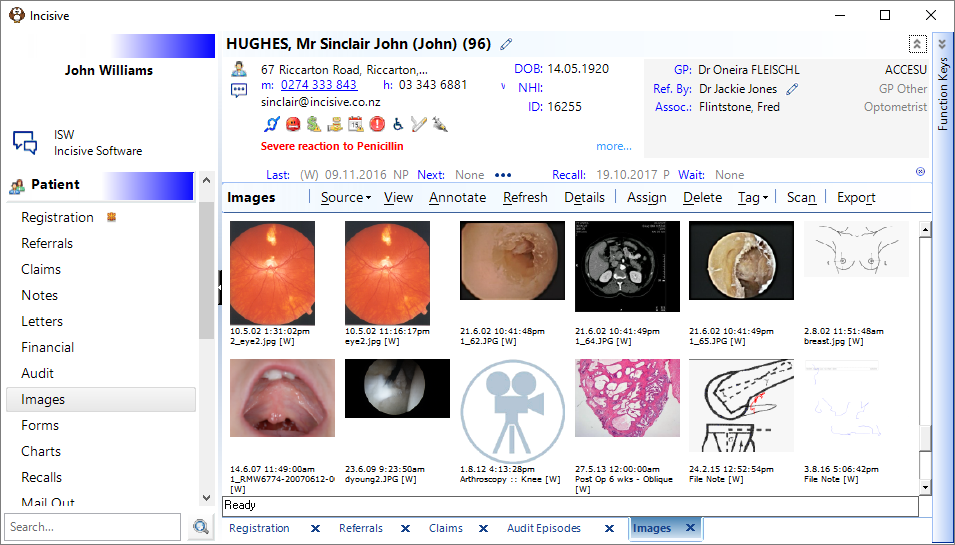
Allocating images to Patients
There are two ways the images can be allocated to the patients; through the Patient module or the Utilities module. The most common method is through the Patient module.
Patient module
- In Patient module press F2 to select the Provider and then press F4 to select the patient.
Go to the 'Images' tab and click on the 'Source' button then select 'Unallocated' or 'Browse'.
Unallocated will take you to a predefined directory (set in Setup > System > File Locations)
Browse will allow you to choose the directory or device (the location will be remembered the next time you use this option)
Unallocated will show ALL of the files that are in the nominated directory
If there are images for more than one patient in the 'Unallocated' directory then these will appear as well.- Scroll through the images and select the ones you want to allocate to this patient by clicking the RIGHT mouse button onto the image.
A sequential number will appear in the top left corner of the image. - Select them in the order you want them displayed on the patient's file.
For example, you may want to display the pre-op images first then post-op.
To deselect an image right mouse click on it again. - Once you have selected all of the files for this patient click on the 'Assign' button.
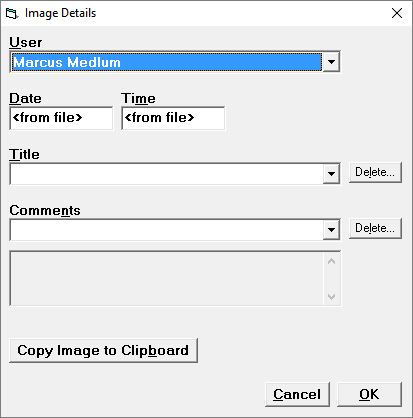
You will then be given the option to change the User and put in some other details, eg Title, Date, Time and Comments. - Click on the 'OK' button to proceed.
- Click on the 'Current' button and the assigned images will appear on the patient's file.
- If you want to enter a description about the image, right click on the image to 'tag' it and then click on the 'Details' button.
The entry in the 'Title' field will appear when displaying the image.
You can also click on the 'Browse' button, which will allow you to search to other drives or on to files on your own workstation.
Message Centre
Images can be imported from a folder or directly from the inTOUCH application in the Message Centre.
Follow this link for information about importing images in the Message Centre.
Utilities module
You can also use the 'Assign Images' option in the 'Utilities' module to assign images to patients. Using this option allows you to assign multiple images to many patients without bringing up their individual files.
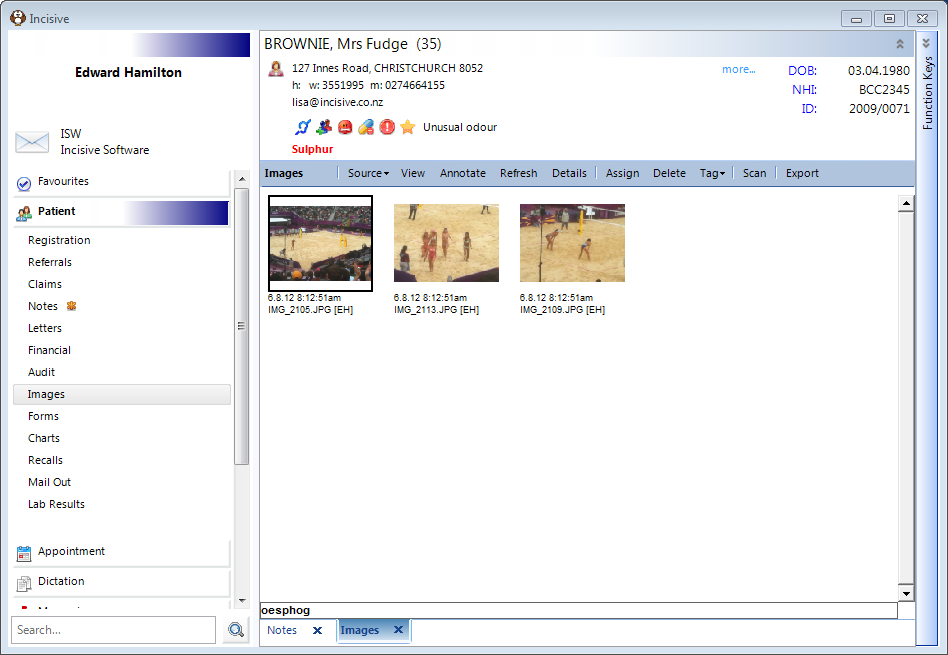
Displaying Images
Single image
To display a single image in the full screen either:
- Double click on it with the left mouse button, or;
- 'tag' it (right click) and click on the 'View' button, or;
- Click on it with the left mouse and hit the space bar
Multiple images
To display multiple images 'tag' the images you want to display and click on the 'View' button.
TIP: In 'View' mode hold the RIGHT mouse button down and 'drag' the image around to reposition it on the screen
Zooming the image
- Use the '+' and '–' keys on the number keypad to quickly zoom in and out of the image, or;
- Hold the LEFT mouse button down and 'drag' the mouse across the area you want to enlarge.
Annotating the image
- You can put text or draw symbols on a layer over top of the image by using the 'Annotation' option.
- Tag the image you want to annotate and then click on the 'Annotate' button.
- From the menu click on the annotation option you want to use and then click on the image where you want the annotation to start.
- Click on the 'Save & Exit' option
For legal reasons the actual image does not get altered as the annotations are on a separate sheet overlaying the original image.
Using the Gallery
The Gallery is designed to keep images you want to use for patient education or joint/organ templates. You can tag and assign the image to the patient and then draw or annotate clinical conditions or procedures performed.
Backing up
It is very important to make sure that your backup system is large enough to store all of the images.
Also make sure that the technician who configures your backup software knows where the image files are.
Printing images
To print images, 'tag' them using the right mouse button and then click on the 'View' button. Choose the 'Print' option from the viewing screen
You can print up to 8 images on an A4 sized piece of paper. You can also select the printer you want to use eg a colour inkjet or laser printer. Use good quality 'coated' paper.
Identifying interesting cases
To identify interesting cases you can create a new 'Tree' in the Audit tab and call it 'Images'. Add other 'branches' as you need – eg 'Interesting' or 'Acute'.