While an ARTP can be typed directly into the patient file from Notes, the most efficient way to enter this information is via the Dictation module.
To enter a new ARTP for a patient (via Patient Mode).
Notes - New - ARTP
- From the Notes option screen select 'ARTP'.
- Select 'OK'.
- If there is more than one claim number, select the appropriate claim by typing the number corresponding to the claim and press Enter.
The ARTP form will appear on screen.
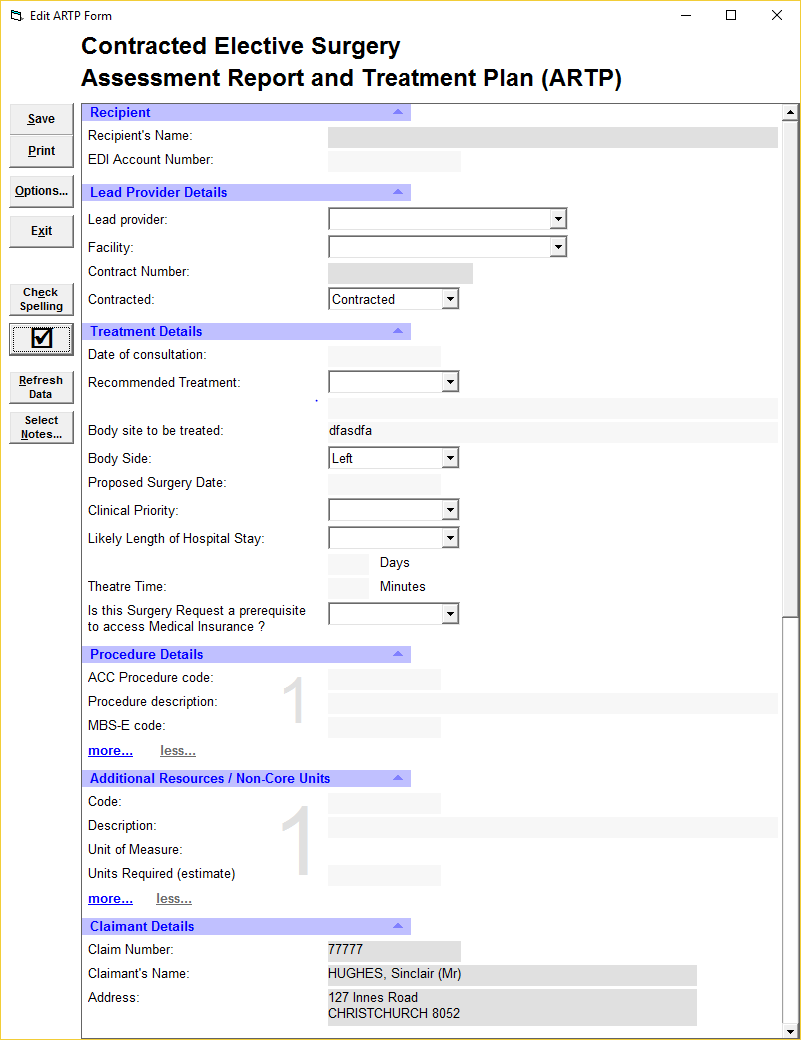
- Some fields will be completed automatically, such as the Claimant Details and information populated from the Claim if this has been entered such as Body Site and Side.
- Complete the rest of the form.
- Optionally, attach Notes (see below).
- Save the ARTP by selecting 'Save'.
- Exit the ARTP by selecting 'Exit'.
Save |
| This will save the ARTP to the patient file. You can continue entering data after saving. | ||||||
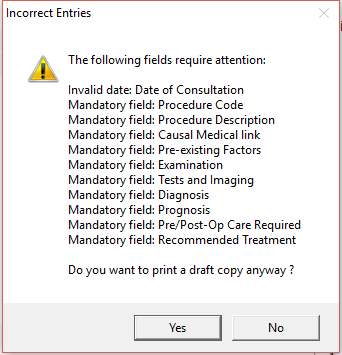
| Selecting Print will first check that the Mandatory fields are complete. If any fields require attention they will by listed.
You can continue to print a draft copy of the ARTP by selecting 'Yes'. Alternatively select 'No' and complete the ARTP. | |||||||
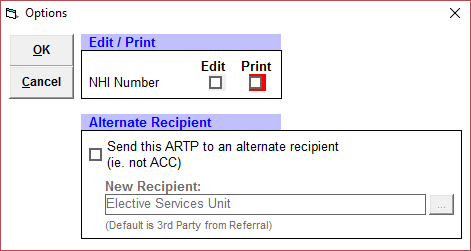
Options ... |
| Selecting 'Options' displays the following screen.
| ||||||
Exit |
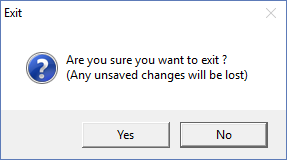
| To Exit from the ARTP, select 'Exit'.
Ensure you save your work before exiting. | ||||||
Check Spelling |
| To spell check the ARTP, select this option. | ||||||
Check Dictation |
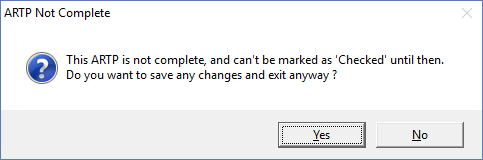
| To mark the ARTP as checked, click on the 'tick'. Alternatively press F11.
| ||||||
Refresh Data |
|
| ||||||
Select Notes |
| This allows you to attach notes from the patient file to the ARTP. The types of Notes that can be attached are:
The types of Notes that cannot be attached are:
|


Recipient |
| |||||
Recipient's Name | This will be populated with name of the Party of Billing from the claim. |
| ||||
EDI Account Number | The EDI (if present) is pulled from the Party of Billing (Contacts - Invoicing/Receipts - EDI Account). |
| ||||
Lead Provider Details |
| |||||
Lead Provider | Select the Lead Provider from the drop down list. See LEAD PROVIDERS for details on how to add or amend this list. |
| ||||
Facility | Select the facility where the procedure is to be performed. See FACILITIES for details on how to add or amend this list. |
| ||||
Contract Number | Populated by selecting the Lead Provider. |
| ||||
Contracted | Select whether the surgery is Contracted or Non Contracted. |
| ||||
Treatment Details |
| |||||
Date of consultation | If the ARTP is being entered via Dictation, then the date of consultation will default to the date of the appointment. |
| ||||
Recommended Treatment | Select from Surgical or Non-surgical. |
| ||||
Body Site to be treated | If this has been entered in the Claim, then this will populate automatically. If you type something in this field, the information will be written back to the respective field in the claim. |
| ||||
Body Side | If this has been entered in the Claim, then this will populate automatically. Alternatively, select the body side from the drop down list:
|
| ||||
Proposed Surgery Date | Type in the Proposed date of surgery. This can just be a month and year, i.e. January 2017. |
| ||||
Clinical Priority | Select from:
|
| ||||
Likely Length of Hospital Stay | Select from:
|
| ||||
Theatre Time | Enter the number of minutes required for the procedure. |
| ||||
Is this Surgery Request a prerequisite ... | Select either Yes or No, |
| ||||
Procedure Details |
| |||||
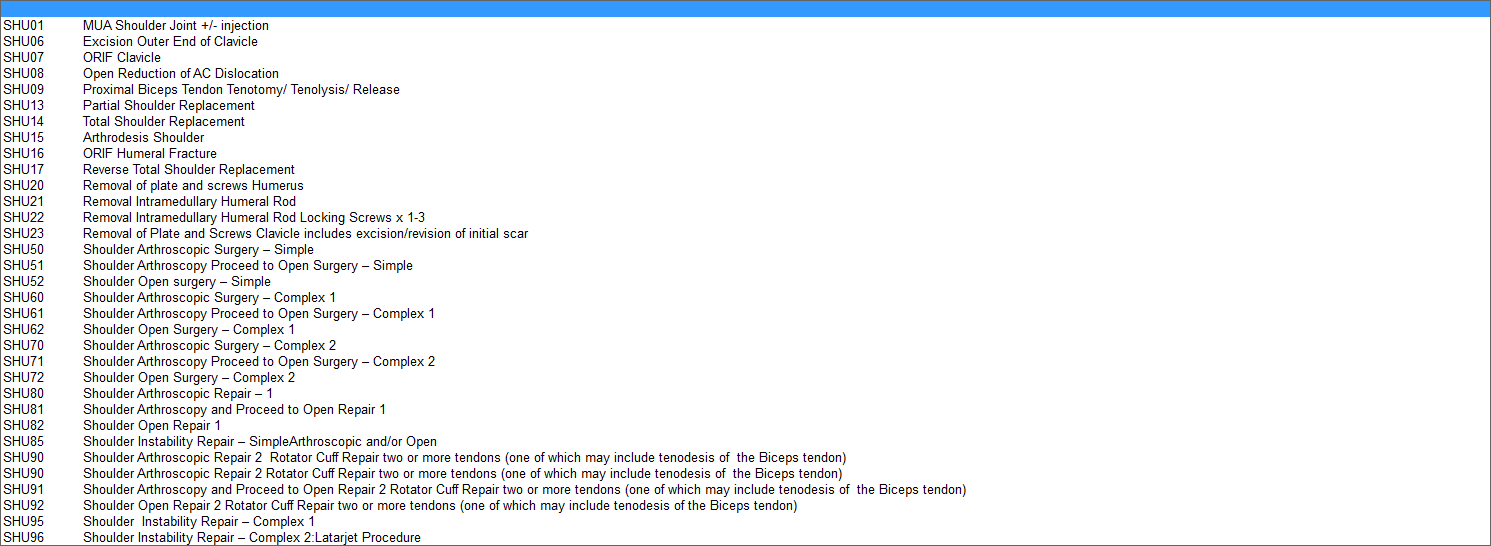
ACC Procedure Codes | The ACC Procedure Codes are imported into the database - see ARTP PROCEDURE CODES. Type the code (or part thereof) and then select from the list.
|
| ||||
Procedure Description | The text if the selected procedure will be populated from the selection of the Procedure Code.
|
| ||||
MBS-E code | Press Enter to get a list of MBS-E codes for the selected Procedure.
|
| ||||
more ... | To add additional Procedure codes select more.
|
| ||||
less ... | Selecting Less will remove the last Procedure added. |
| ||||
Additional Resources / Non -Core Units |
| |||||
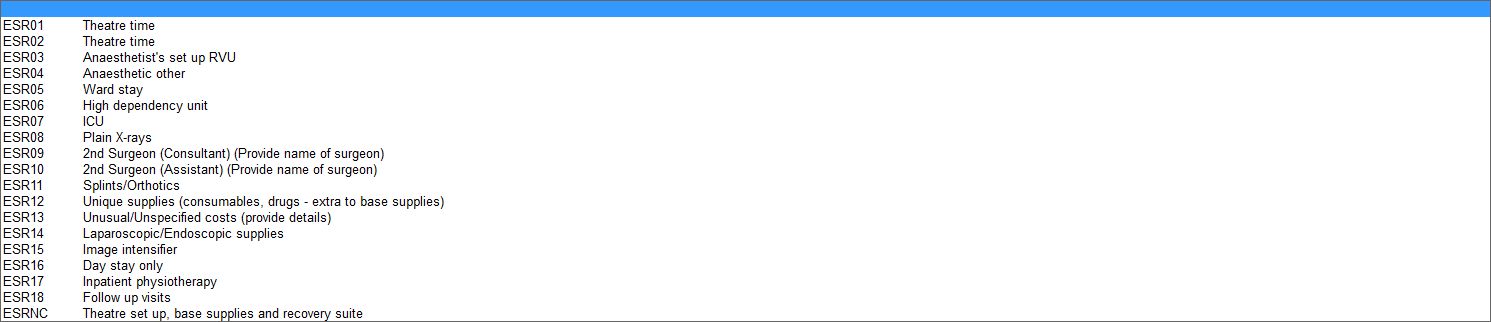
Code | The Additional Resources / Non-Core codes need to be imported to the database - see ARTP PROCEDURE CODES. Select the code from the list (press Enter to get the full list) or type the code and then select.
|
| ||||
Description | This will populate based on the code selected. |
| ||||
Unit of Measure | This will populate based on the code selected. |
| ||||
Units Required (estimate) | Enter the number of units required for the selected Code. |
| ||||
Claimant Details |
| |||||
Claim Number | The Claim number will display based on the claim number selected (if more than one) when starting a new ARTP. |
| ||||
Claimant's Name | The Claimant's name, as entered in the Patient Registration will display. |
| ||||
Address | The Claimant's address, as entered in the Patient Registration will display. |
| ||||
Date of birth | The Claimant's date of birth as entered in the Patient Registration will display. |
| ||||
Telephone numbers | The Claimant's phone numbers, as entered in the Patient Registration will display. |
| ||||
NHI Number (optional) | If the NHI number is set to edit, then this field will display. |
| ||||
Date of injury | The Claimant's date of injury as entered in the Claim will display. |
| ||||
Referred By | The Referred by, as entered in the Claim will display. |
| ||||
History, Examination and Diagnosis |
| |||||
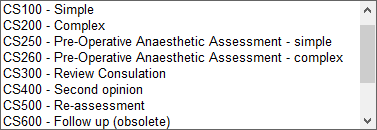
Type of assessment | Select from the list:
|
| ||||
History of the current condition | As typed. |
| ||||
Causal medical link ... | As typed. |
| ||||
Relevant pre-existing factors | As typed. |
| ||||
Clinical examination | As typed. |
| ||||
Diagnostic tests and imaging | As typed. |
| ||||
Specific Diagnosis | As typed. |
| ||||
Proposed Management / Prognosis |
| |||||
Prognosis | As typed. |
| ||||
Pre/Post-operative care | As typed. |
| ||||
Certificate |
| |||||
Specialist's name | As per licence. |
| ||||
NZMC Number | As entered in Provider Configuration (see CONFIG 1) |
| ||||
HPI number | As entered in Provider Configuration (see CONFIG 1) |
| ||||
Date | The date the ARTP was originally created. |
| ||||
Attached Notes | Displays the number of attached notes (if any). Additional notes can be attached (or removed) by selecting 'Select Note …' |
| ||||


On this page:
Related:
- ARTP MERGE CODES
- COPY TO
- Example GP Letter from ARTP
- SENDING CLINICAL NOTES TO ACC