Instead of scanning a document directly to a patient's record in Patient > Notes, you can instead scan the documents into a folder then allocate them to patients at a later time, using the Message Centre.
This option is ideal when you have the scanner situated on a photocopier.
The scanned document can be identified with the ![]() symbol.
symbol.
Assigning Scanned Docs
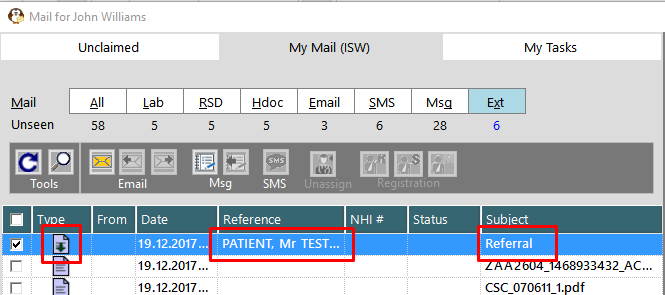
- In 'My Mail' select the file in the left-hand panel, to be saved.
- In the right-hand panel click on the Save
 button
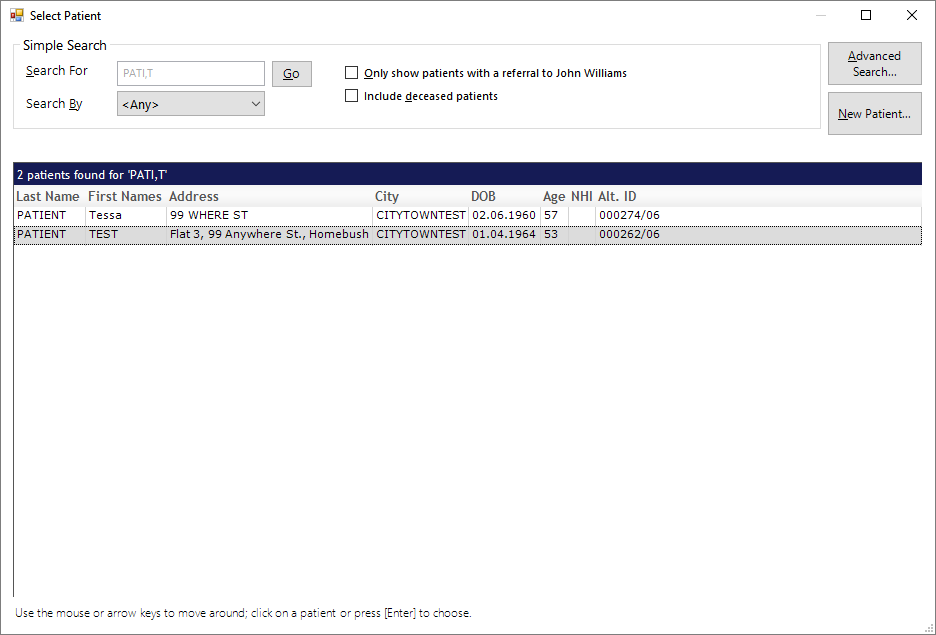
 - Select the patient.
- Enter information relating how you want it saved to the patient's Notes and also if you want to send a message about it to another Operator.
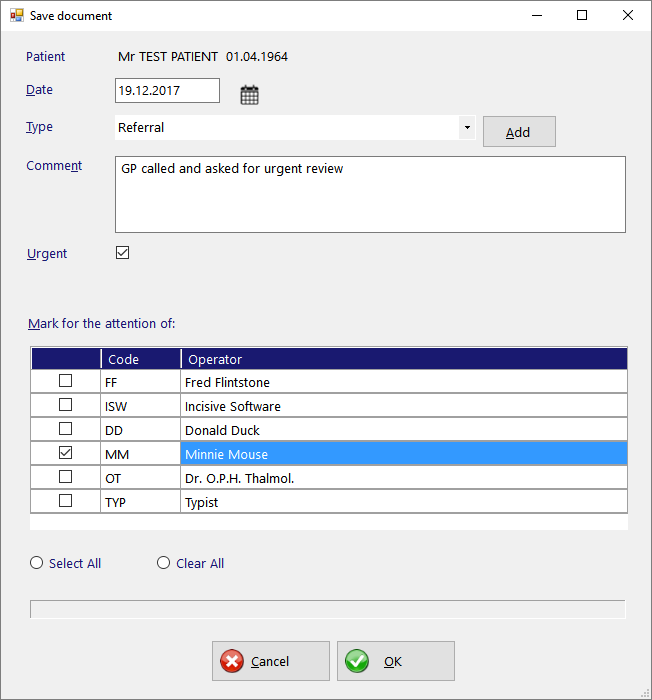
- Enter the date you want the document to be listed in the patient's Notes
Select or Add the 'Type' you want the file to appear as in the Notes
If you are notifying someone of the existence of the document you can send them an Internal Message (F10). Add some text in the Comment box and select who the recipients are.
The items in the 'Type' list can also be edited from Setup > Selection Lists > Scanned Documents. If you do not have permission to use this menu option you also will not have use of the 'Add' button.
Your 'Favourite' Operators will be pre-selected. You can change your selection in My Settings
The file will now appear with a 'Saved' icon, the patient's Name and also the Type of note.
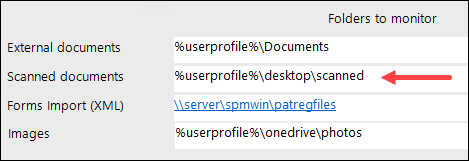
Location of the Scanned Docs to import
The scanned documents to import can be located on either a physical or virtual drive. The folder is scanned for new files and are displayed in the Ext list.
The folder location that is scanned can be set in Setup > Personnel > Operator > Messaging Options