The Scanned Document option that is found in the Select Note options screen, is intended for documents that have already been scanned and saved as a file, and need to be linked into the patient file.
The most efficient way to scan, is to scan directly in to the patients file (see SCAN A DOCUMENT).
Patient - Notes - New - Scanned Document
To attach an existing scanned document to the patient file
- From the 'Select Note Options' screen select Scanned Document.
- Select 'OK'.
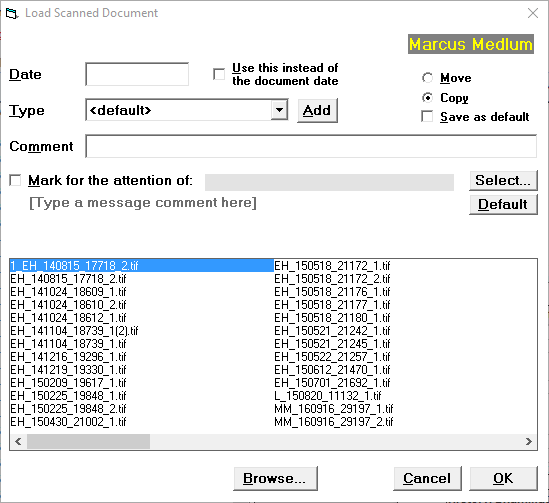
The Load Scanned Document screen will display.
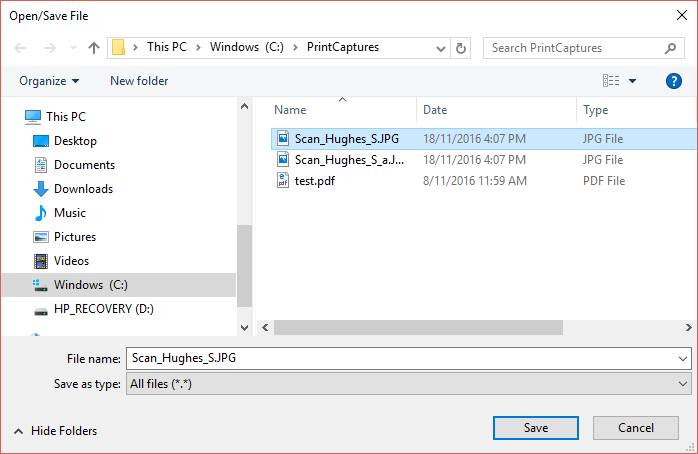
Select the file to be loaded to the patients file (or browse to a different location and select the file).
- Select 'OK' to save the selection.
Date | If you leave the date field blank, the date will be taken from the (scanned document) file date. | ||
Type | Select the scanned document type from the drop down list.
| ||
Comment | To add an additional comment about the Scanned Document, type the details here. | ||
Move | The file will be moved from the current location to the Allocated scanned document folder for the current Provider. | ||
Copy | A copy of the file will be made and placed in the Allocated scanned document folder for the current Provider. | ||
Save as default | This will save your selection of Move or Copy as the default. | ||
Mark for the attention of | Select 'Mark for the attention of' and select the Operator, if you need to bring the scanned document to the attention of another staff member or doctor. | ||
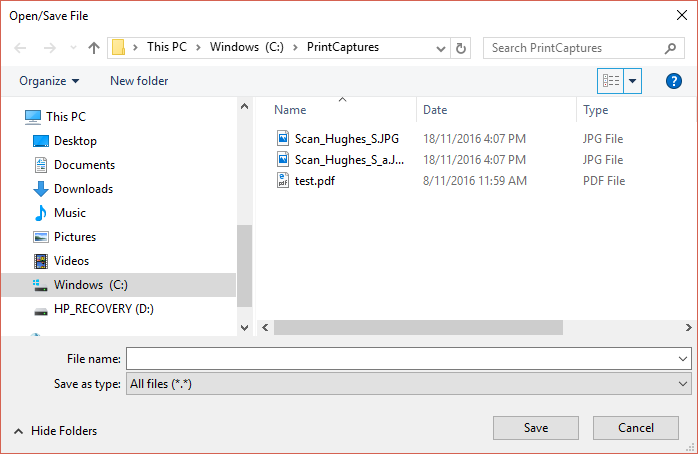
Display of files | The list of files that displays, by default, are the files in the Scanned Documents - Unallocated folder. If this is not the correct folder, select 'Browse'. | ||
Browse | Selecting Browse will allow you to navigate to the location of your scanned documents. To quickly navigate to the location of these files have your hardware technician map a network drive (if the location of these files is on the server. Alternatively, scan the files to a folder on your desktop. Navigate to the folder that contains your scanned documents.
Highlight the file and select Save.
| ||
Cancel | To abandon the current input and return to the Notes tab select 'Cancel'. | ||
OK | To save the currently selected scanned document to the patient's file (against the currently selected Provider), select 'OK'. |