The FileNote feature is an inking function that has been specifically written for users of 'Specialist Practice Manager (SPM) or 'Private Hospital Manager' (PHM) with 'Tablet' (pen enabled) computers.
The key benefit of the inking function is that it allows you to hand write your notes directly into the patient's electronic file – instead of using paper. You can even insert an image which you can then draw over to demonstrate to the patient what will be involved with their operation, print it out, and give a copy to the patient.
The FileNote is automatically saved to the patient's file and can be retrieved again using the same method as viewing scanned documents. Once saved, the FileNote can be edited to add additional information to the note but no original material can be deleted. This restriction is to enhance the integrity of the originality of the document for medico-legal purposes.
The FileNote function needs to be enabled for each workstation by Incisive staff. It will only work on computers that have the Microsoft .NET Framework 2.0 (or 3.0) installed. This generally restricts its use to computers with Microsoft Windows XP, 2003 Server or Vista.
Note: Microsoft Windows Tablet edition has a bug in it that does not allow the saved ink file to be displayed again. To correct this you need to download the fix (kb900722) from Microsoft's website. http://support.microsoft.com/kb/900722
Using the FileNote function.
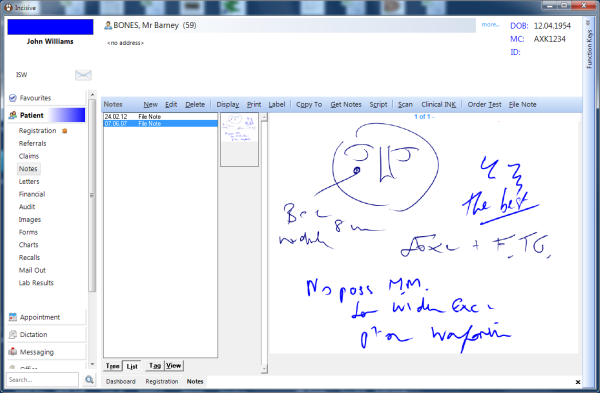
- In Patient mode, select the patient go to the Notes tab. Tap (click) on the FileNote button.
Note: The FileNote screen can take a short while to load all the necessary controls to enable inking. Don't keep tapping at the FileNote button.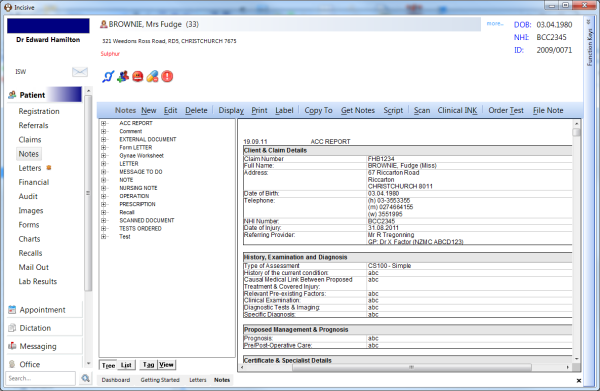
This loads the inking screen .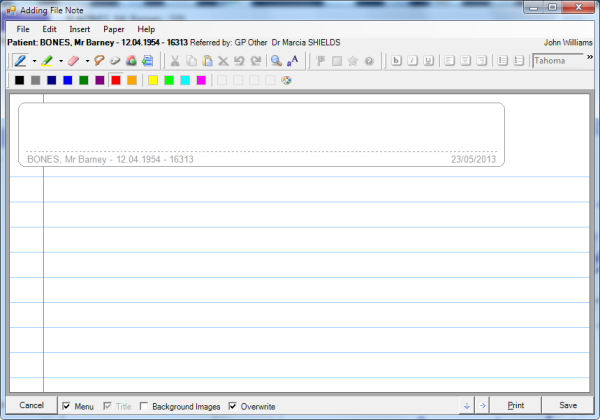
- If not already selected, tap on the 'pen' symbol on the toolbar and write, sketch, or doodle on the screen in your own hieroglyphics
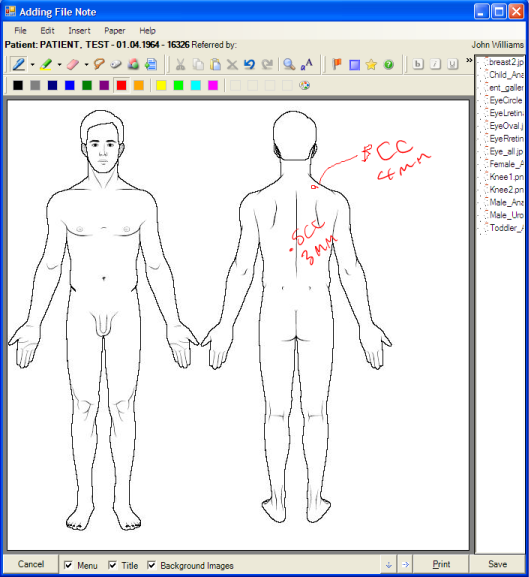
- Optionally, choose a template to display as a background image to assist with the record.
- Save the file by clicking on the Save button
- The note is then listed as a 'FileNote' in the left hand window and the ink image is shown as a thumbnail.
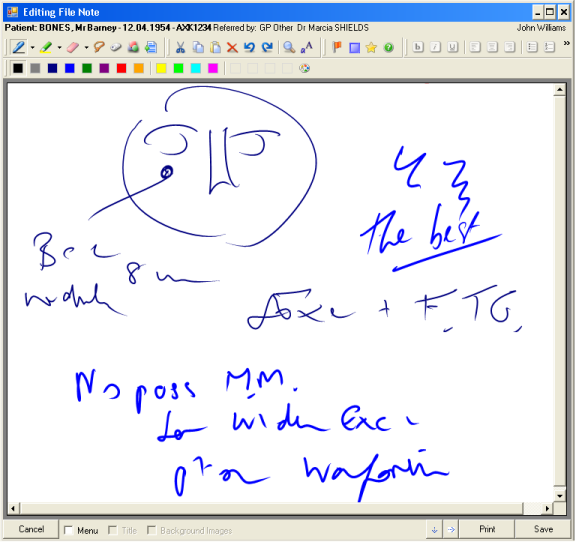
Editing the FileNote
Each FileNote can have further information added to it. You cannot, however, change or delete any of the original entry. Nor can you insert a new Title or Background template.
- Highlight the FileNote to be edited in the left window
- Tap (click) on the Edit button.
Viewing the FileNote
View the FileNote in a full screen by highlighting it in the left hand window and then tap (click) on the 'View' button.
Scale the image to suit by selecting from the size options in the top left corner. Viewing at 100% is often a suitable choice.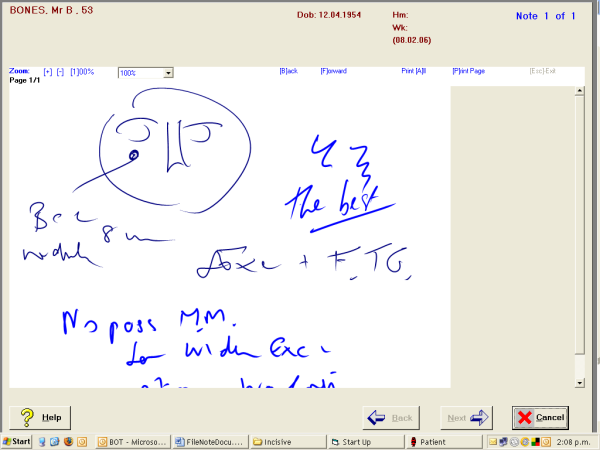
Options
Menu | Inserts a drop down menu of options. |
Title | Inserts a Title background at the top of the ink screen. |
Background Images | Shows a list of custom made templates that become a background on the inking form. Double click on the template you wish to choose. Note that it will replace any ink that is already on the page |
Overwrite | If the Overwrite is turned on and an Image template is selected, it will completely replace the default title and paper style. If the Overwrite is turned off, and a background image is selected, it will go behind the Title and Paper. If the Overwrite is turned on, a second style of patient name and DOB will appear embedded on top of the image. |
Pen | Tip size and colour |
Highlighter | Tip size and colour |
Eraser | Small - Erase a small area, Medium - Erase a medium area Large - Erase a large area Stroke - Erase the whole line selected |
Cancel | Cancel the inking |
Print the image | |
Extend | Extend the inking canvas downwards Extend the inking canvas to the right |
Save | Save the image |