Logging in to Incisive for the first time
The installation automatically adds an icon to your "Desktop".
- Double click on the SPM or PHM icon.
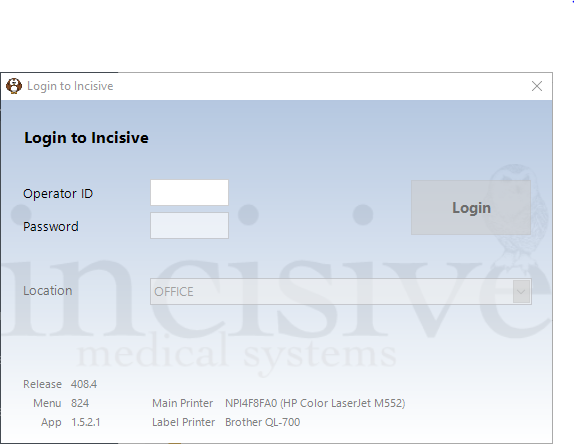
A Login to Incisive screen will appear.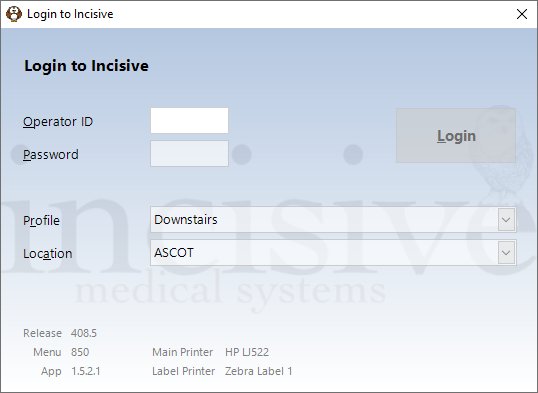
- Complete the details.
- Select Login.
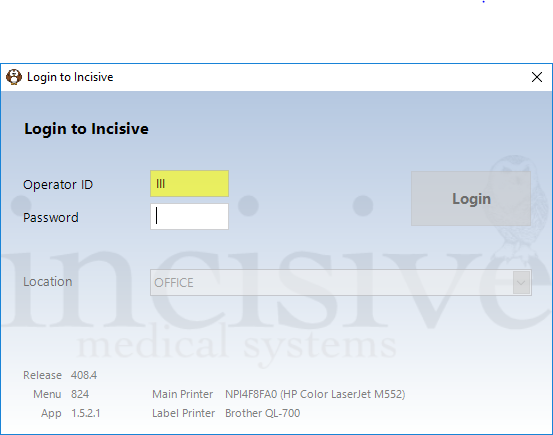
Operator ID | Your operator ID will be up to 3 characters and will have been set by Incisive Software or your system administrator. It will normally be your initials.
Remove what you have typed and try again. If you continue to have problems, you will need to contact your system administrator to find out what Operator ID code has been allocated to you. |
Password | Type your password and press Enter. Passwords are restricted to 8 characters, in keeping with the restriction on the password length with the inTOUCH application. Operators can alter their password at any stage (see Setup > Operator page). |
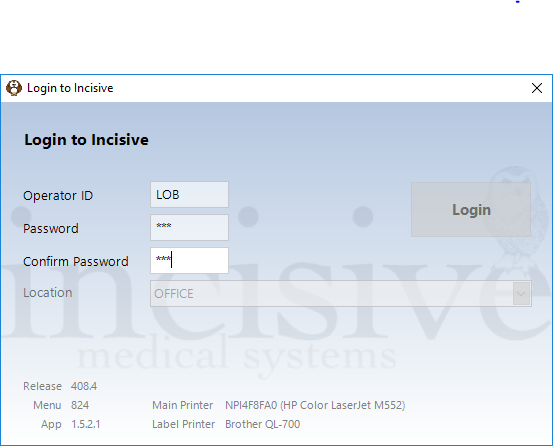
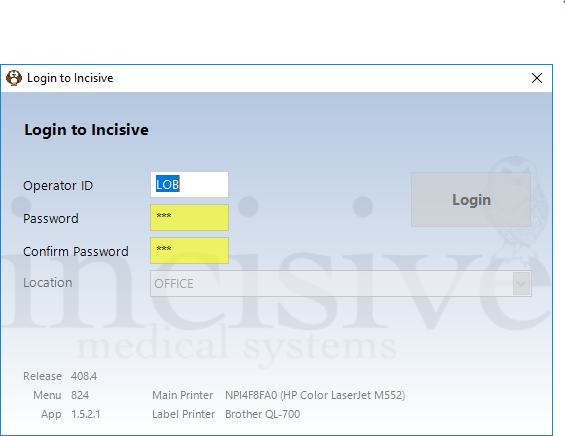
Confirm Password | When you log in to Incisive for the first time, you will need to set a Password. After typing a password in the Password field, enter it again in the Confirm Password field.
If the passwords entered do not match a message will appear and the Password and Confirm Password fields will be coloured yellow.
Passwords can be changed by the Operator in Setup > Operator or My Settings and |
Profile | Workstation Profiles allow you to pre-configure the printers that you will use at different locations. This option is really only needed when you are using SPM or PHM in Remote Desktop or inCLOUD.clinic environments. Configure the Profiles in Setup > Workstation > Profiles or Utilities > Advanced > Workstation Profiles. |
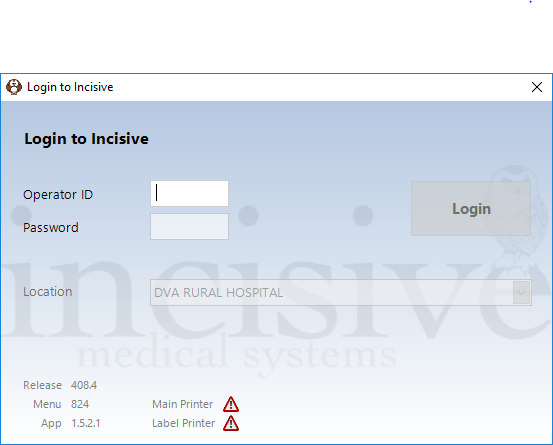
Location | You must select a Location from the drop down list when logging in. This will become the default for this workstation (or network login). If the workstation is set as a Mobile Workstation then you can change this when logging in (see Setup > Workstation > Configuration). The Location is a very powerful feature for both Printing and Banking functions. The printers can be pre-selected for each location and for banking, the amounts receipted will be grouped for the selected location. Locations are set in Setup > Locations. |
Printers | The log in screen shows the printers currently selected for the workstation or network log in.
A warning symbol will appear if the printers require attention via Setup > Workstation > Configuration.
|
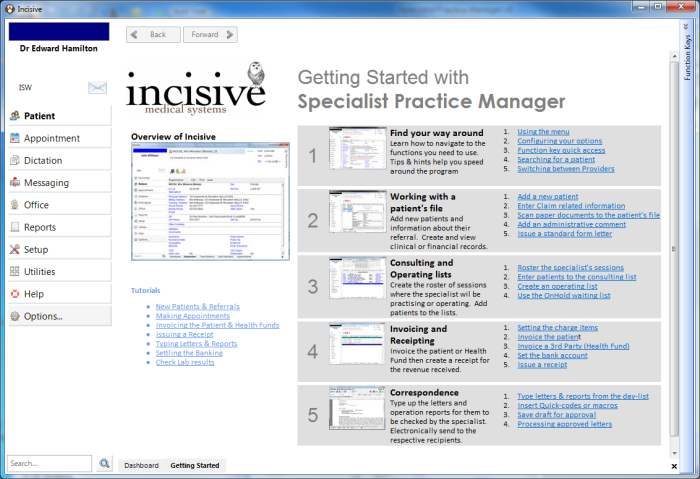
If the 'Getting Started' option is checked on in the Options section of the menu, you will be taken to the following screen.