Resources can be setup to prevent equipment, rooms or staff from being double booked.
See Also:
To add a new Resource
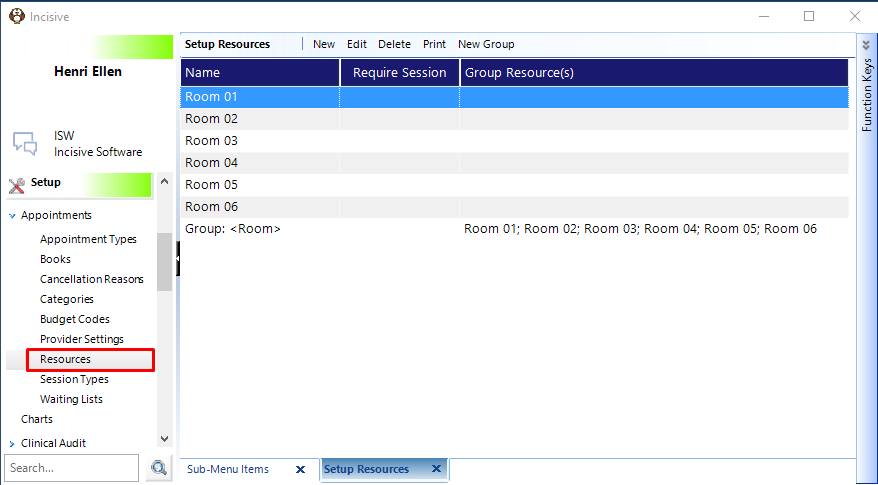
Setup - Appointments - Resources
- Select 'New'.
- Complete the details as required.
- Select 'OK' to save the New Resource.
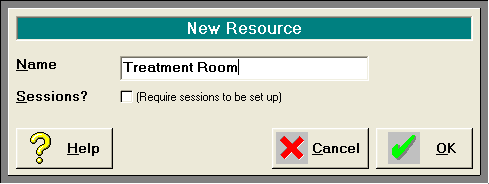
Name | Enter a name to adequately identify the Resource. |
Sessions | If a resource is only going to be available during certain hours (e.g. its use depends on a certain staff member or technician being available) then you may require a session to be set up. Check this option on if a session is required. You may want to consider setting up and using 'Books' rather than a resource if a session is required to be set up. In Appointment Mode, an individual tab is allocated to each book. |
To edit a Resource
Setup - Appointments - Resources
- Highlight the Resource you want to change.
- Select 'Edit'.
- Make the changes you require.
- Select 'OK' to save the changes.
To delete a Resource
Setup - Appointments - Resources
- Highlight the Resource you want to delete.
- Select 'Delete'.
- Select 'Yes' to confirm the deletion of the Resource.
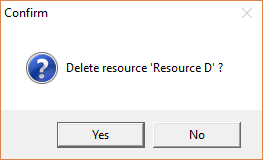
A resource can only be deleted providing it has not been allocated to appointments.
If the resource has been allocated to actual appointments, the following message will display.
You will be unable to delete the Resource if this is the case.
Edit the Resource and change the name. Put a 'Z' in the front to drop it to the bottom of the list.
To print a list of Resources
Setup - Appointments - Resources
- Select 'Print'.
- A report of the Appointment Book Setup will preview on screen. This includes the Resources, along with Sessions, Appointment Types etc.
- Print the report and / or Exit.
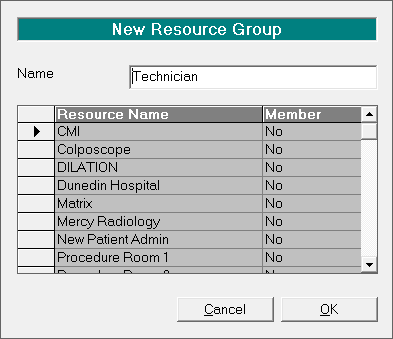
New Group
Resources can be allocated to a 'Group'. For instance all your ophthalmic technicians might belong to a group called Technician. Appointment Types can then be set to require a 'Group' rather than specifying the individual resources.
At the time of booking the appointment, a member of the Resource Group is then selected.
Setup - Appointments - Resources
- Select 'New Group'.
- Enter a name to identify the Group.
- Select which Resources are to be a member of this group by setting the Member column to 'Yes'.
- Select 'OK' to save the new Resource Group.