Form Letters
Form Letters are intended to be used for administrative purposes only as opposed to being used for clinical text input. Clinical text templates should be entered via Setup - Templates - Letters (including Operation Reports).
Setup - Templates - Forms - Form Letters
The Form Letters tab displays a list of Form Letters for the currently selected Provider, including Form Letters for the Group and All Users.
Creating a New Form Letter
Select 'New'.
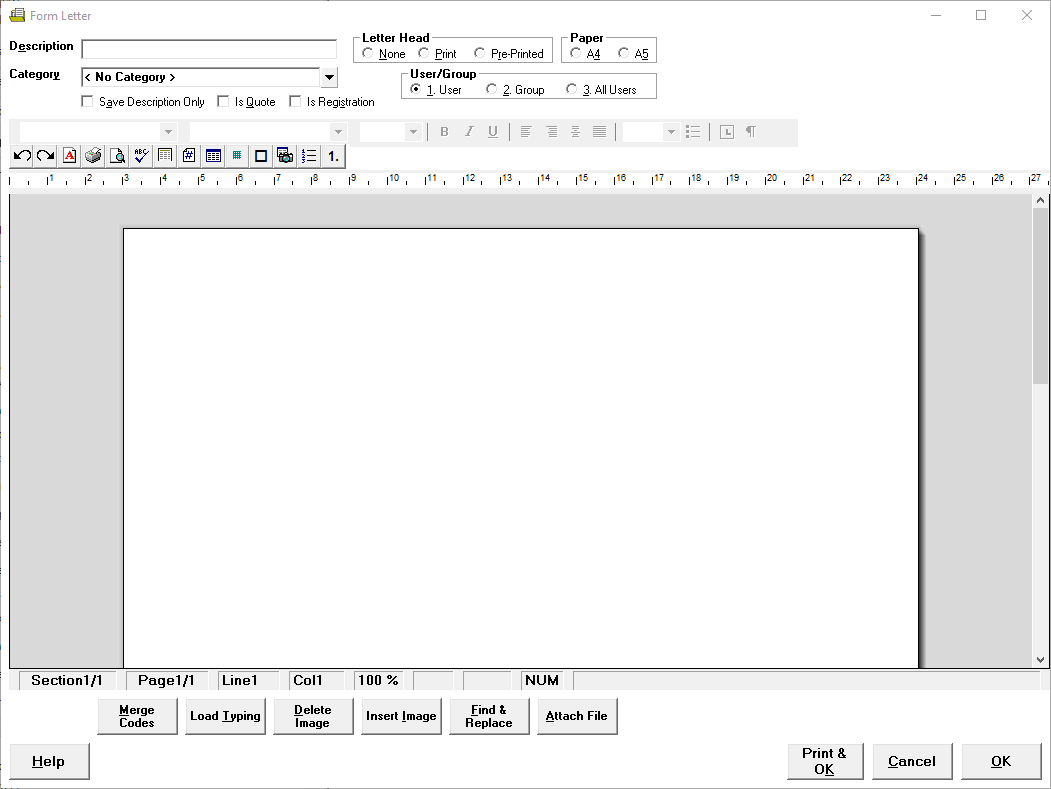
- Compete the Form Letter as required.
- Select 'OK' to save the new form letter.
Description | Give the letter a meaningful Description. | |
Category | Select the Category that you wish the letter to be saved under. | |
Letterhead | None | No letter head will be included in Form Letter |
this will use the Letterhead within SPM | ||
Pre-Printed | This will use the Pre-Printed Letter head paper from the printer. | |
Paper | A4 | If the letter is to print on A4 size paper, select this option. |
A5 | If the letter is to print on A5 size paper, select this option | |
User / Group | User | The Form Letter will only be available for this Provider. |
Group | The Form Letter will be available to everyone in the same Group as the Provider the form letter is being entered against. | |
All Users | The Form Letter will be available to all Providers in the database. If this option is selected, ensure that there is no customisation specific to any one Provider. I.e. do not type the name of a Provider, use F9 Merge codes so that these details are completed each time the form letter is generated. | |
Save Description Only | If you only require only the description of the form letter to be saved to the patient file, check this option on. This is useful for Patient Handouts etc. that do not have any specific information regarding the patient. Consider the legal implications of this option. If it may ever be necessary to produce a copy of the actual text provided to the patient, do not select this option. Alternatively, if you have a patient handout and you revise the text of the Form Letter, copy and past the text to a new Form Letter and change the name, i.e. V2 etc. Create a Category 'Past Versions' or similar. Edit the original form letter and change the Category. In this way, you will still have a record of what was sent, even if it not recorded in the Patient file in its entirety. Do not change the name of the Form Letter, the text should be kept the same to tie back to the original. | |
Is Quote | This is applicable for Australia only and if ticked makes this Form Letter available when doing Patient Quotes. | |
Is Registration | If you wish to create your own Registration form, this can be done as a form letter. Check this option on. For more information see PATIENT REGISTRATION |
Merge Codes
Merge codes can be used to set up the form letter template. See F9 MERGE CODES.
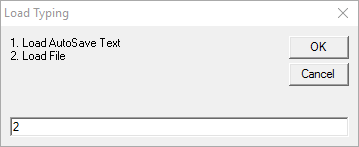
Load Typing
This allows you to load either the Auto-Save Text (if your computer has crashed you will get back to your last Auto-Save), or Load from a file, i.e. Word Document.
Delete Image
- Select the image to be deleted.
- Select 'Delete Image'.
- The image will be removed from the template.
Insert Image
The Insert Image icon allows you to insert an image in your form letter template.
Navigate to the location of the image.
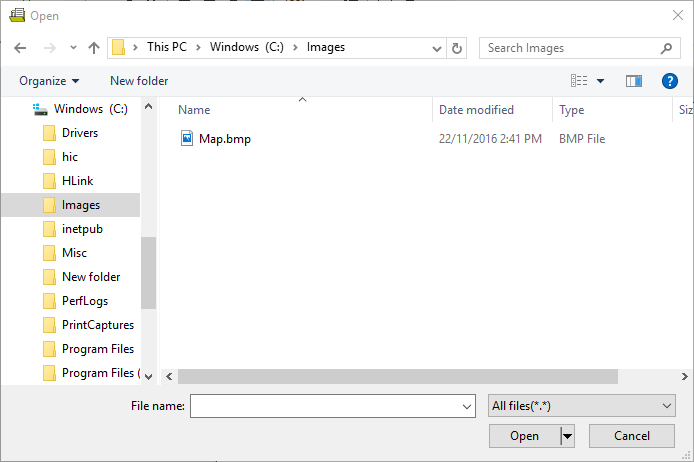
- Select the Image.
- Select Open.
- The image will appear in the template.
Inserting images into templates will significantly increase the size of the database if the whole form letter is saved to the patient file. They are intended for patient handouts where it was not intended that the entire form letter would be saved to the patient file.
If the entire form letter does not need to be saved, i.e. instructions for for finding the rooms with a map, consider using the 'Save Description Only' option. Alternatively, if you want part of the form letter saved to the patient file, attach the image rather than embed the image in the template (see Attach File below).
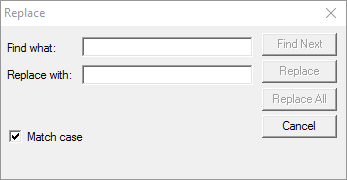
Find & Replace
To quickly fine and or replace text in your template, use the Find & Replace option.
Attach File
Attaching a file to a template will print out the attachment, but it will not be saved to the patient file. The rest of the template however will save and display. It is therefore ideal for a letter confirming the appointment (with date and time). An attachment of instructions and map can then be attached to the form letter. This will then print or be emailed to the patient as required.
Navigate to the file to attach to the Form Letter template.
- Select 'Open'.
The selected file will display on the Attach Files screen.
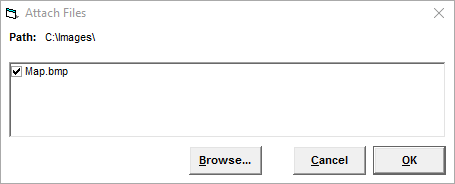
- Select 'OK' to save the selected file(s).
- Select 'OK' to save the form letter template.
To remove a file attached to a form letter template
- Edit the form letter template.
- Select 'Attach File'.
Remove the tick from beside the file name on the Attach Files screen.
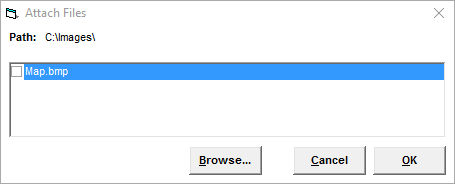
- Select 'OK' on the 'Attach Files' screen.
- Select 'OK' on the Form Letter screen.