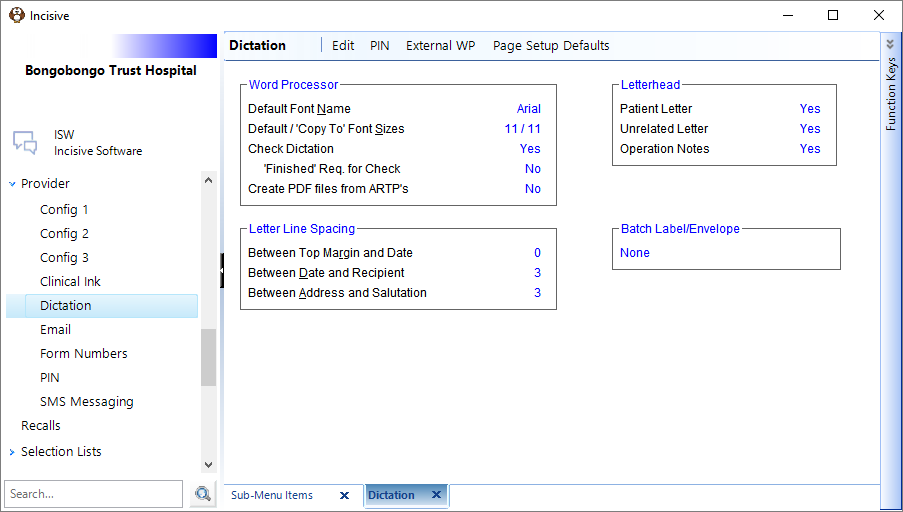
The Provider's dictation settings will determine not only the layout of correspondence, default font and size, but also whether a computer generated letterhead is to print on letters and reports etc.
Edit
This will allow you to change the settings provided you have the appropriate access.

Word Processor | |
Default Font Name & Size | The default font type and size used in letters. |
Check Dictation | This option requires all letters from Patient or Dictation modules to be signed off with a PIN number before it can be processed. |
Finished required | If set to Yes the letters typed in the Dictation module need to be marked as 'Finished' before they are able to be processed. The Finished option is so that the Provider is aware that the letter may not be complete (finished) and therefore should not be approved for Processing to the patient's file or being sent out. |
Create PDF files when processing ARTP's | Turn this option on or off here. |
Add comma after salutation | Ability to add a comma automatically after salutation. |
Letter Line Spacing | |
Between Top Margin and Date | Amount of lines you require between Top Margin and Date. |
Between Date and Recipient | Amount of lines you require between Date and Recipient. |
Between Address and Salutation | Amount of lines you require between Address and Saluation. |
Letterhead (Paper) | |
Patient Letter | If this is ticked the in-built letterhead will be added to the letter. Untick if using your own printed stationary. |
Unrelated Letter | If this is ticked the in-built letterhead will be added to the letter. Untick if using your own printed stationary. |
Operation Notes | If this is ticked the in-built letterhead will be added to the letter. Untick if using your own printed stationary. |
Letterhead (Electronic) | |
Patient Letter | For future development. |
Unrelated Letter | For future development. |
Operation Notes | If this is ticked when sending an Operation note electronically the A4 letterhead will be attached to the PDF file created. |
Batch Label/Envelopes | |
None | No Labels or Envelopes will print. |
All | All Labels and Envelopes will print where a physical letter has printed. |
Only Copy-To | Only Copy-To Labels and Envelopes will print where a physical letter has printed. |
Patient Copy-To | Only Patient Copy-To Labels and Envelopes will print where a physical letter has printed. |
PIN
A PIN number is used as an electronic sign-off or authorisation of outgoing correspondence.
If the Provider Dictation setting 'Check Dictation' is activated, then before dictation can be processed, all outgoing correspondence will need to be signed off electronically by the provider (or another authorized operator) using the PIN number that has been configured. If a Provider wishes to delegate the setting of a PIN number to his or her staff, then Incisive will require written authority in order for us to provide an access code (to set the PIN number) to the staff member concerned.
Setting a PIN Number
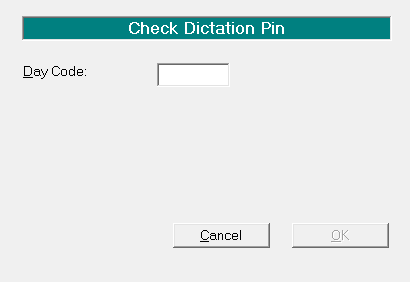
- From Setup > Provider > Dictation, select 'PIN'.
- Call Incisive to get the Day Code (Security Code) to access this.
- Once you have the Day Code, enter the number provided and press 'Enter'.
- The screen will then display a field to enter your own PIN number and a field to confirm your PIN number.
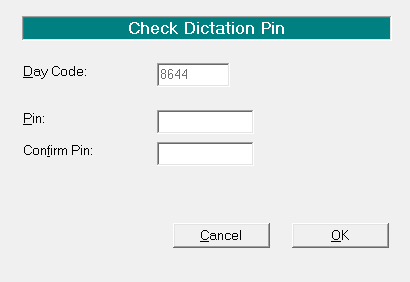
- Type your own PIN number and press 'Enter'.
- Type the same number into the Confirm Pin field.
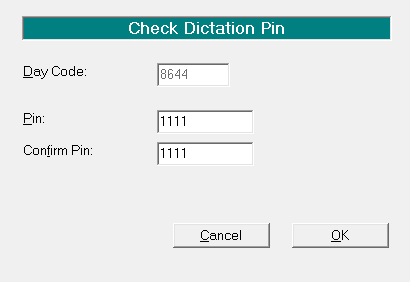
- Select 'OK'.
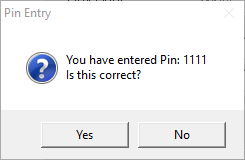
- You will be prompted to confirm the entry of your PIN number. If you are happy with the PIN then select 'Yes', if not, select 'No' and re-enter your PIN.
The PIN number must be at least two characters long and no more than nine. It can be letters, numbers or characters, or any combination.
Incisive Software do not know the PIN number for a Provider. If this is to be known by staff, it is up to the Provider to make this available to the staff member. If a PIN number has been set by a staff member, it is up to that staff member to advise cover staff, and or the Provider of this number if they are absent from, or are leaving the position.
Under no circumstances will Incisive reset this PIN number without express written permission from the Provider.
External WP
If typing is done remotely and the typist does not have a reliable, fast internet connection to the practice, the option of External Wordprocessing allows for dictation to be typed externally from the Incisive application. The resulting letters are then merged back automatically (as opposed to a copy and paste) and automatically allocated to the respective patients in the dictation database to then be checked and processed in the normal way.
Limitations:
Once the documents are created, the files are out of Incisive's control. Typists should be proficient in their chosen word-processor as support for any typing in this area is not covered by Incisive Software. Typists should be aware that a program is going to be importing these documents and certain elements of a file should not be altered e.g. the patient reference at the start of the letter template. The file must be saved in *.rtf (rich text) format.
Security recommendations:
Sending files via insecure Internet connections are not recommended because of privacy issues. Please discuss the sending of files with Incisive. Your hardware technician may be required to assist you to set up a secure environment to transfer files electronically e.g. Digital Certificate, VPN, Dropbox or similar.
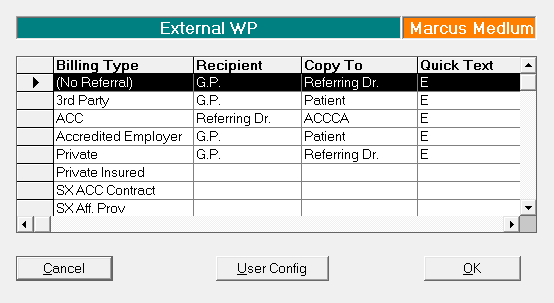
Selection of External WP from the menu will bring up a screen similar to the one below for the selected Provider. The Billing Types may vary for your practice.
Location of files
Valid paths are required for exporting, importing and moving completed or failed files. If more than one workstation is required to export and / or import files, then this would ideally be a network path. A mapped drive may be configured for this. Alternatively, the same folders would need to be created on each workstation if a local drive is used.
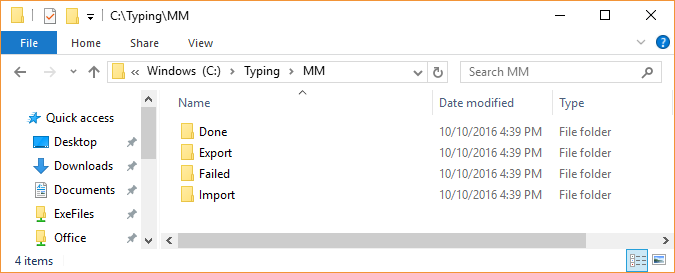
Ideally create a folder 'Typing' and then sub folders for Import, Export, Done and Failed.
Optionally, if more than one Provider is to user External Typing, create a folder for each Provider under the Typing folder, and then within these create the Import, Export, Done and Failed folders.
User Config
Selection of User Config will bring up a screen where you can allow External Typing, plus configuration of the paths and the Export Type.
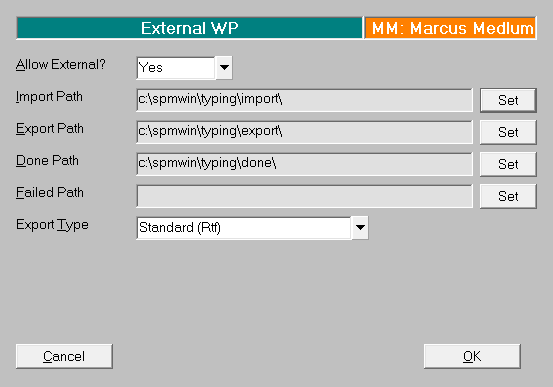
Allow External? | If External typing is required for this Provider, set to Yes. |
Import Path | Set the Import path to the location where the files will be placed for importing into the database. |
Export Path | Set the Export path to the location that the templated letter files will be created in. |
Done Path | Set the Done path to the location where the files will be moved to after being successfully imported to the database. |
Failed Path | Set the Failed path to the location where the files will be moved to if they fail to be imported to the database. |
Export Type | Select between Standard (Rtf) and Oziescribe (csv). If you are not using Oziescribe, select Standard (Rtf). |
Note when browsing to set the paths (in File Explorer) you need to specify a File name to open. Just enter 'x' if there are no files listed.
Page Setup Defaults
The Page Setup Defaults allows for the setting of Page Settings, View and Tabs.
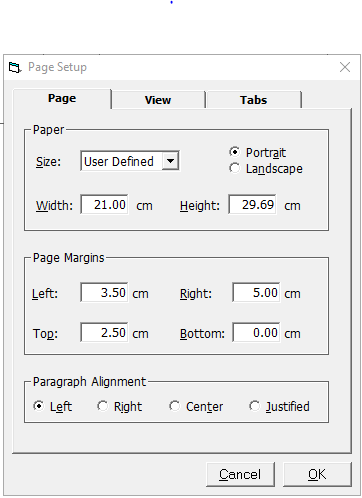
Page
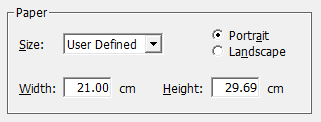
Paper
Select the size required, normally this would be A4.
Select Portrait or Landscape as the orientation.
The Width and Height will be set by the selection of the paper size. Only amend this if absolutely necessary.
Page Margins
Set the Left, Right, Top and Bottom Margins as applicable for your letterhead.
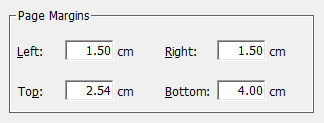
These margins apply to all pages, i.e. first page with letterhead and follow on pages without letterhead. Therefore, your top margin should not be too large as wise the followon pages may start too far down the page. The Letter Line Spacing can be used to achieve this on the first page.
Paragraph Alignment
Select from Left, Right, Center or Justified alignment.

View
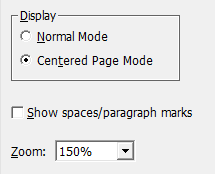
Display
Select between Normal Mode and Centered Page Mode. This dictates how the word-processing screen applies when tying letters etc. Normal Mode positions the tyoing screen hard up against the lefthand side of the screen whereas Centered Page Mode will give a grey surround on the top and two sides of the word-processing screen.
Show spaces/paragraph marks
To turn spaces and paragraph marks on as the default this option can be selected. When typing this setting can be toggled off and on by selecting the 'Paragraph' icon.
Zoom
If a larger font is desired this can be set between 100% and 400%.
Tabs
Set default tabs as applicable.
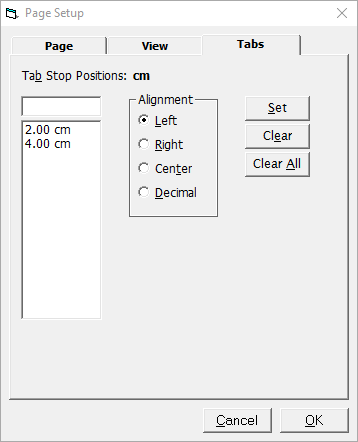
Newly created templates, letters etc. will by default have these tab settings but these may be individually set.
How Do I...
- Type dictation as a Secretary
- Type dictation as a Typist
- Process Dictation
- Using the spell-check Dictionary
- Using Autocorrect feature when typing
- Correcting words in Dictionary
- Creating new form letters
- Wordprocesser Toolbar buttons
- Tab stops on the ruler
- Special Characters