Checking dictation is a means of approving the content of letters, reports etc before they are printed or sent to intended recipients electronically. It is effectively a replacement of a physical signature.
This is a secondary authorization in addition to the Incisive login (where operators may or may not have access to this functionality. It is up to the Provider whether he or she wishes to make the PIN number available to staff members.
Before being able to use this part of the program you will may need to set your PIN number.
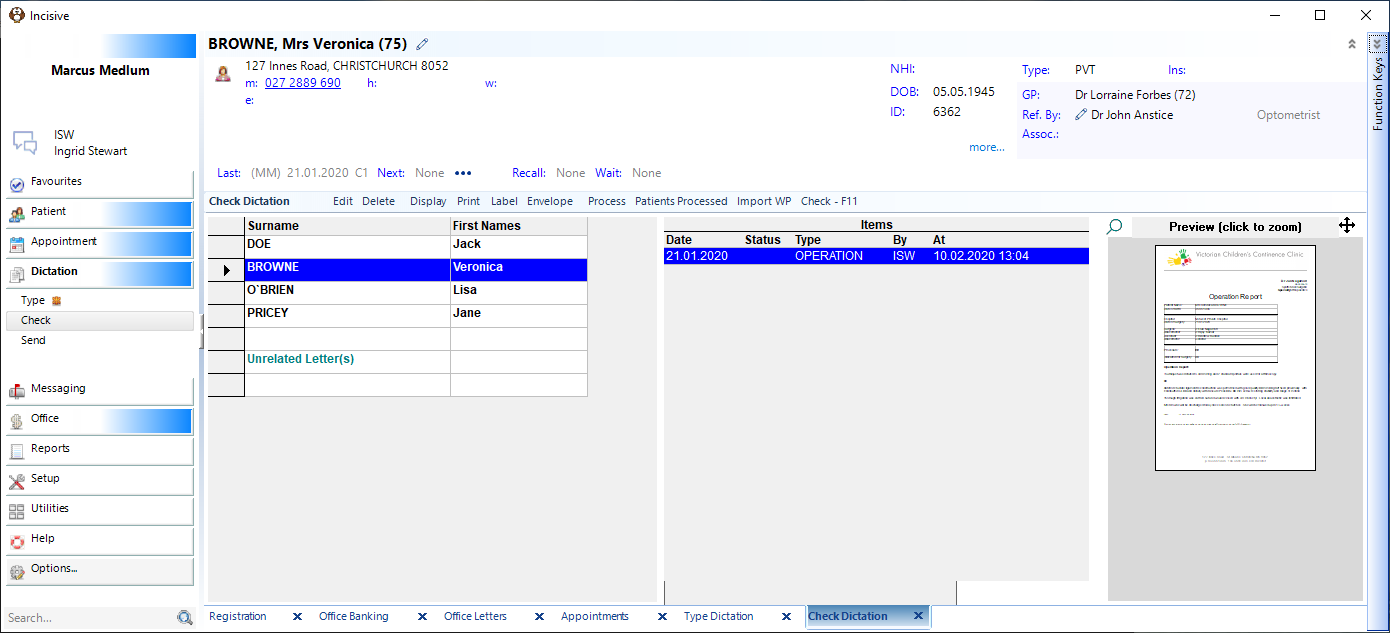
The Check Dictation screen displays a list of patients, together with items for the patient waiting to be checked, or items that have been checked that are waiting to be processed. Once checked each item will have a letter or two next to it to indicate the status as to whether it has been 'C' checked, 'CE' checked and emailed. You can also see the date the item was typed and who the operator was. The right hand panel of the screen displays a Preview of the item that is currently highlighted.

Edit
Editing a letter in Check Dictation allows for changes to be made. Note that if a letter has already been checked, if you try to edit an item that has already been checked, you will receive the following prompt:
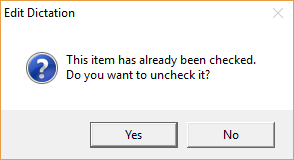
If you want to make changes to the checked item, select 'Yes'. The item will then need to be checked again.
If you don't want to make changes, select 'No'. You will not be able to edit the letter.
Delete
Items can be deleted from Check Dictation even if they have been checked. Please note, this does not put the letter back in to 'Type Dictation'. If deleted, the item will need to be retyped.
- Highlight the item to delete.
- Select Delete.
- You will be prompted to confirm the deletion.
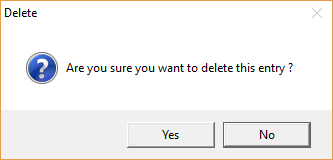
- Select 'Yes' only if you want to delete the item; or select 'No' if you want to cancel the deletion.
Display
The 'Display' option in Check Dictation allows you to configure what dictation displays based on who typed it and the sort order.
Selecting 'Display' brings up a screen similar to the one below:
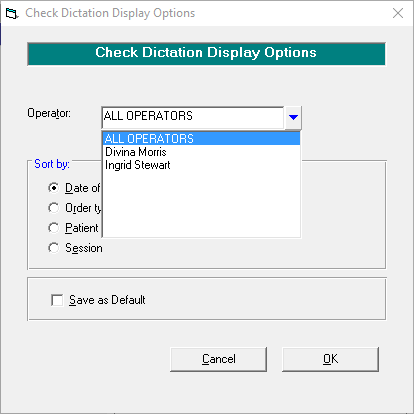
Operator | ALL OPERATORS | Setting the display to this option will display all typing waiting to be checked, regardless of who typed it. |
Name Operator | To display the dictation typed by a single operator, select their name from the list. Dictation typed by other operators will not display. | |
Sort by: | Date of letter | If this option is selected, dictation will be displayed by the date of visit / encounter. The typing for the oldest entries will display first. |
Order typed | If this option is selected, dictation will be displayed by the order typed, with the oldest (typed entries) at the top of the list. | |
Patient Name | If this option is selected, this option will display the patient names alphabetically (regardless of the date typed or date of the letter). This is particularly useful if the list is long, and the letter for one patient needs to be urgently checked (and processed). | |
Session | If this option is selected, the dictation to check is listed against each session. | |
Save as Default | Selecting this box will save the selections above as the default for this Provider. |
The 'Print' options allows correspondence to be printed in bulk but it does not Process the items to the patient file. Depending on the option chosen for the Letter Type, will depend on:
- Whether the item is marked as printed.
- Which tray the paper comes out of.
- The number of copies of each letter that is printed.
On selecting 'Print' you will be prompted to select the 'type' of letter to print:
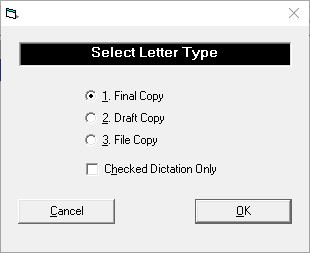
Final Copy | The letter will be marked as 'printed', meaning that on processing, additional letters will not be printed (providing no further changes are made to the letter) as long as 'Unprinted letters only' is selected (Check Dictation Print Options). The letters will print from the correct trays for the first (Letterhead) and subsequent pages (Follow On). The required number of copies will print. |
Draft Copy | The letters will not be marked as printed. The letters will print from the 'Plain Paper' tray. Only one copy of each letter will print. |
File Copy | The letters will print from the tray designated as 'File Copy' for the printer. Only one of each letter will print as the file copy. |
Checked Dictation Only | If this option is selected, only checked dictation will be printed. |
Label
Selecting 'Labels' from Check Dictation allows for the printing of an address label for the selected patient or the printing of a 'Batch' of (address) labels.
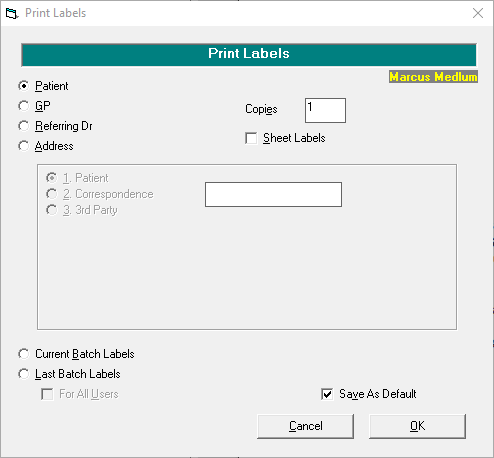
Patient | Prints 'x' number of address labels for the currently selected patient. | |
GP | Prints 'x' number of address labels for the GP of the currently selected patient. | |
Referring Dr | Prints 'x' number of address labels for the Referring doctor of the currently selected patient. | |
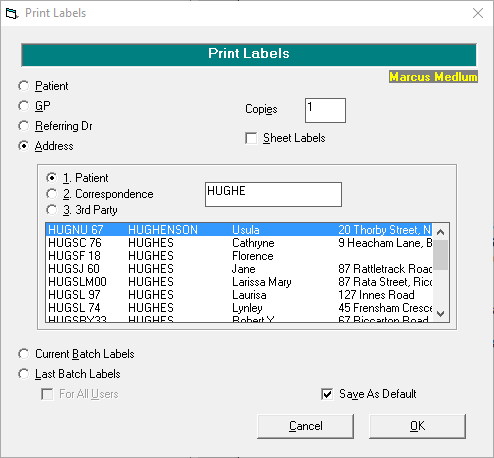
Address | Selecting Address opens up selection choices in the frame below: | |
Patient | If this option is selected, type in the box to select a different patient last-name and press Enter. Select the correct patient from the list. An address label will be printed for the selected patient. | |
Correspondence | If this option is selected, type in the box and select a different entry from the Contacts (Correspondence) database. | |
3rd Party | If this option is selected, type in the box and select a different entry from the Contacts (Invoicing / Reports) database. | |
Copies | Normally 1, this specifies the number of labels to print in 'x' above. | |
Sheet Labels | If Sheet labels are required, this will print 'x' number of sheets per entry. | |
Current Batch Labels | Prints address labels for the current batch. | |
Last Batch Labels | Prints address labels for the Last batch. | |
For All Users | If this option it ticked, labels for all Providers in the batch will be printed. Whether this option is applicable will depend on whether outgoing dictation is batched for all providers in the practice (database) or whether providers individually send correspondence | |
Save As Default | Saves these settings as the default. |
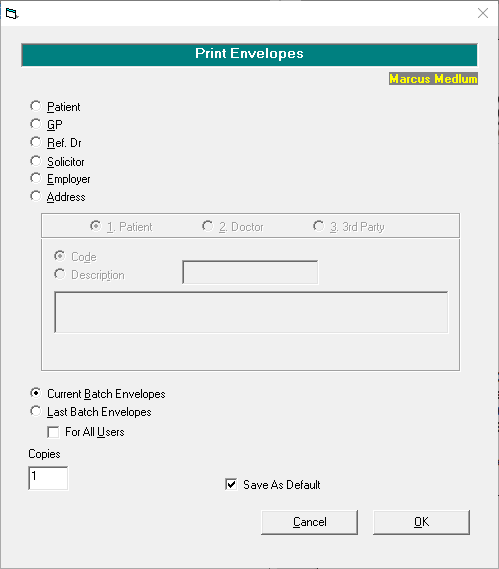
Envelope
'Envelope' will let you print an envelope for either the highlighted patient (and associated recipients), the selection of either an alternative patient, doctor or 3rd Party, or a 'batch' of envelopes.
Process
Processing dictation will print correspondence (where applicable), create messages (where applicable) and put a copy of the correspondence or note entry in the patients file.
'Process' will bring up the 'Check Dictation Print Options' screen.
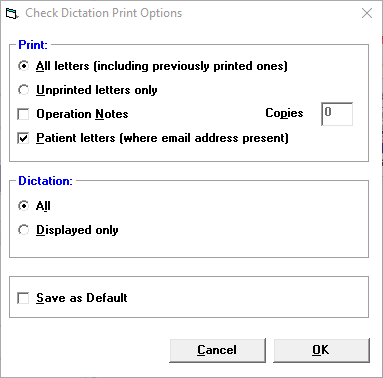
Print: | ||
All letters (including previously printed ones) | Either | If this option is selected, then the requested number of (printed) copies for each letter will print, regardless of whether the item has previously been marked as printed. |
Unprinted letters only | Or | If this option is selected, only letters that have not been marked as printed will print out. |
Operation Notes | Optional | If a printed copy of Operation Notes (Operative Reports) is required, then this option needs to be selected. |
Copies | Enter the number of copies of Operation Notes to print. | |
Patient letters (where email address present) | Optional | If the Provider is configured to email out of the Incisive application, and the patient has an email address, by default, the patient copy of the letter will not print unless this option is selected. |
Dictation: | ||
All | Either | Selecting this option will process all dictation, regardless of whether it is displayed on screen or not. |
Displayed | Or | Selecting this option will process all dictation displayed on screen. |
Save as Default | Optional | To save the current settings as the default for this provider, select this option. |
Patients Processed
This allows a report to be printed of the processed dictation in the period. The date is the date of processing and not the date of the clinic / correspondence.
Optionally, dictation that has either been emailed, or needs to be emailed can be selected so that other types (Letter, Fax, Hlink etc) are excluded.
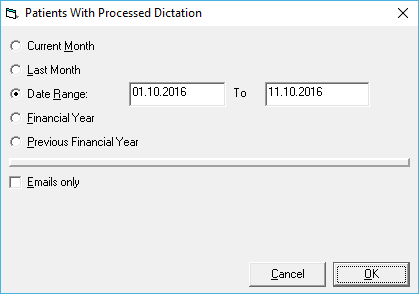
If you are emailing out copies of correspondence, setting the Patients with Processed Dictation report to include emails only will give you a list of patients and recipients that you will need to email correspondence for via Patient Mode - Letters.
Import WP
If the Provider is having External Typing done, once the files have been received (and placed in the Import path), then the files can be imported into the respective patients ready for checking and processing.
A message will appear for any letter that cannot be automatically imported.
The reason why the letter cannot be imported will display.
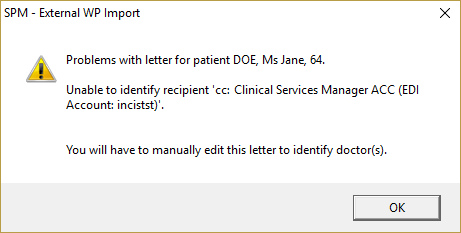
The information will also be written to a log file.
Check - F11
The process of Checking Dictation can be started by either pressing function key F11 of using the mouse to click on 'Check - F11'.
When you first select the 'Check' Dictation tab, the cursor will automatically be sitting on the first unchecked entry. Please note that this may not necessarily be the first item (or patient) on the list.
On an Apple computer, the function key F11 is reserved to display the desktop. Therefore this function will not work in the Incisive application to either start the checking process, or mark the dictation as checked. Icons are therefore provided to replace the use of the function key.
The documentation will only refer to F11.
In the word processing screens, the icon to use instead of F11 is:

Do not confuse this with the OK icon which will only 'save' the entry and not mark it as 'Checked'.

How to check your dictation
The Check Dictation function requires you to set a PIN number which will, in effect, become your signature to indicate that you have authorised the release of the letter or report.
The PIN number is set in Setup > Provider > Dictation > PIN
- Pressing F11 will bring up the Check Dictation Pin Entry screen.
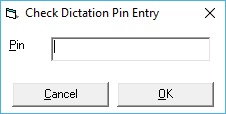
- Type in your PIN number and press Enter.
- The first item for checking will appear on the screen. Check and make corrections as required.
- Press F11 to mark the letter as checked.
- a) If there is another item for the same patient, the item to be checked will appear; or
b) If the next item to check is for a different patient, you will return to the Check Dictation screen with the next patient highlighted (this is to indicate a change of patient). - Press F11 to check the item; or press F11 to start checking the next item.
- Continue in this manner until either all dictation is checked, or you need to do something else.
- A message will appear when dictation for the last patient has been checked.
It is not necessary to check all dictation waiting to be checked. Only 'checked' dictation will be processed so the checking may be done in several batches throughout the day or night.
On This Page:
Training:
- Type dictation as a Secretary
- Type dictation as a Typist
- Process Dictation
- Using the spell-check Dictionary
- Using Autocorrect feature when typing
- Correcting words in Dictionary
- Creating new form letters
- Wordprocesser Toolbar buttons
- Tab stops on the ruler
- Special Characters