The use of worksheets within SPM is designed to assist with the entry of patient-related data. The collection of data may be in a format that is particular to the specialist or practice, and therefore not a part of the standard SPM.
A worksheet allows the specialist or staff to design a worksheet form that is specific to their requirements.
The data entered on the form can only be viewed in the format it was entered. It is not able to be used to produce custom reports
When the worksheet is being used to collect data, a header will be positioned at the top of the worksheet which will display the patient's name, address, referring doctor etc.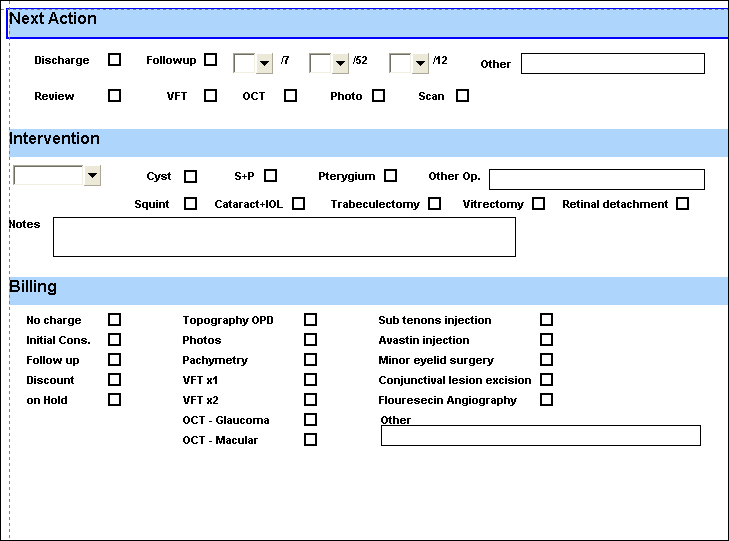
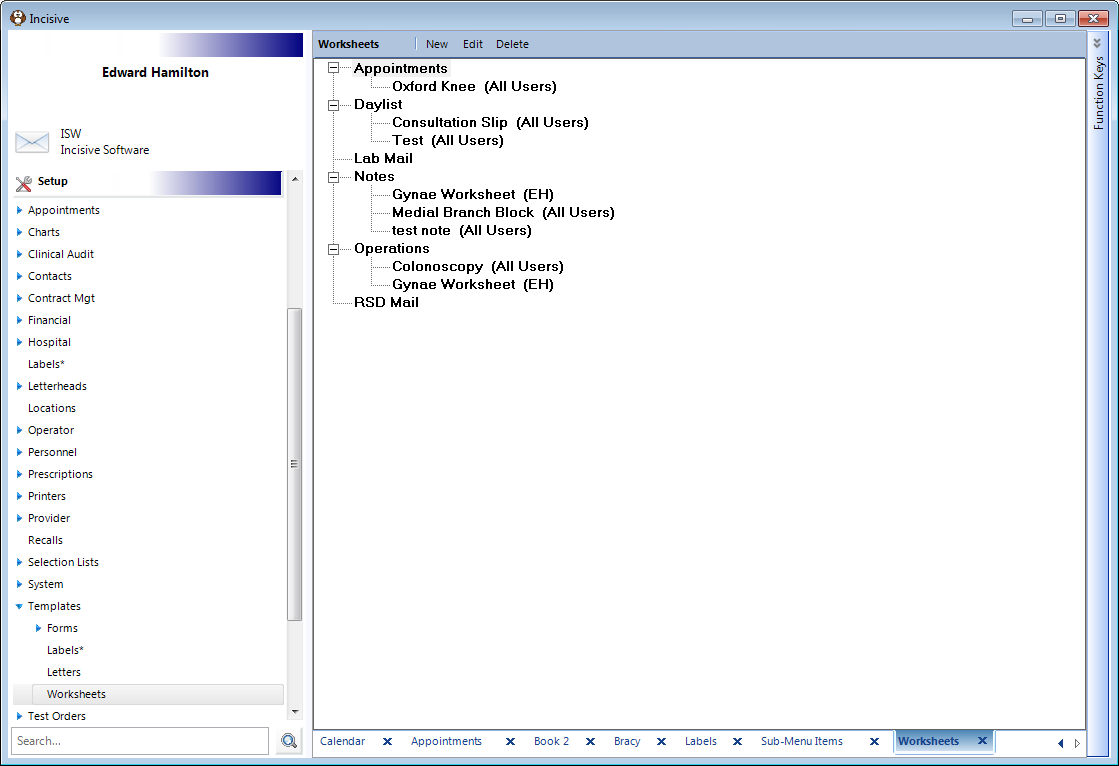
The areas of the program that the worksheets can be accessed are:
| (form_type=3) |
| (form_type=4) |
| (form_type=2) |
| (form_type=5) |
| (form_type=6) |
| (form_type=1) |
**ISW You can change the location of a worksheet by changing the 'form_type' number when the file is imported.
You will need to Export the existing worksheet, make the change with Notepad, then Import again ISW**

if the Actions button is the F5 Daylist is inactive, set the usr_F5Worksheet field to 1 in the Users table
Worksheets can be created by either:
- Manually designing and building in SPM, or;
- Importing a pre-built worksheet
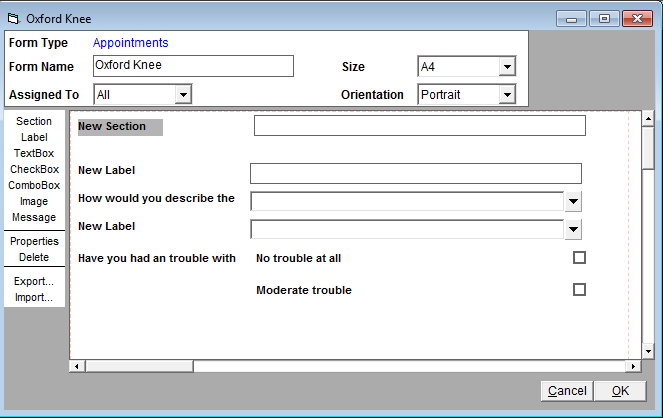
Creating a new worksheet
- Go to Setup > Templates > Worksheets
- Select the area of SPM that you want the worksheet to be used
- Click on the 'New' button. A blank worksheet will appear.
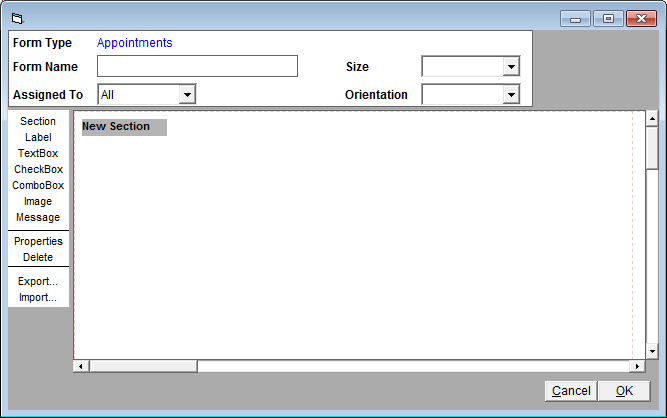
- Complete the Form Name and other fields at the top of the form.

- Form Name - Your description of this worksheet
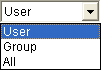
- Assigned ToWhich specialists in the practice will have use of the worksheet
- SizeSelect a default size of the worksheet (optional)

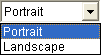
- OrientationSelect the orientation of the worksheet
Layout of the worksheet
The design and flow of the worksheet is very important and, ideally, should be agreed upon before attempting to layout the worksheet in SPM. It's a good idea to complete the design on paper first of all.
The following controls can be placed on the worksheet:
Section | The header of a group of fields | |
Label | Text positioned near a field | |
Textbox | A label and a textbox | |
Checkbox | A label and a checkbox | |
Combobox | A label and a dropdown box | |
Image | An image file | |
Message | A field to allow text to be displayed. |
Inserting controls
- Edit the worksheet
- Select the control on the left hand side
The control will be positioned on the page underneath the last control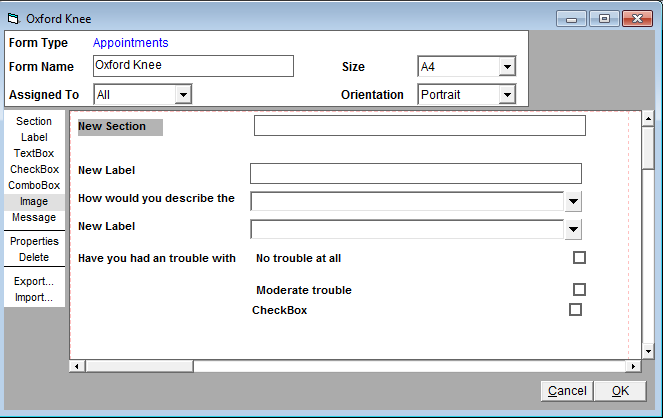
Positioning and resizing the control
Positioning the control
- Click the left mouse button on the control and hold it down – now drag the control to the correct position. Use the guide lines to assist with accurate positioning.
- Release the mouse button
NOTE: The controls with both a label and another data field can be positioned and resized separately. You can even move the label to the opposite side.
Resizing the control
- Hold the Shift key down on the keyboard and at the same time left-mouse-click and hold down, and then drag the mouse to shape the control. Release when the size is correct.

Removing a control
- Click on the control to select it.
- Click on the Delete button in the left-hand panel.
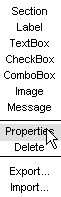
Change the Properties of the control
Each control can have the Properties of the control changed
- Highlight the control and click on the Properties button in the left-hand panel, or right-mouse-click on the control
Prompt/Caption | Changes the name in the Label section |
List of Options |
|
Message | Mouse-over tooltip message |
ID Code | A unique identifier that can be used when searching for data in this control. |
Font | Change font size, type & colour |
Background colour | Changes the background colour – used mainly in the Section control |
Image File | Import an image file to display on the page |
Auto width | Allows the control to automatically adjust to the width of the window |
Import & Export worksheet files
To allow the sharing of worksheet templates between practices there is the ability to create an XML file which can then be transported to another practice and imported.
Export a worksheet
- Edit the worksheet
- Click on the Export button
- Name the file and save it
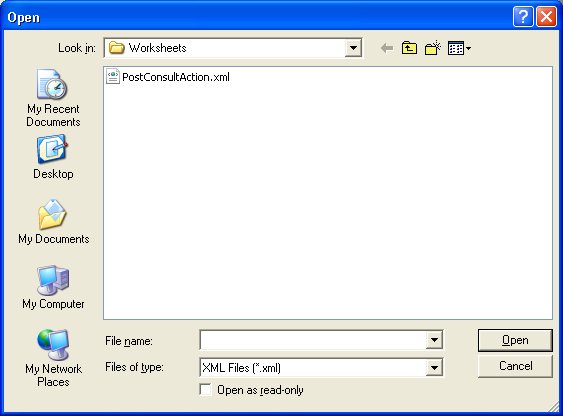
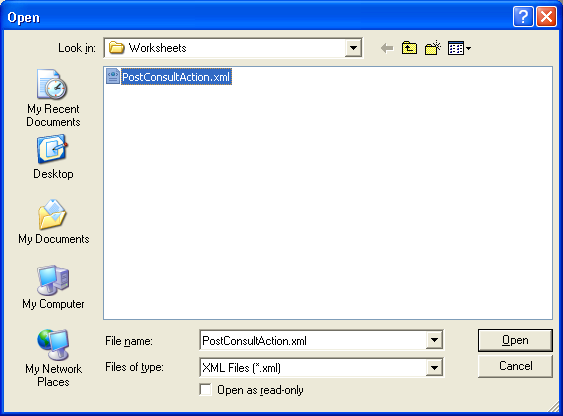
Import a worksheet
- Create a new, blank worksheet
- Click on the 'Import' button
- Select the XML file that you want to import
- Make any changes to the form and then save it.