On This Page: | How Do I...
|
Introduction
Printing from SPM is workstation specific. It is important to ensure the printer driver is available on the Operators network login and the printer selected within SPM is the same printer selected as the default printer under windows.
Before going into SPM set the printer options under the driver.
Start - Control Panel - Devices and Printers - right mouse click on the printer you are going to choose as the default printer for this workstation.
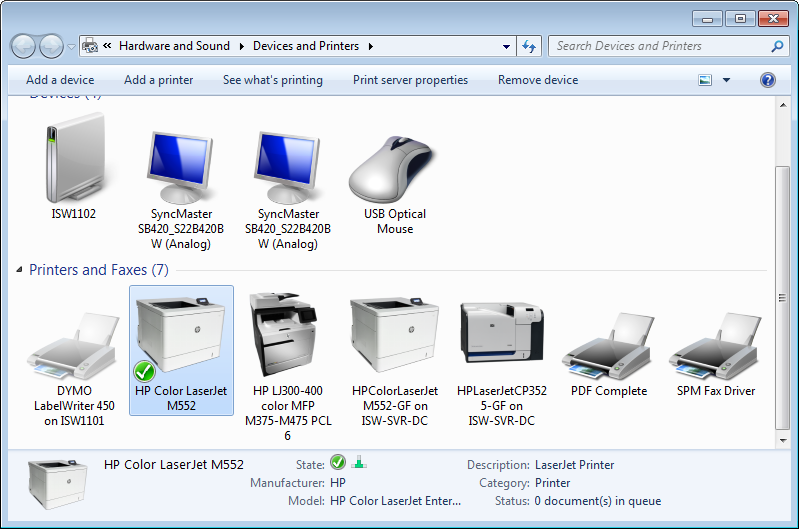
Ensure the tick is against "Set as Default".
The options you see here may be slightly different depending on the printer driver.The important settings are:
Paper size = A4
Paper selection = plain paper tray (not auto select)
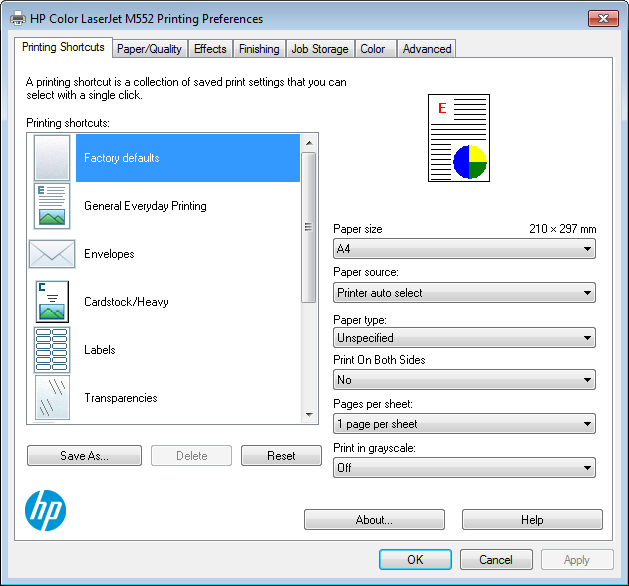
If your printer has three trays you need to ensure the driver also has the three bins available.
You must be able to do a test print from the windows driver. The test print is found under "properties" – print a test page. You should be able to print a test page from each of the trays on that printer.
Setting up Normal Printer
Click on your printer and set up all your bins and offsets, then press 'ok'. These should not be set to Automatically Select, they should always be set to the appropriate Tray even if your printer has only one try.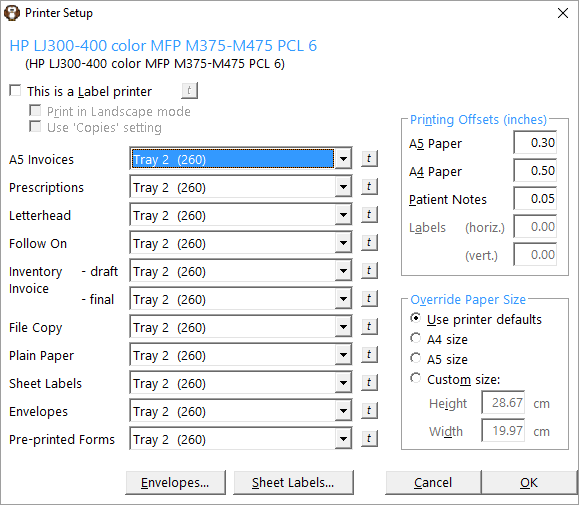
Setting up Label Printer
Then click on the Label Printer and make sure the Label Printer is ticked in the right hand corner and the printing offset has been set, then press 'ok'.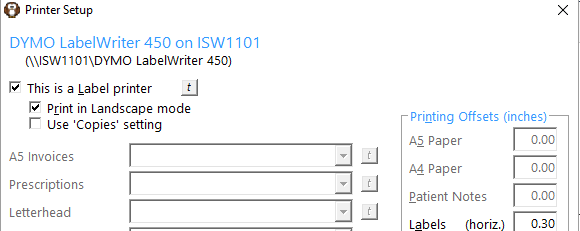
Then in Setup - Workstation - Workstation Configuration select your printers for the Normal Printer and Label Printer, then press 'Ok'.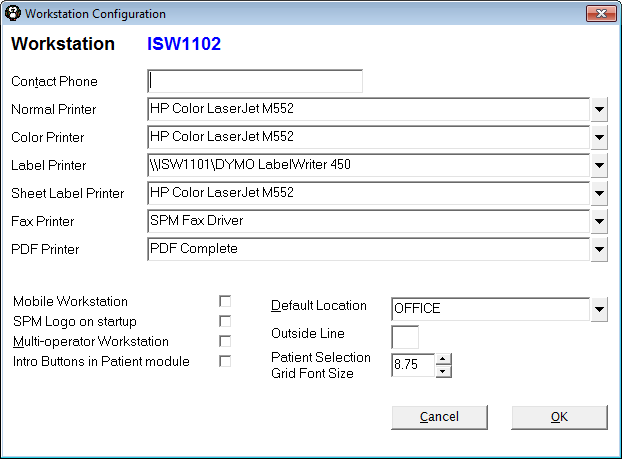
Envelope Settings
If you print out envelopes then this will need to be setup. You might need to do a few Test Prints to make sure you have it in the right position. Please ensure you have the correct Tray selected for Envelopes. 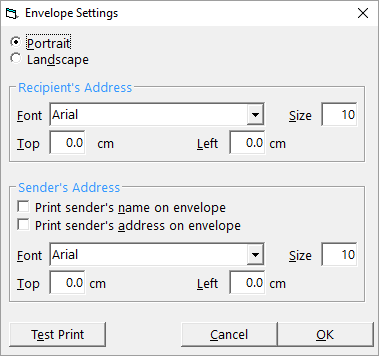
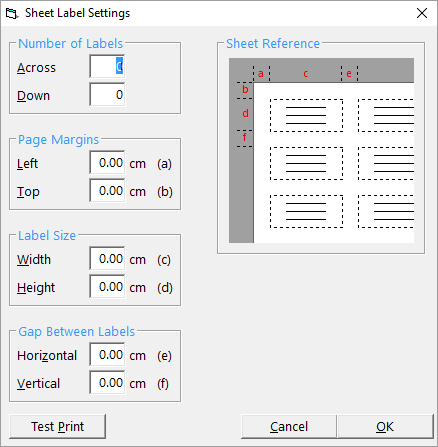
Sheet Label Settings
If you print out Sheet Labels then this will need to be setup. You might need to do a few Test Prints to make sure you have it in the right position. Please ensure you have the correct Tray selected for Sheet Labels.