- Select 'New'.
A screen similar to the one below will display.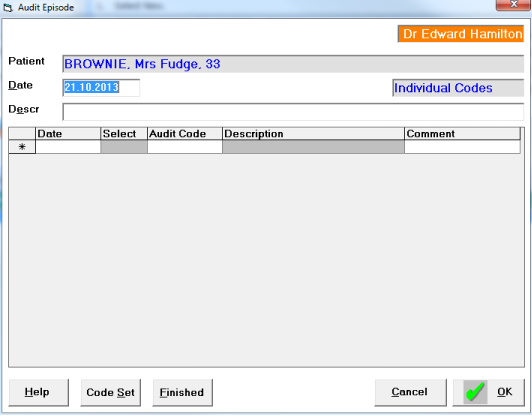
- Type the date for the Audit entry and press 'Enter', or press 'Enter' alone for today's date.
- Type in a Description or leave empty and it will be automatically filled using text from the first audit code selected.
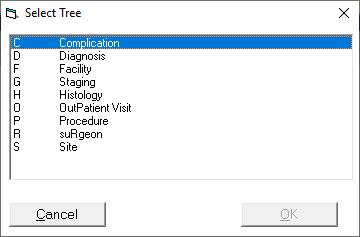
Select the appropriate 'tree', either by typing the letter (eg. S for Site), or use the arrow keys or mouse to select.
Once a 'tree' is selected you will see the next level (or branch) of that tree.If you are using international code sets such as ICD10 or Snomed, ensure the correct code set is selected. Use the 'Code Set' button to change to a different set of reference codes for a particular entry.
Type in all or part of the reference code or any part of the procedure description then use the 'Search' function to select the correct item.
- Select the next level of the code 'tree', either by typing the highlighted letter or using the arrow keys.
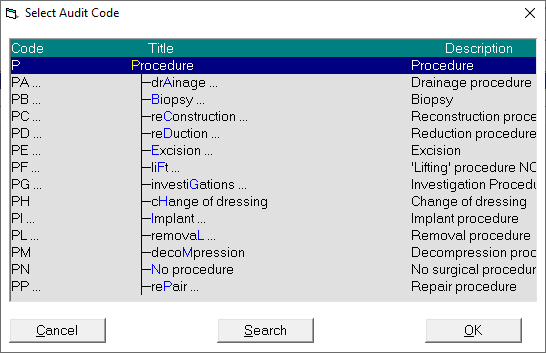
NOTE: the "… ". These indicate that there are more levels below the current one. Pressing the Right Arrow or typing the highlighted letter expands the code 'tree'. - Continue selecting levels in the code 'tree'.
- Record an optional Audit Comment if required.
- Select 'OK'.
The Code will disappear but you will remain in the Audit Entry screen with the previously entered date recorded. - Continue adding further codes.
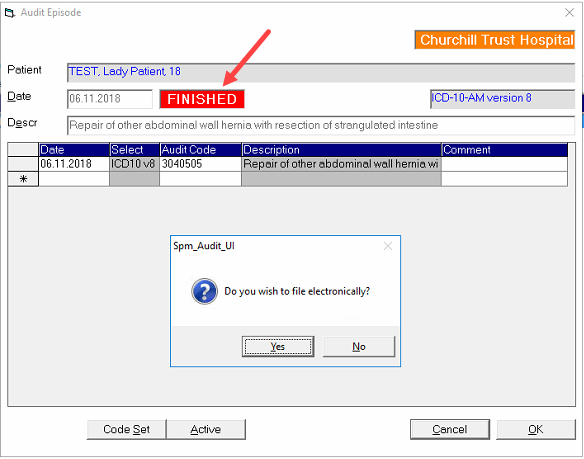
- Optionally mark as 'Finished' using the Finished button.
- When you have finished entering codes select 'Cancel' to return to the patient's file.
The entries display on the Audit Tab.
Hospital discharge coding
For Compliance coding of Discharged patients, ensure you use the relevant code set for the certifying organisation e.g. ICD10AM-v8
The codes must be marked as Finished before they will become eligible to be included in the exported file.