Sending emails from Message Centre
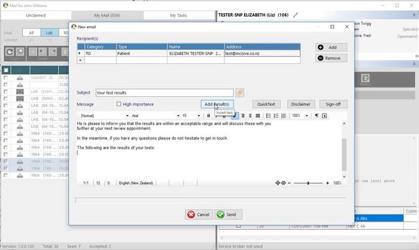
This screencast is demonstrating how you can include test results in an email to a patient, from the Message Centre
MyMail_EmailResults.mp4
Emailing from the Patient Header
The hyperlink on the email address in the Patient Header is primarily designed for emailing the patient with or without any attachments.
The default recipient is the patient.
Adding a recipient
- To add additional recipients select the Add button.

- Select an additional recipient. For a wider range choose 'Select from Contacts' or 'Email Address (as Entered)' to free-hand the address.
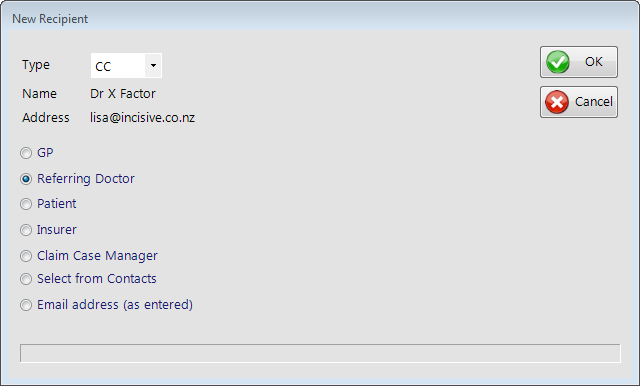
- Select the Type for the recipient (To, CC or BCC).
- Select OK to save the recipient.
- Repeat to add additional entries if required.
Removing a recipient
If a recipient has been added in error, or if the email is not to go to the patient, then they can be removed.
- Select the entry you wish to remove from the list of Recipients (click within the grid on the appropriate line).
- Select the Remove button.
Adding Attachments
Attachments (documents etc that have been saved outside of the Incisive application) can be added to the email by selecting the Paperclip icon.
![]()
The Attachments screen lists any attachments currently selected.
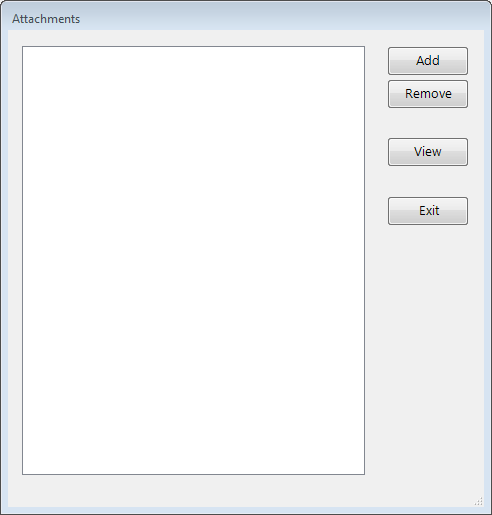
- Select Add.
- Navigate to the location of the attachment.
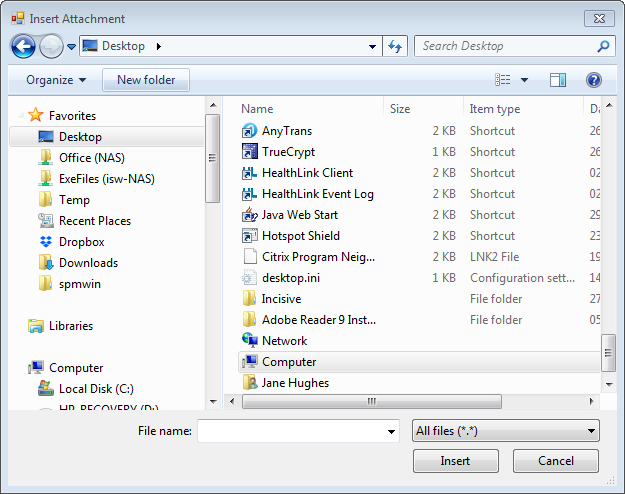
- Select the file.
- Select Insert.
- The file will appear on the list.
- Repeat for steps 1-5 for additional files.
- Select Exit when complete.
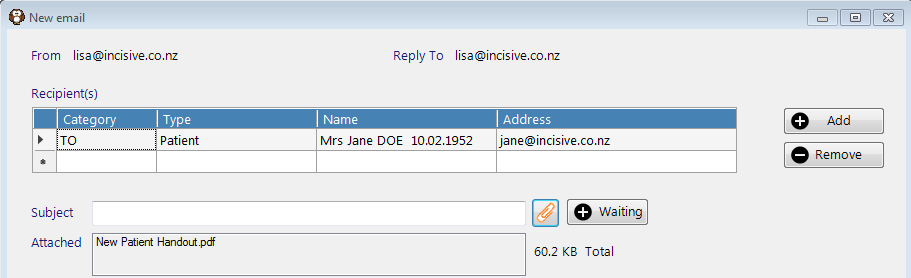
- The selected files are listed below the subject line, together with the total size.
Remove
If an attachment is not required, highlight the file in the list of attachments and select Remove.
View
To check the contents of an attachment select View. The file will be loaded into the appropriate viewer.
Adding 'Waiting' Attachments
![]()
Attachments that have been generated from the patients file and are waiting to be attached can be included in the email by selecting the Waiting button.
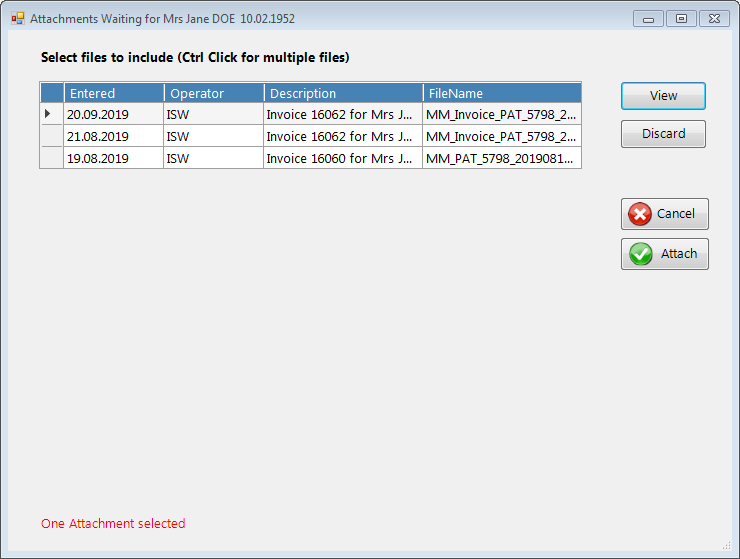
To select files to include either:
- Click on a single item; or
- Use Ctrl and click on multiple items in turn.
The number of attachments selected will display at the bottom of the screen. - Once the required number of attachments have been selected, select Attach to attach these items and return to the previous screen.
View
The View button allows you to see what the file is. If you are not sure what the attachment is, or whether it should be included in the email then it is advisable to view the document before deciding to attach it.
Discard
If an attachment has been created in error and is not required to be attached, either to the current email or a future one, then selecting Discard will remove it from the list permanently.
The operator ID is included beside each attachment in case the attachment has been produced by another staff member or doctor. We recommend that you only remove attachments that you yourself have created.
Attach
This confirms the selected attachments and returns you to the New Email screen.
QuickText
When typing the text of the email commonly used text can be inserted by using the QuickText button (alternatively you can press F8). This will give you access to the codes that have been added.
Disclaimer
Sign-off
To include you sign-ff on the email, select 'Sign-off'. The text associated with the sign-off for the currently logged in operator will be inserted.
Emailing Notes/Letters from Patient module
- Select a patient, go to the Notes tab and Tag (F6 or Tag button) the Note entries that you want to send
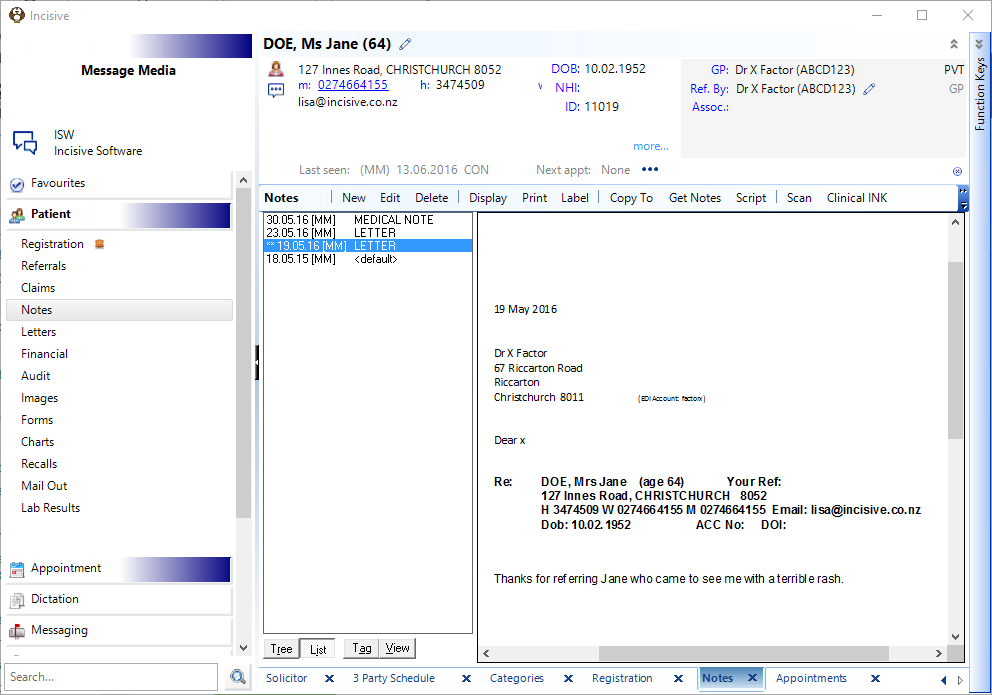
- Press the F7 key to activate the 'Send' option
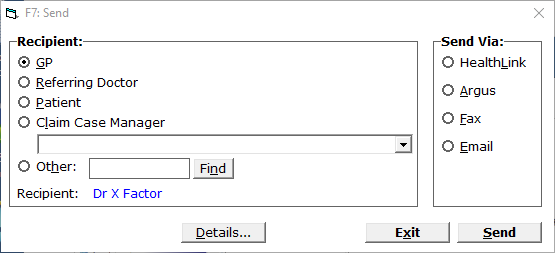
- Select the Recipient.
The options on this form allow you to select the patient, a doctor or a facility- If the intended recipient is not the GP, Ref Dr., or the patient, but is included as an entry in the Address Book, select 'Other' and enter in the first few letters of their code then press Enter.

- Select the Recipient from the list and click OK

- If the intended recipient is not the GP, Ref Dr., or the patient, but is included as an entry in the Address Book, select 'Other' and enter in the first few letters of their code then press Enter.
- Go to the 'Method' tab (or select the Next button) and select Email
- Go to the Email tab (or click the Next button) and enter some text in the Subject field. In version 409.6 or later you can use the 'F8' function to select subject types.
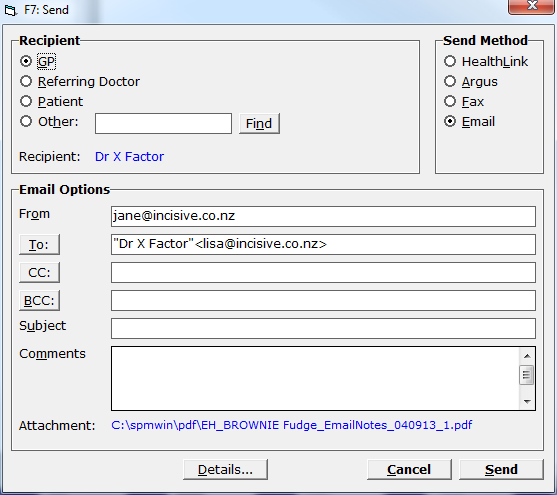
- Complete the other fields if required.
CC: Send a copy of this email to another recipient
BCC: Send a copy of this email to another recipient but don't let the other recipients know
Comments:Type any additional comments to include in the body of the email. - Go to the Fax tab (or select the Next button) when you are ready to send the email.
- On the Fax tab, click on the Send button
Note that the Notes/Letters/Forms etc. that were tagged have been assembled into a pdf document and are already attached to this email - Confirm that you want the email to be sent
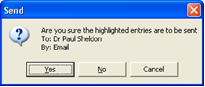
When you select Yes the email is sent to the out-going SMTP server.
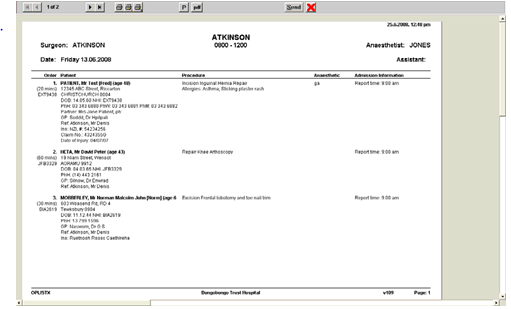
Emailing Consulting/Operating lists from Appointment module
- In the Appointment module, use the mouse to select the session header of the list you want to send
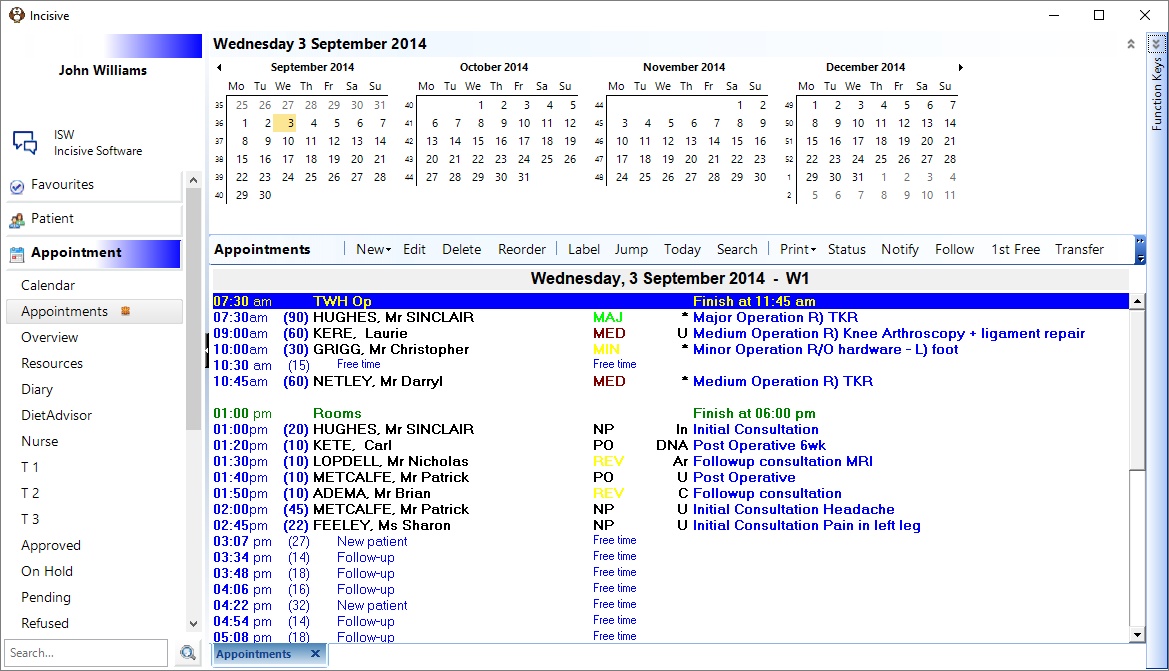
- Press the F7 key to activate the Send option
If there is a Facility already linked to the Session it will be pre-selected. Otherwise select Other and enter in the code or name to search on.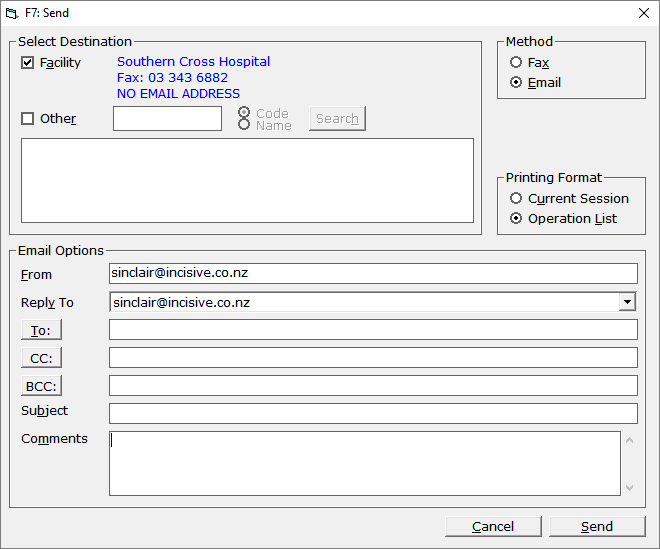
- The consulting or operating list will then be displayed. Once you are satisfied that you are sending the correct one click on the Send button on the top Title bar to send the email.
Sending ad-hoc emails
Send from:
- Message Centre, or
- Patient Header
