Creating a New Form Letter
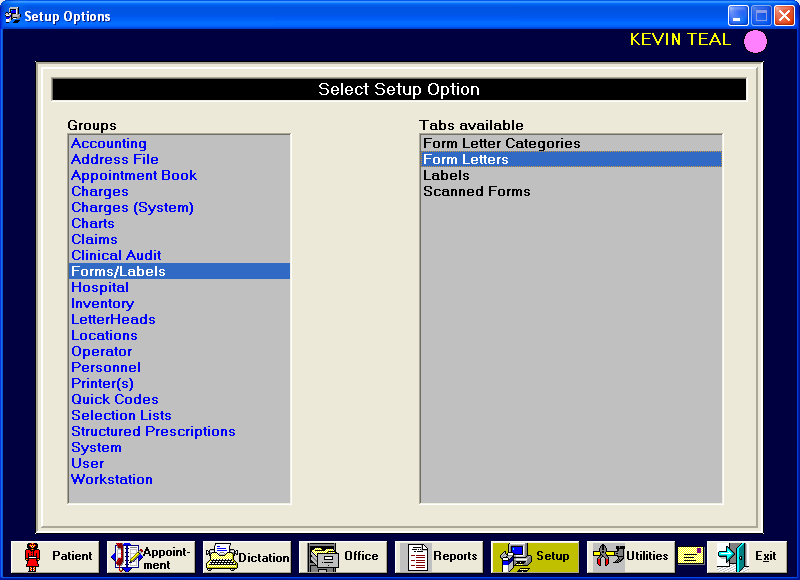
Go to Setup and click on Forms/Labels – Form Letters and press New.
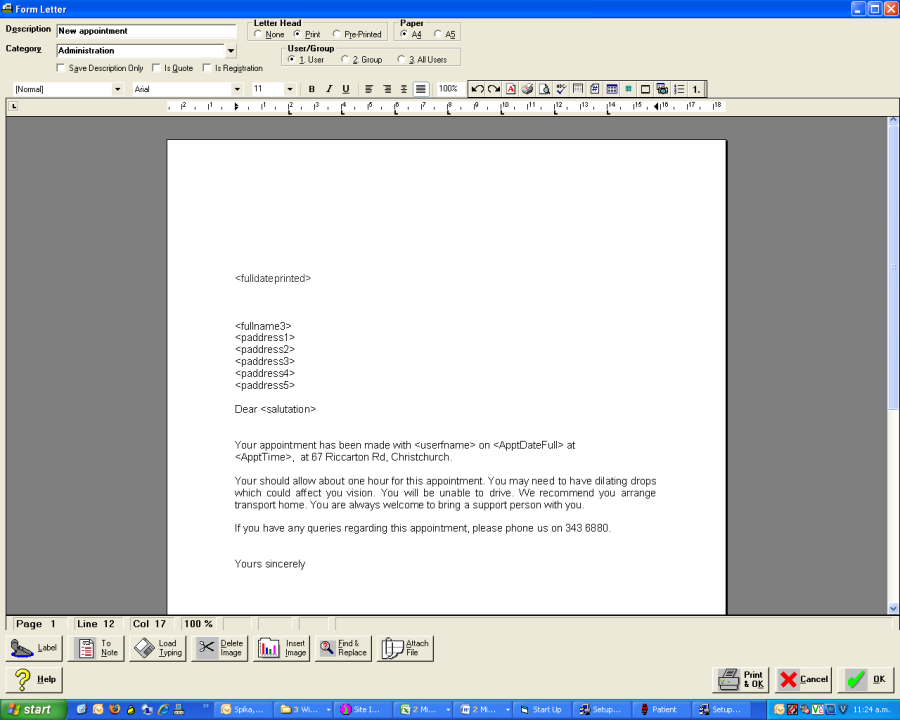
Setting up the Details for the Form Letter
Add the details you want into the Form Letters
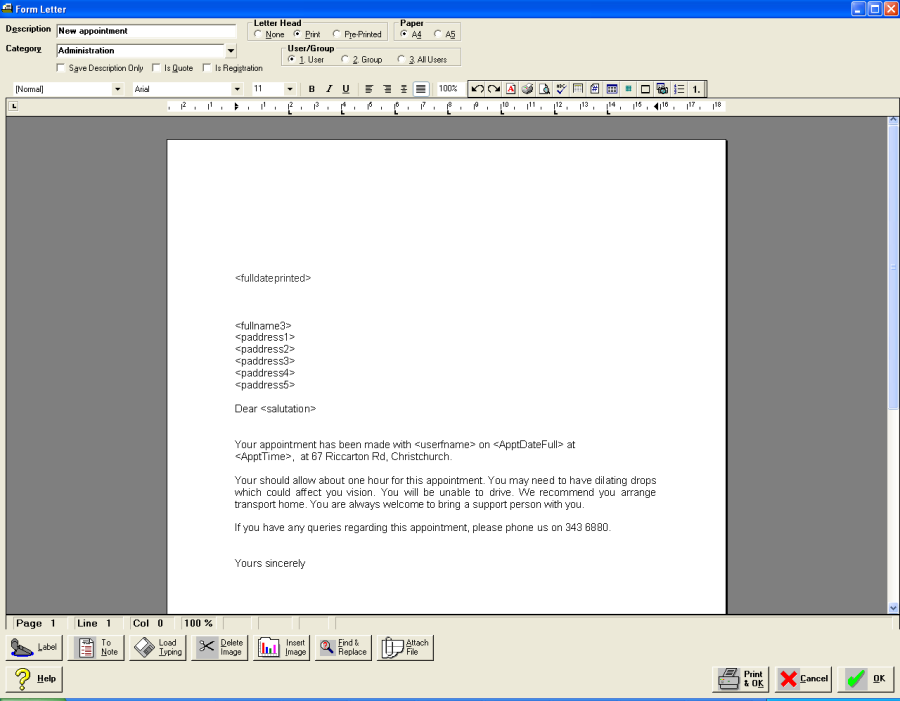
Description
Give the letter a meaningful Description.
Category
Select the Category that you wish the letter to be saved under.
Letterhead
Tick the option which you require for this form letter.
None – no letter head will be included in Form Letter
Print – this will use the Letterhead within SPM
Pre-Printed – this will use the Pre-Printed Letter head paper from the printer.
Paper
Tick the option you require for the Paper size
A4
A5
User/Group
Tick the option you wish for whom the Form Letter should be available for use.
User - This Form Letter will only be available for this User.
Group – This Form Letter will be available to all the Users that belong to this Group.
All Users – This Form Letter will be available to all Users.
Save Description Only
Tick this if you have images included in this Form Letter as saving images to the database can increase the size of the database very quickly and can lead to problems with especially with access Databases.
Is Quote
This is applicable for Australia only and if ticked makes this Form Letter available when doing Patient Quotes.
Is Registration
Tick this if you wish to use this as a Registration Form, which will then be available for selection under Setup – More user Config and press Edit.
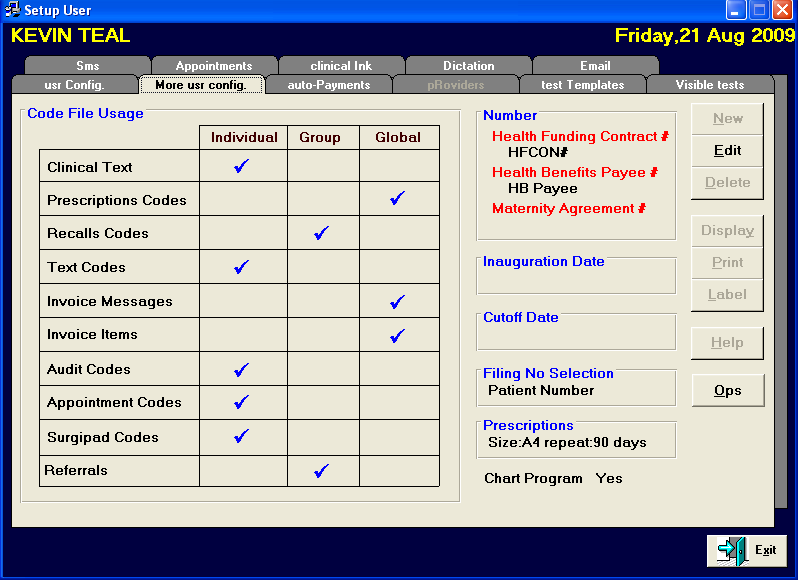
Then under Patient Registration you will be able to select this Registration Form from the list. Press OK to save option.
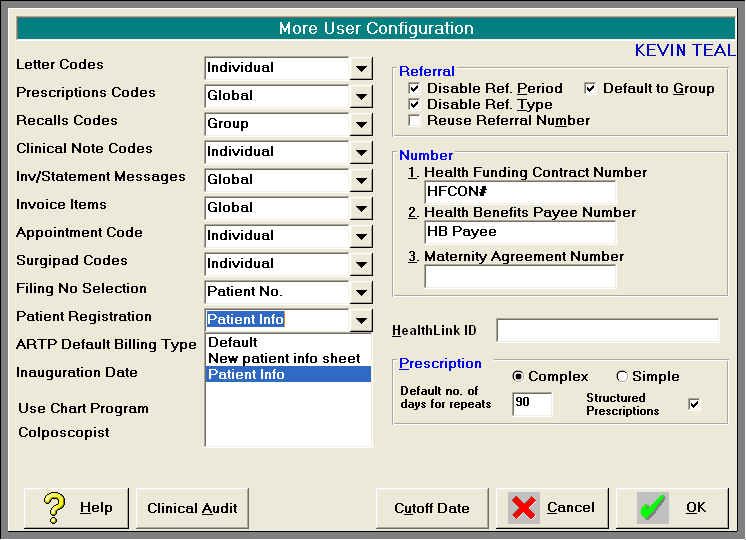
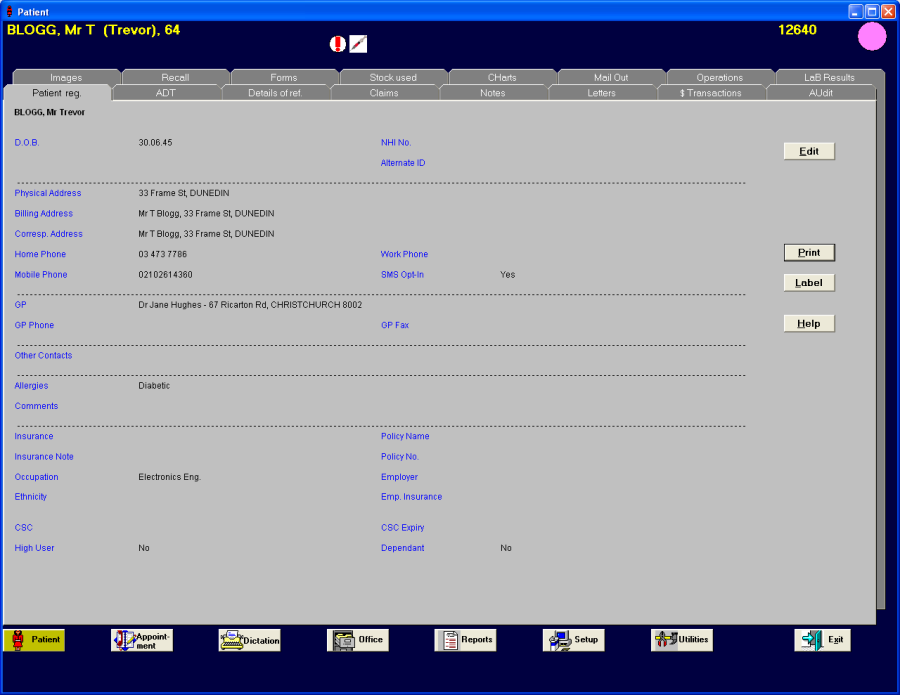
This will mean when you go into Patient mode and press Print it will print off this Registration Form.
Setting up the Body of the Form Letter
ADDING NEW FIELDS
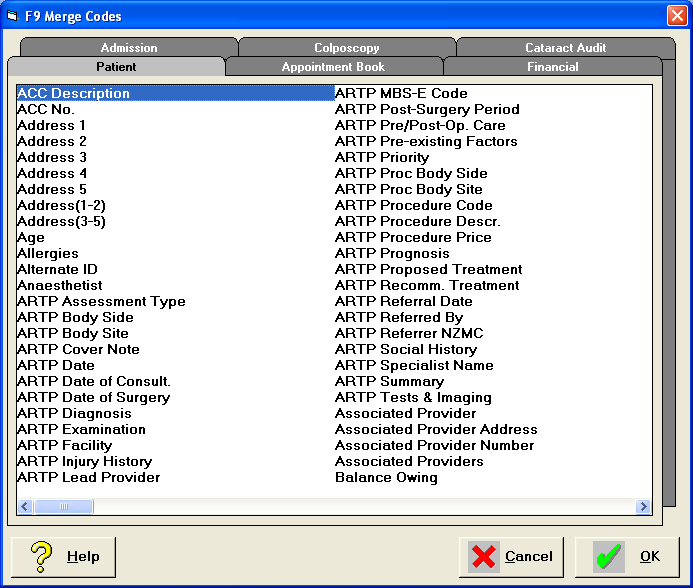
When you are in the Form Letter you can add fields that will be populated automatically from the information in the Database. Go to the postion that you want a new field to be entered and press F9 to bring up the list of Merge Fields, highlight the field and select OK.
ADDING PROMPTS
You can add a prompt to your Form Letter, which allows you prompt for an answer, see examples below. To add a prompt to the Form Letter you need to enclose the prompt within these < >.
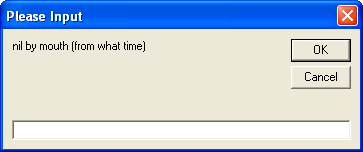
<nil by mouth (from what time)>
This will bring up a box like this and you would just enter the time.
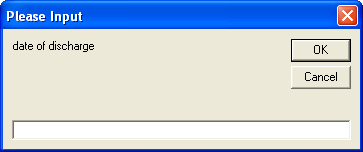
<Date of Discharge>
This will bring up a box like this and you would just enter the date of Discharge.
ADDING MORE SELECTION OPTIONS
You can add selection lists to your Quick Code.
To add another selection list to the Quick Code you need to enclose the list within these < > and separate each choice with a //, see examples below
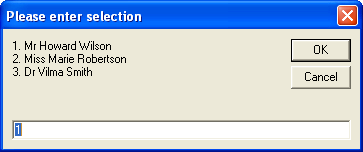
<Mr Howard Wilson//Miss Marie Robertson//Dr Vilma Smith>
This will bring up a box like this and you would just enter the number required, if none of the options are suitable, then just type in what you want.
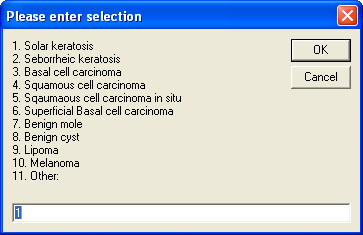
<Solar keratosis//Seborrheic keratosis//Basal cell carcinoma//Squamous cell carcinoma//Sqaumous cell carcinoma in situ//Superficial Basal cell carcinoma//Benign mole//Benign cyst//Lipoma//Melanoma//Other:>
This will bring up a box like this and you would just enter the number required, if none of the options are suitable, then just type in what you want.
Note
It is essential that the selections lists are enclosed within the <> and the different items are separated by //, else when you run the Quick Codes it will not work properly. Also the Merge Codes will be included in the <> as well, if these are missing or other brackets are used then the Quick Code will not work properly.
Other Options
There are a few other options for the Form Letters which are found at the bottom but some of these are used more for when you are in Patient mode – Form Letters or in Dictation doing a form Letter.
![]()
Label
More used for when you have created the Form Letter in Patient or Dictation mode, but highlight the name and address and press Label.
To Note
More used for when you have created the Form Letter in Patient or Dictation mode, but highlight the text you want to include in the note and the press To Note.
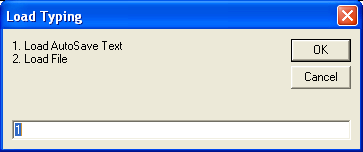
Load Typing
More used for when you have created the Form Letter in Patient or Dictation mode, press Load Typing and the following box appears, select the option you require and press OK.
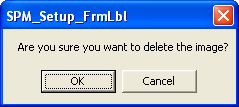
Delete Image
To delete an image from the Form Letter, click on the image and then press Delete Image, the following message appears, press OK and the image will be deleted.
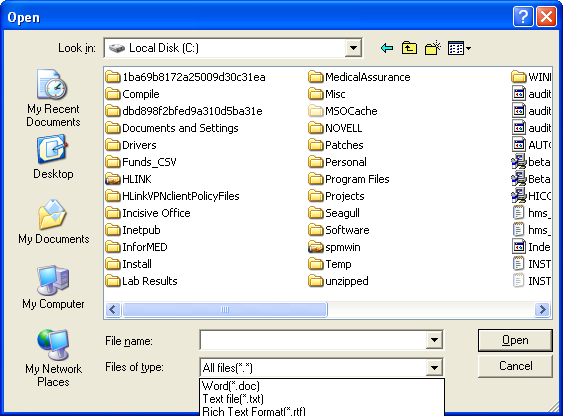
Insert Image
To insert an image press the Insert Image, then select your image to be inserted, you can set the Files of type to be All Files(.) so that all file extensions are showing, once file is selected press Open and the images should appear. You might need to move the position of the file on the Form Letter.
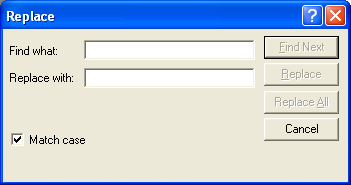
Find & Replace
If you want to find and replace certain words you can you this option.
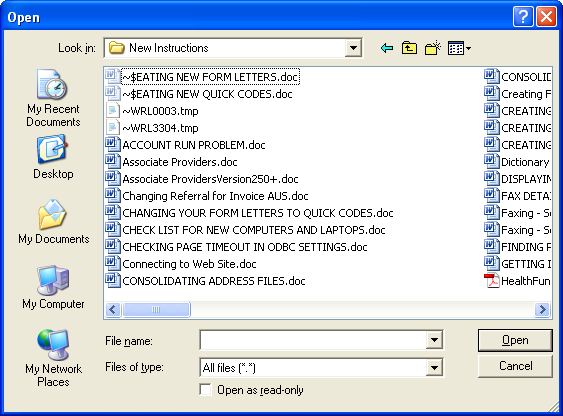
Attach Files
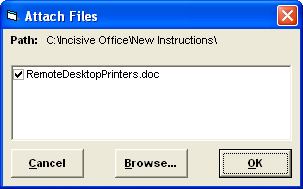
To attach a file that will be printed out along with the Form Letter press the Attach Files. Browse to select the file that you wish to attach and press Open.
Then it will show the list of Attached Files, press OK.
Print & Ok
This will print out the Form Letter you have just created and save it.
Cancel
This will exit out of the Form Letter without saving any changes.
Ok
This will save any change you have made the Form Letter