To assist with efficient data entry of patient details and operation lists, operating lists from a number of applications can be imported. The current list of applications are:
- Specialist Practice Manager (SPM) – from surgeons' appointments in the same database (surgeon and hospital is using the same database)
- Patient Focus – from an XML file
Configuring import from SPM
To import appointment data from a surgeon using SPM who is on the same network as the hospital, there are two items that need to be configured
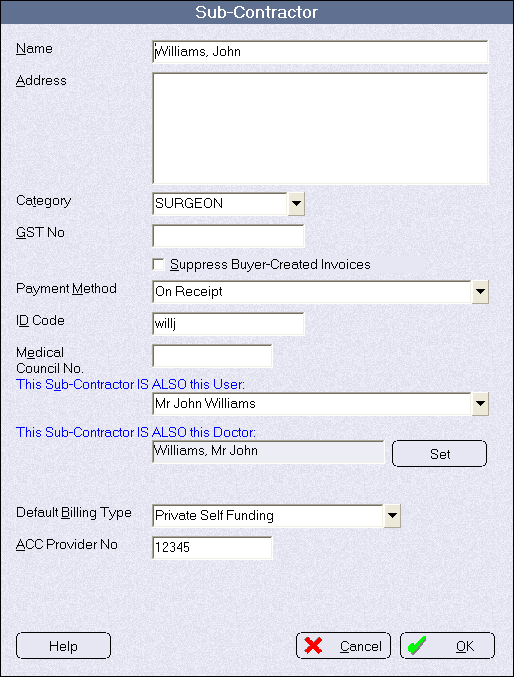
- In Inventory program go into Setup > Subcontractors, select the surgeon and click 'Edit'.
- In the field 'This sub-contractor is also this User' select the correct User (surgeon) from the list.
- Select the default Billing Type that will be used when all patients are imported to the Hospital from the surgeon's appointment book. As the Billing Types that the surgeon uses may be different from those the Hospital uses, the software therefore cannot directly transfer the Billing Type across.
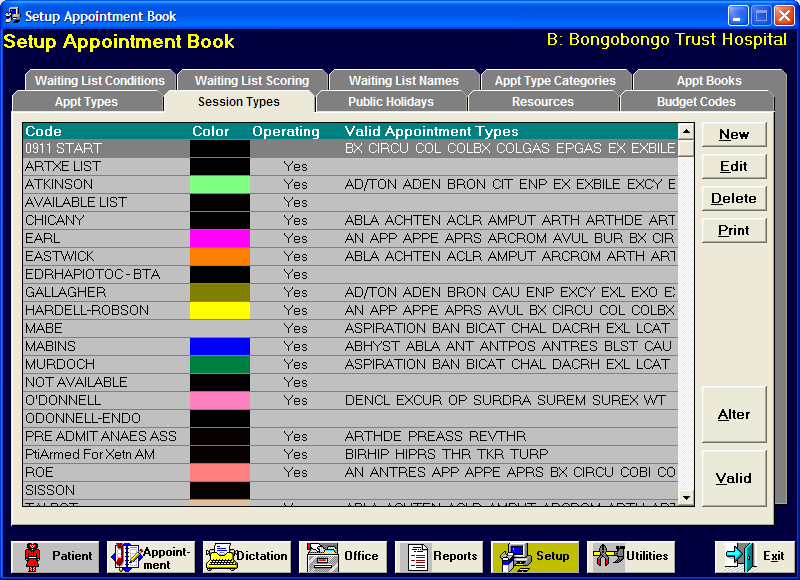
- In the Hospital Bookings application go to Setup > Session Types and check there is a session for the surgeon.
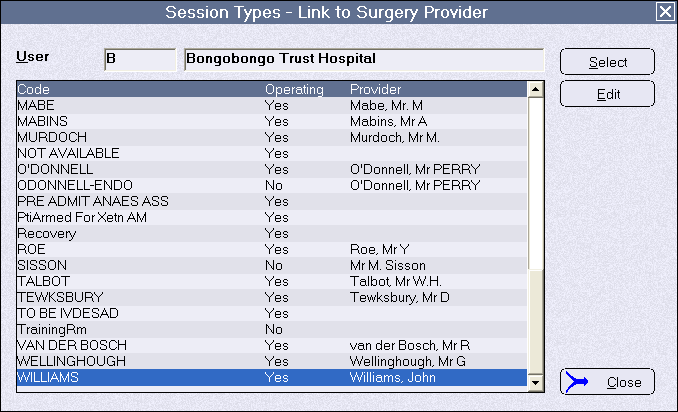
- Select the session and click 'Edit' to make sure that the session is linked to the same subcontractor.
- In the Hospital Booking application, go to Setup >Import Appointments and check on the option to 'Show Hospital Appointments Only'. This option ensures that the imported bookings are actually created as separate appointment entries for the Hospital User.
A new referral is created, from the surgeon to the hospital, during the import process. With this option checked off no new appointment entry is made. The surgeon's own appointment book is showing in the hospital's lists and any changes made will be made directly to the surgeon's own appointment book. - In PHM, go to Setup > Appointment Book > Session Types for the Hospital User. Edit the session for the surgeon and select a default Billing Type that the imported patient operations will be automatically assigned to for the Hospital User.
Configuring import from XML
Both the Hospital Booking and Private Hospital Manager applications need to have configuration changes made.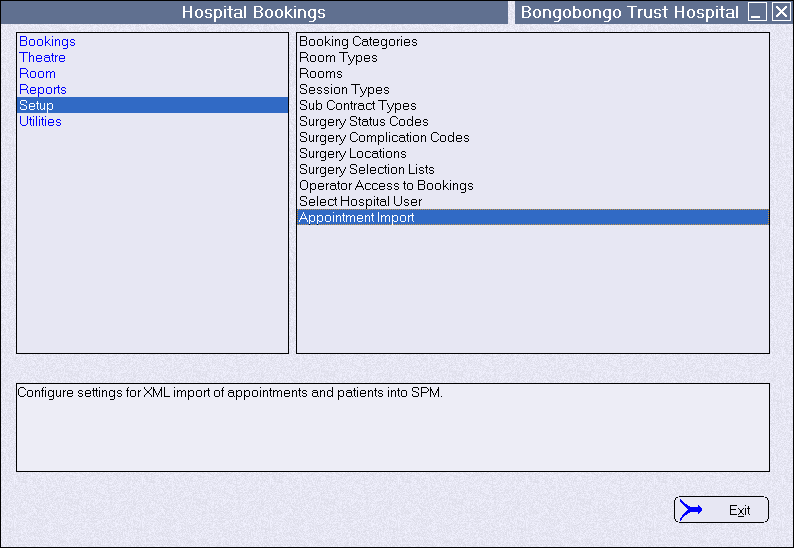
- In the Hospital Bookings application go to Setup > Appointment Import
- Ensure there is a nominated directory for the XML files to be deposited into, and also a sub-directory for the processed files to be copied into. Choose the 'Hospital'
UserFiles to Process - Select the directory the XML files will be deposited into
Processed Files - Select the directory that the processed XML file will copy to.
Billing Type - Choose the default Billing Type
Patient Type - Choose the default Patient Type
'Show Only Hospital Appointments' should always be checked ON. - In Private Hospital Manager go to Setup > Appointments > Session Types. Ensure you have the Hospital User selected.
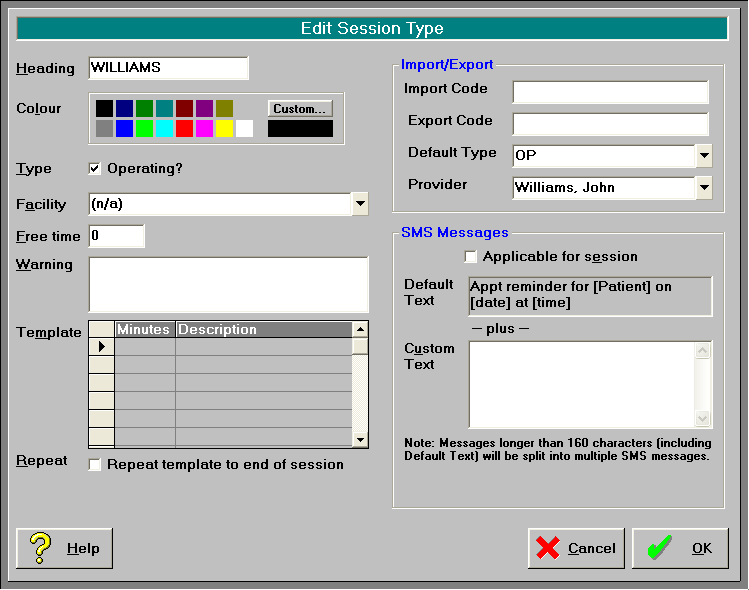
- Create or edit a session that will be used to import the operation list into. Usually there is a session for each surgeon. Use the appropriate session.
- Complete the fields in the Import/Export section (except the Export Code field)

- Import Code - Type in the text that the XML file uses to describe the type of session. This must match the text in the Session column displayed in the Appointment Import screen.
- Export Code - Not required
- Default Type - Select the Appointment Type that will be sent and used as a default. It can be altered within the Hospital Booking application.
- Provider - Select the Surgeon or Provider to whom the operating list belongs to.
- Ensure there is a tick in the 'Operating' field.
- In the Hospital Bookings application, go to Setup > Session Types and check there is a session for the surgeon.
- Select the session and click 'Edit' to make sure that the session is linked to the same subcontractor.
Running SessionCloneAuto.exe
SessionCloneAuto.exe is the application that polls a surgeon's operating list in SPM and notifies the hospital of any new patients added to the surgeon's list or of changes made to the times or description of existing bookings. See page for further details.
- Copy SessionCloneAuto.exe into the \SPMWIN directory on one of the workstations.
- Enable a new task in Microsoft Task Scheduler to run the SessionCloneAuto.exe program every 10-15 minutes. Set the task to run during the day only so that it does not conflict with any backup events.
No message will appear when the program is executed. It will run in the background for a few seconds then automatically close down.